Guide: Starting a small vegetable garden – Part 2
Part 1 of this series on starting a small vegetable garden was a quick guide on how to build new beds. Part 2 will be about the exciting part – growing the vegetables.
This project is all about finding vegetables and methods of growing that fit the beginner who's keen on starting a small vegetable garden of their own. So don't worry, I'll leave the nerdy gardener talk for later. The first year will be all about getting familiar with the basics of starting a small vegetable garden. Some things will probably go wrong, but making mistakes will help you learn and grow as a gardener. And everything that goes wrong now will hopefully only make you feel more motivated to succeed next season!
Growing different crops in the same area sequentially is a really important trick to keep your soil healthy. This practice is called crop rotation. You don't need to start thinking about this right now though. Just start by observing what you've already planted, get more experience and most importantly: Have fun!
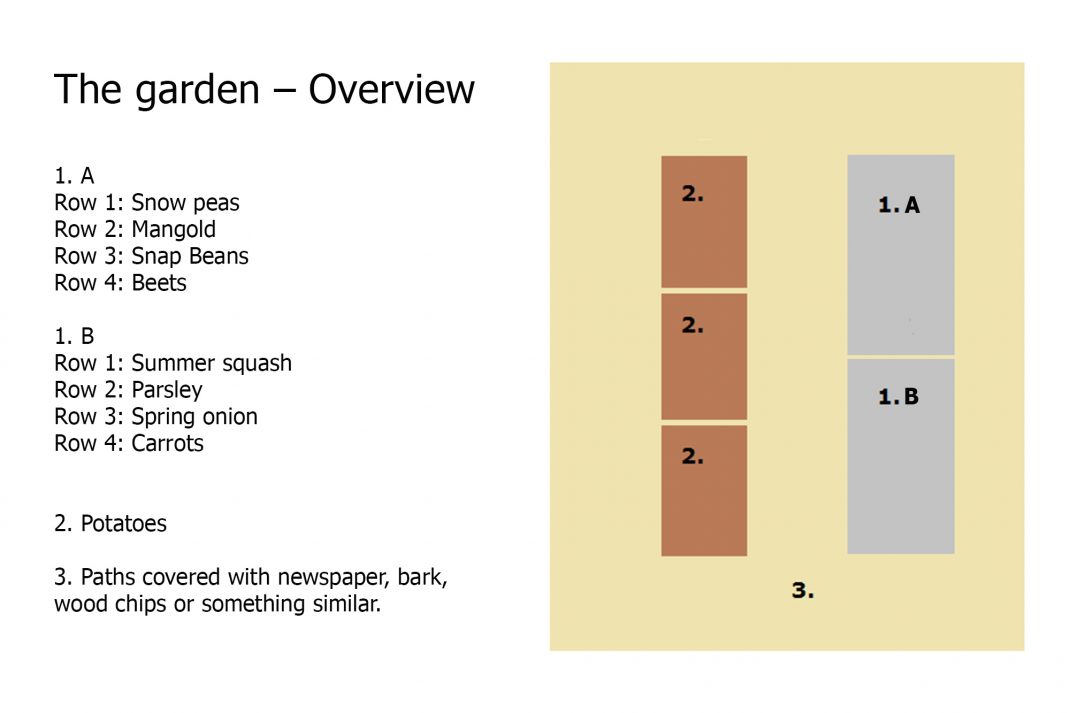
Bed 1:
This bed is made with plain, clean soil. That's why we'll start sowing here directly, as opposed to pre-cultivating the plants and then planting them in the garden bed. Put a board or a branch over the short side of the bed, to make two separate sections. Create four rows in every section, in the direction north to south. Leave about 4 inches (10 cm) to the frames of the long sides. Create the rows either with the help of a twig, or simply with your hand. The rows should be around an inch (3 cm) deep.
It's time to pick the vegetables! I have a few suggestions that are perfect for beginners below. If you want to add other vegetables to this list, remember to grow the tallest plants in the north-facing part of the bed so they don't overshadow the other plants.
North-facing part of the bed:
Snow peas - Pick a variety that doesn't grow too tall, like for example Norli that produces a large and early harvest. Sow the seeds around 2 inches (5 cm) apart.
Chard - Find a larger variety that produces a lot of leaves that you can pick and freeze for later, for example Fordhook Giant. Sow the seeds around 8 inches (20 cm) apart.
Snap beans - Choose a small variety with sturdy little plants, for example Nautica which grows plenty of very thin pods. Sow two seeds in each hole, 8 inches (20 cm) apart.
Beets - My suggestion is the variety Forono which produces a really long root. The root perforates and loosens the sod underneath the bed. Sow the seeds around 2 inches (5 cm) apart.
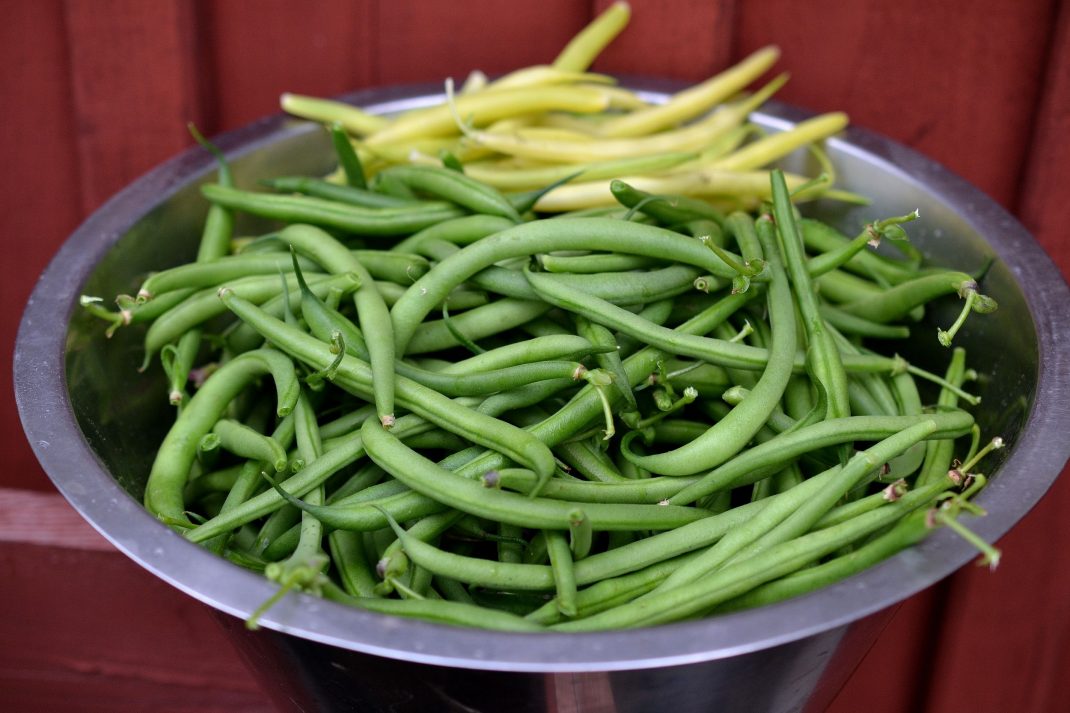
Go for the low-growing snap beans rather than the taller varieties that you need to tie up. Newly sown beans are very popular with the birds. That's why I always sow two seeds in every hole. That way, I always get to keep at least one plant.
South-facing part:
Summer squash- You'll be able to fit two plants in the row and you can either choose to direct-sow in summer or cultivate the plants indoors and then plant them outside. Black Beauty is a good variety to start with. Costata Romanesco is another favorite, it's a bit more high-end though. Make sure that the plants aren't shading the other vegetables in your bed.
Parsley - Choose a curly-leaved variety you like, for example Moss Curled 2, or a smooth-leaved one like the Plain Leaved 2. Scatter the seeds in the row.
Spring onion - Sow the seeds in the row around 0,5 inches (1 cm) apart. Evergreen is a good variety to start with.
Carrot - Start with the variety Nantes 2 that produces a good harvest of high quality roots. Scatter-sow the seeds with some distance between them on the around 4 inch (10 cm) wide area over the row that you created earlier. Cover the seeds with some soil.
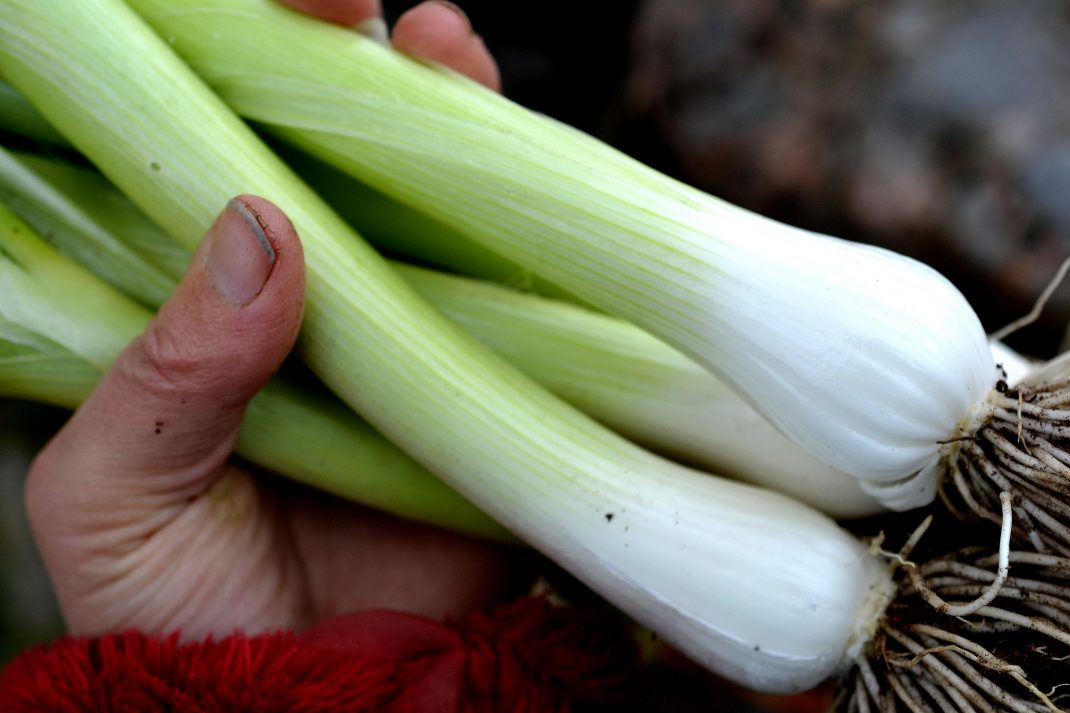
Spring onion is a versatile allium that grows quickly. It's the perfect vegetable choice when you're starting a small vegetable garden. Sow your spring onions in tight rows or little clusters. Spring onion is just as good fresh as it is cooked. We often use it instead of leek.
Bed 2:
So far, this bed consists of a large pile of compost that's been put in three pallet collars. At this point, I'd say that it's pretty well fertilized. So, my suggestion is to plant potatoes here in your first year. The potatoes will grow nicely and the plants will shade the organic material underneath. The compost will start to decompose, a process that will go on all season. Make a few little holes in the material and add a handful of soil (you should have an extra bag of soil left from the construction I wrote about in part 1). Put a seed potato in each hole and add a bit of soil on top. You should be able to fit 6-8 potatoes in each pallet collar. Feel free to add any old plant material in your garden on top of the bed, either now or when the potatoes start to grow.
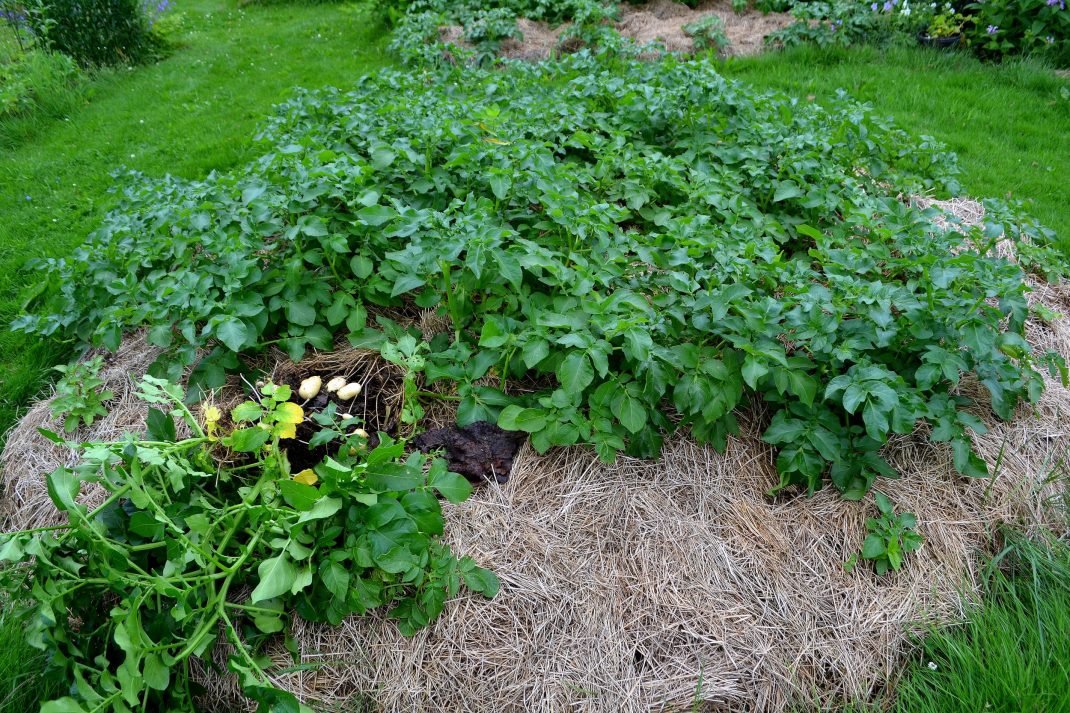
Potatoes don't actually need to be put in the soil to grow. They also grow nicely in a pile of compost. I usually try to put some nice moist soil on my potatoes in spring though, I find that this makes them grow quicker.
Water, heat and a whole lot of waiting
You can find more information about when you should sow your vegetables on the back of the seed packets. Remember to also think about where you live when it comes to choosing the right time to start. Don't forget to pack the soil slightly after sowing, and of course water it when you're done. If you're worried about the soil just drifting away when you start watering (this is sometimes the case with store-bought soil with a lot of peat in it) , I suggest that you water the rows before you sow. Afterwards, carefully spray your soil with a garden hose to keep the soil moist.
If you simply can't wait to plant your potatoes and you have your mind set on starting early, it might be a good idea to cover the new beds with some garden fabric. Buy something cheap and put a layer on top of the beds. Put some rocks or a board on the edges of the fabric to keep it in its place.

Put some thin garden fabric on top of your early sowings. Choose a thicker fabric if you're having problems with hungry birds.
All you need to do now is water the beds and wait. The seeds should start germinating quite quickly, but it will of course feel like an eternity before you get to enjoy the fruits of your labor. I sometimes feel like I want to cheer the little green plants on when they slowly rise from the ground. As much as I want the process to speed up sometimes, I still enjoy it so much! I hope that you'll enjoy starting a small vegetable garden too. Just remember to keep up with what's happening in the garden and what you'll need to do next to stay on top of it all .
Stay tuned for the final part of this series about starting a small vegetable garden. This part will be about taking care of the garden beds during different seasons. Starting a small vegetable garden – Part 1 is available here.
/Sara Bäckmo
09. April 2021


Leave a Reply
You must be logged in to post a comment.