


Mulching my polytunnels
Mulching is a great way to improve the soil, but how do you make it work in a polytunnel that is already packed with vegetables? I have been experimenting with a method that lets me do both.
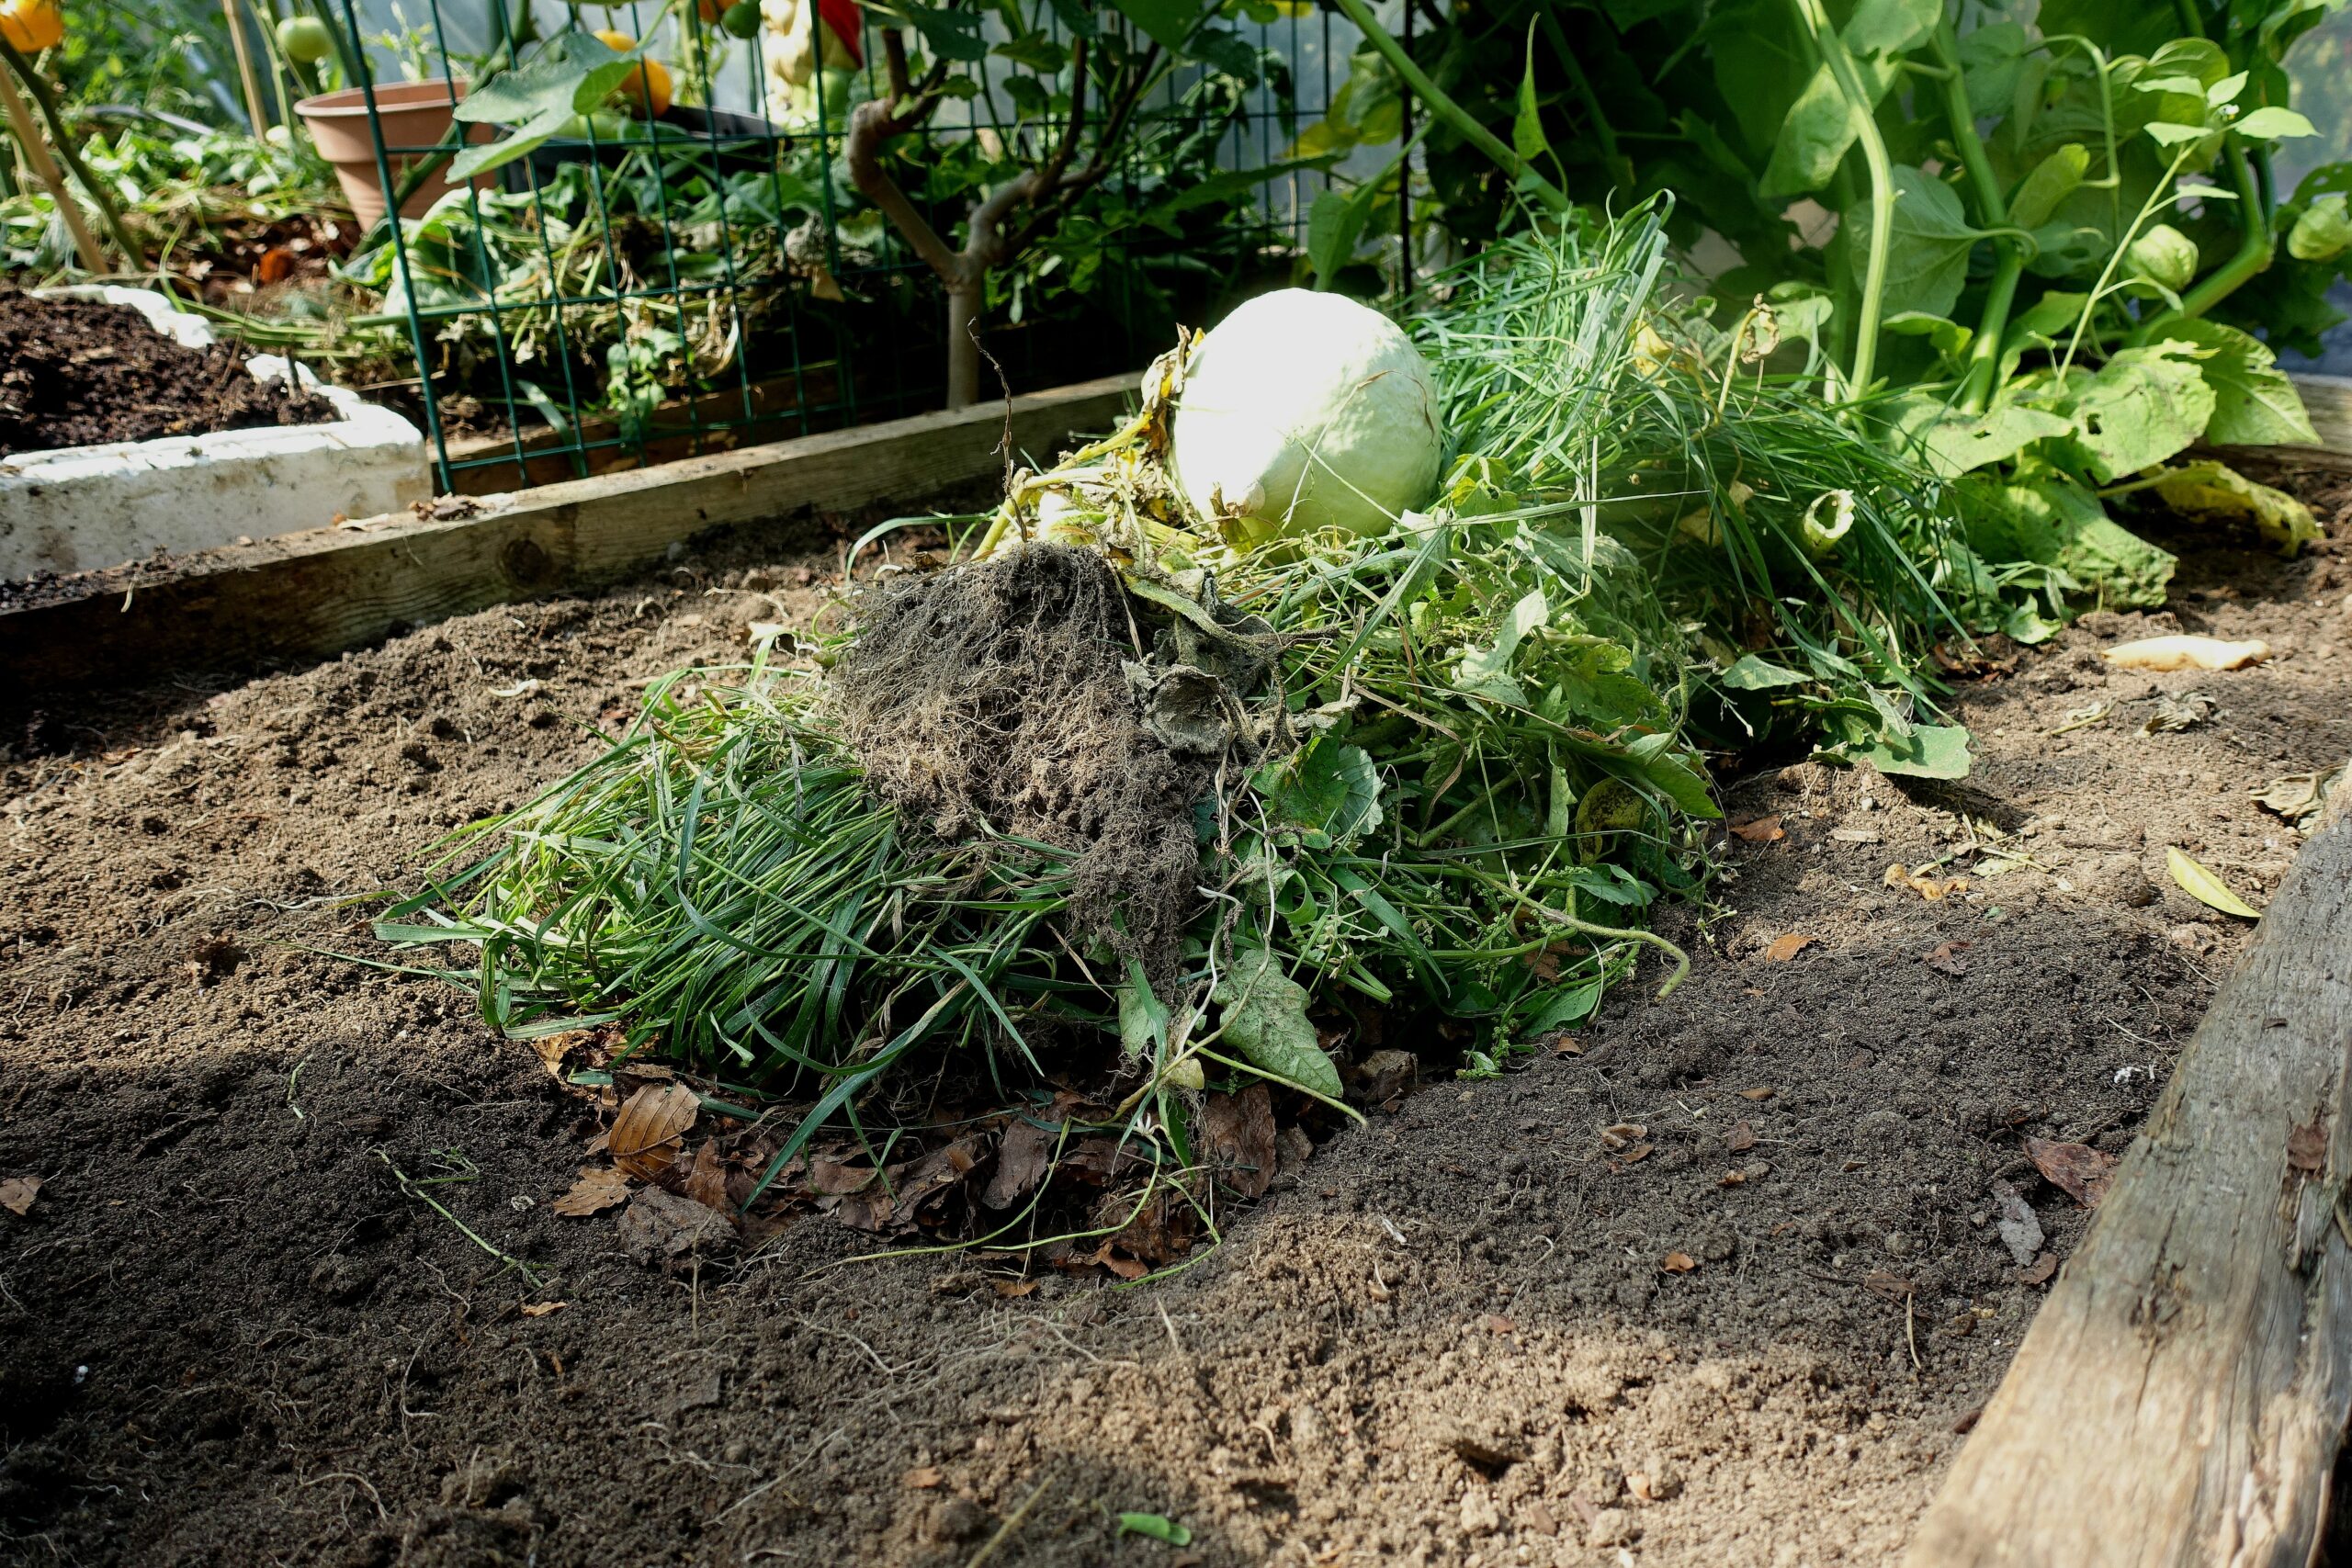
A small layer of mulch is better than nothing right now. I was inspired by keyhole gardening and decided to put a pile in the middle of the bed.
I first mulched one of my polytunnels with grass clippings in 2014 and got great results. When winter arrived, however, I removed the mulch because I needed the bare soil for vegetables growing in tight rows. Since then, I have experimented with mulch on a smaller scale.
My larger polytunnel has been more difficult. I use the beds intensively throughout the year, often combining close rows of leafy greens with tomatoes and other tall crops. Thick layers of mulch can make sowing and planting more complicated, while digging organic material into the beds does not allow me to use as much plant material. I needed to find a way to combine the two approaches.
What the soil analysis showed
One of the takeaways from the soil analysis I did is that mulching my polytunnels would make a huge difference for my soil. I especially wanted to improve the amount of humus in the soil and keep working on its overall nutrient balance. All of this put together would make the perfect environment for my vegetables.
Read more: Soil analysis part 2 - Mulching works!
Mulching seemed like a useful method to explore. As the material breaks down, it becomes part of the soil and allows me to return more garden waste directly to the beds.
The challenge is that my polytunnel beds are filled with vegetables or new sowings for most of the year. I need open soil for sowing in tight rows, which means I cannot cover the entire surface with thick layers of mulch. Instead, I began looking for ways to concentrate the material in selected parts of each bed.
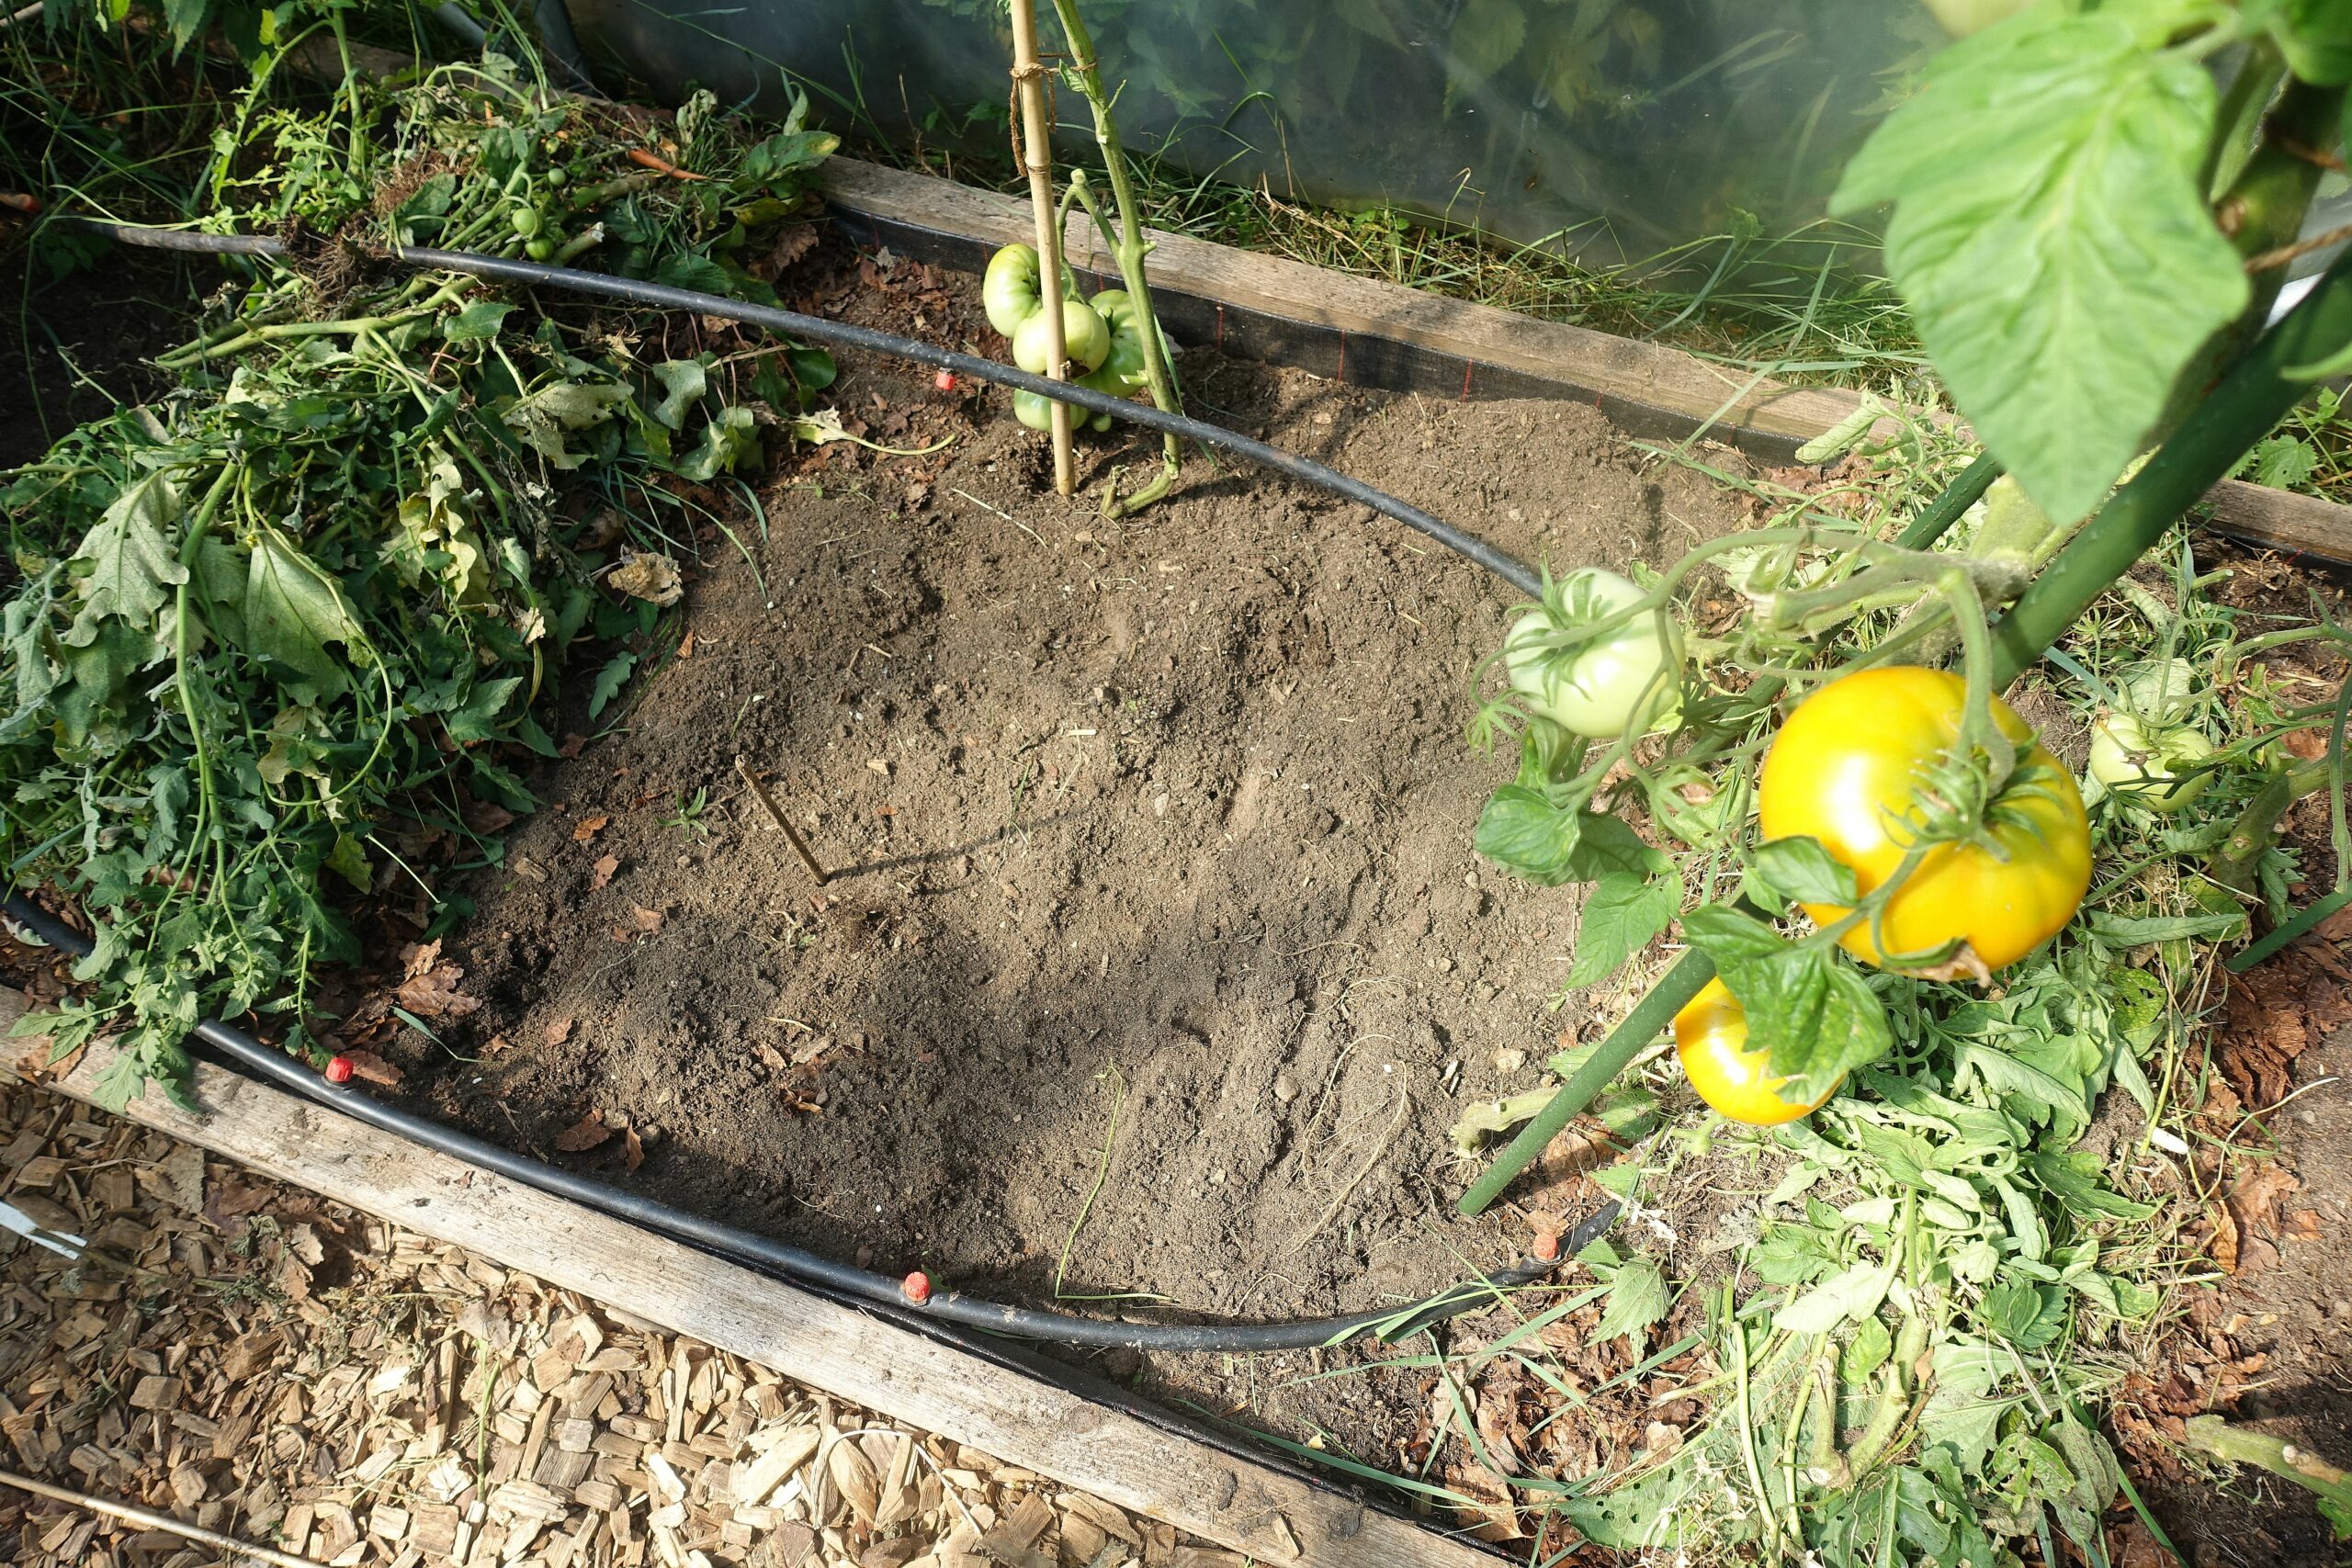
Mulch ridges allow me to add plenty of organic material while keeping open soil available for vegetables growing in tight rows.

I cover the soil beneath my fruit trees with newspapers and plant material to help retain moisture around the roots.
Three mulched beds
I started by mulching underneath the fruit trees in one of the polytunnel beds. I covered the soil with newspapers printed with non-toxic ink and added old plant material from the tunnel on top. My main goal was to retain moisture around the trees.
After receiving the soil analysis, I prepared three beds in this way. I also placed large pots on top of the mulch. Excess water from the pots could then trickle down into the plant material and the soil below.
I mulch the pots themselves with grass clippings as well. This is particularly useful during warm and dry periods.
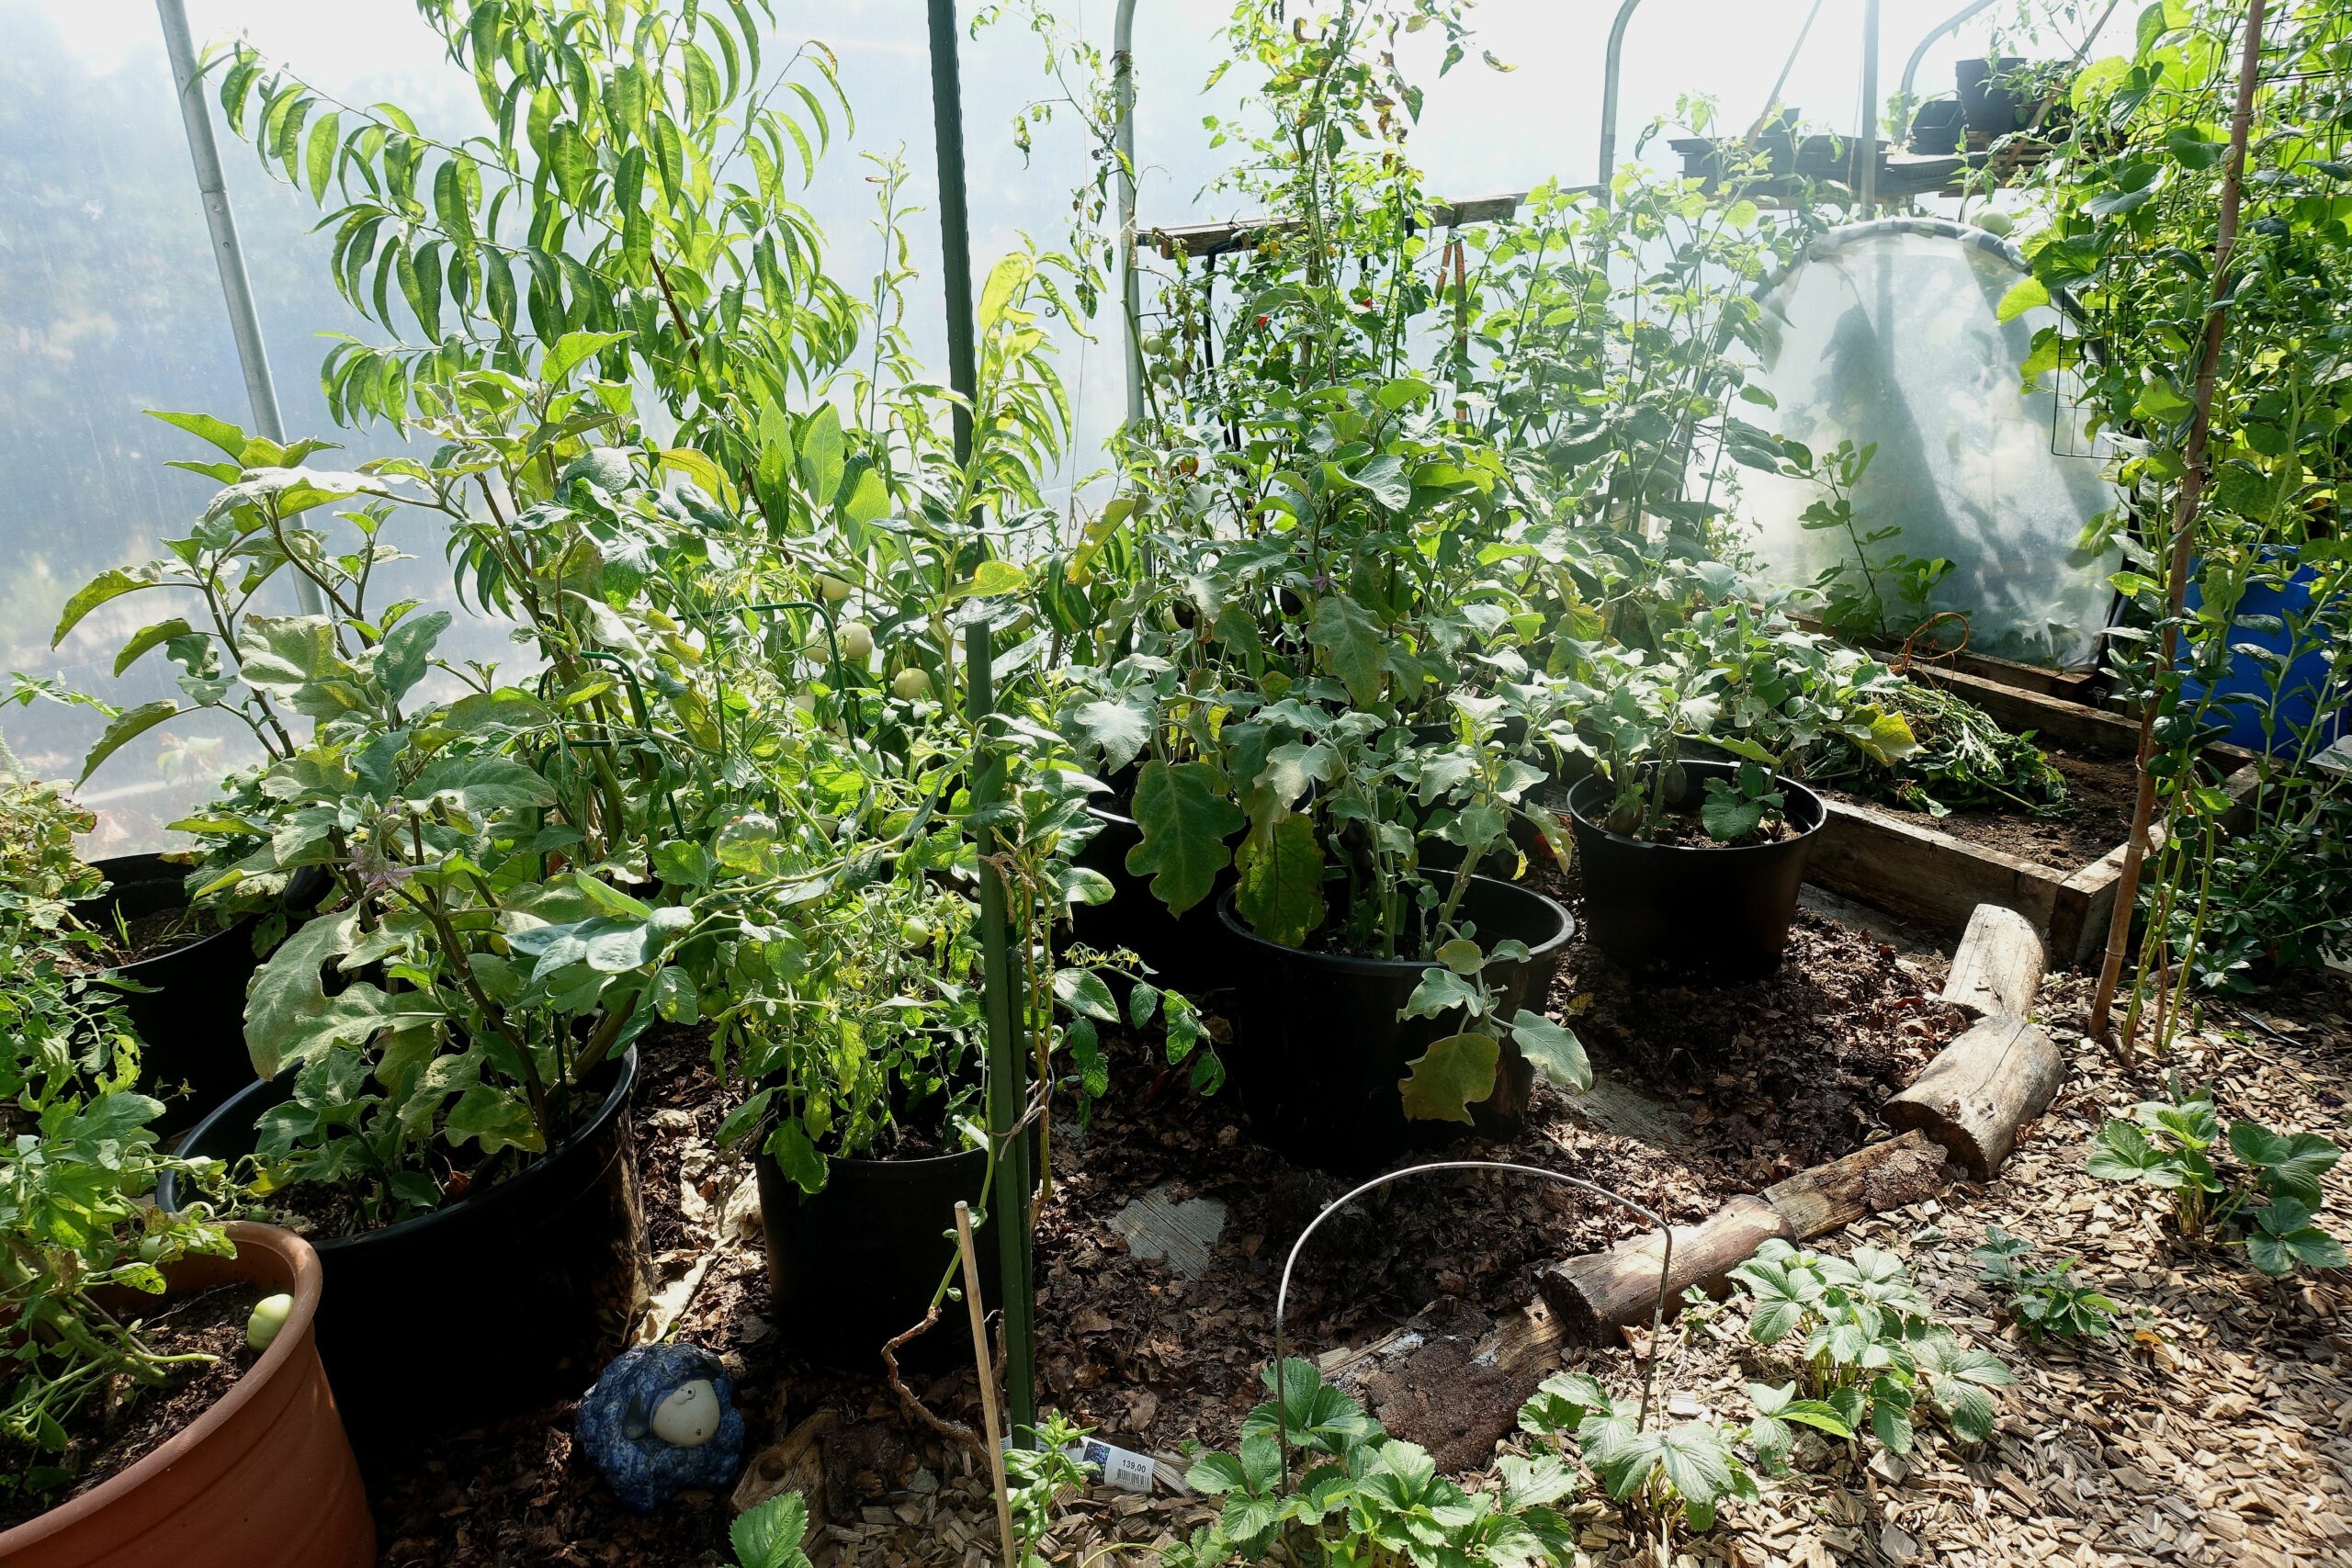
The open spaces around the mulch can still be used for fall sowings of vegetables such as cabbage and lettuce.
Inspired by keyhole gardening
The established beds require a different approach. I need plenty of bare soil for sowing and planting, as well as room for tall summer crops with smaller vegetables growing underneath.
In two of the smaller beds, I created a composting area in the middle. I dug a hole, added a bucket of bokashi compost and covered it with some of the surrounding soil. I then added leaves and other plant material from the polytunnel.
This creates a small composting area directly in the bed while leaving most of the soil available for vegetables. As the material breaks down, soil organisms can gradually incorporate it into the surrounding area.
The method was partly inspired by keyhole gardening, where organic material is collected in a central area close to the crops.
Mulch ridges
In the long polytunnel beds, I build ridges of organic material about three feet apart. These beds hold leafy greens during the colder season and taller, heat-loving plants in summer.
I start with a shallow furrow and add leaves, pruned plant material and other garden waste. The soil between the ridges remains open for sowing and planting. When I prepare a new area, I can also dig bokashi compost into the bare soil between them.
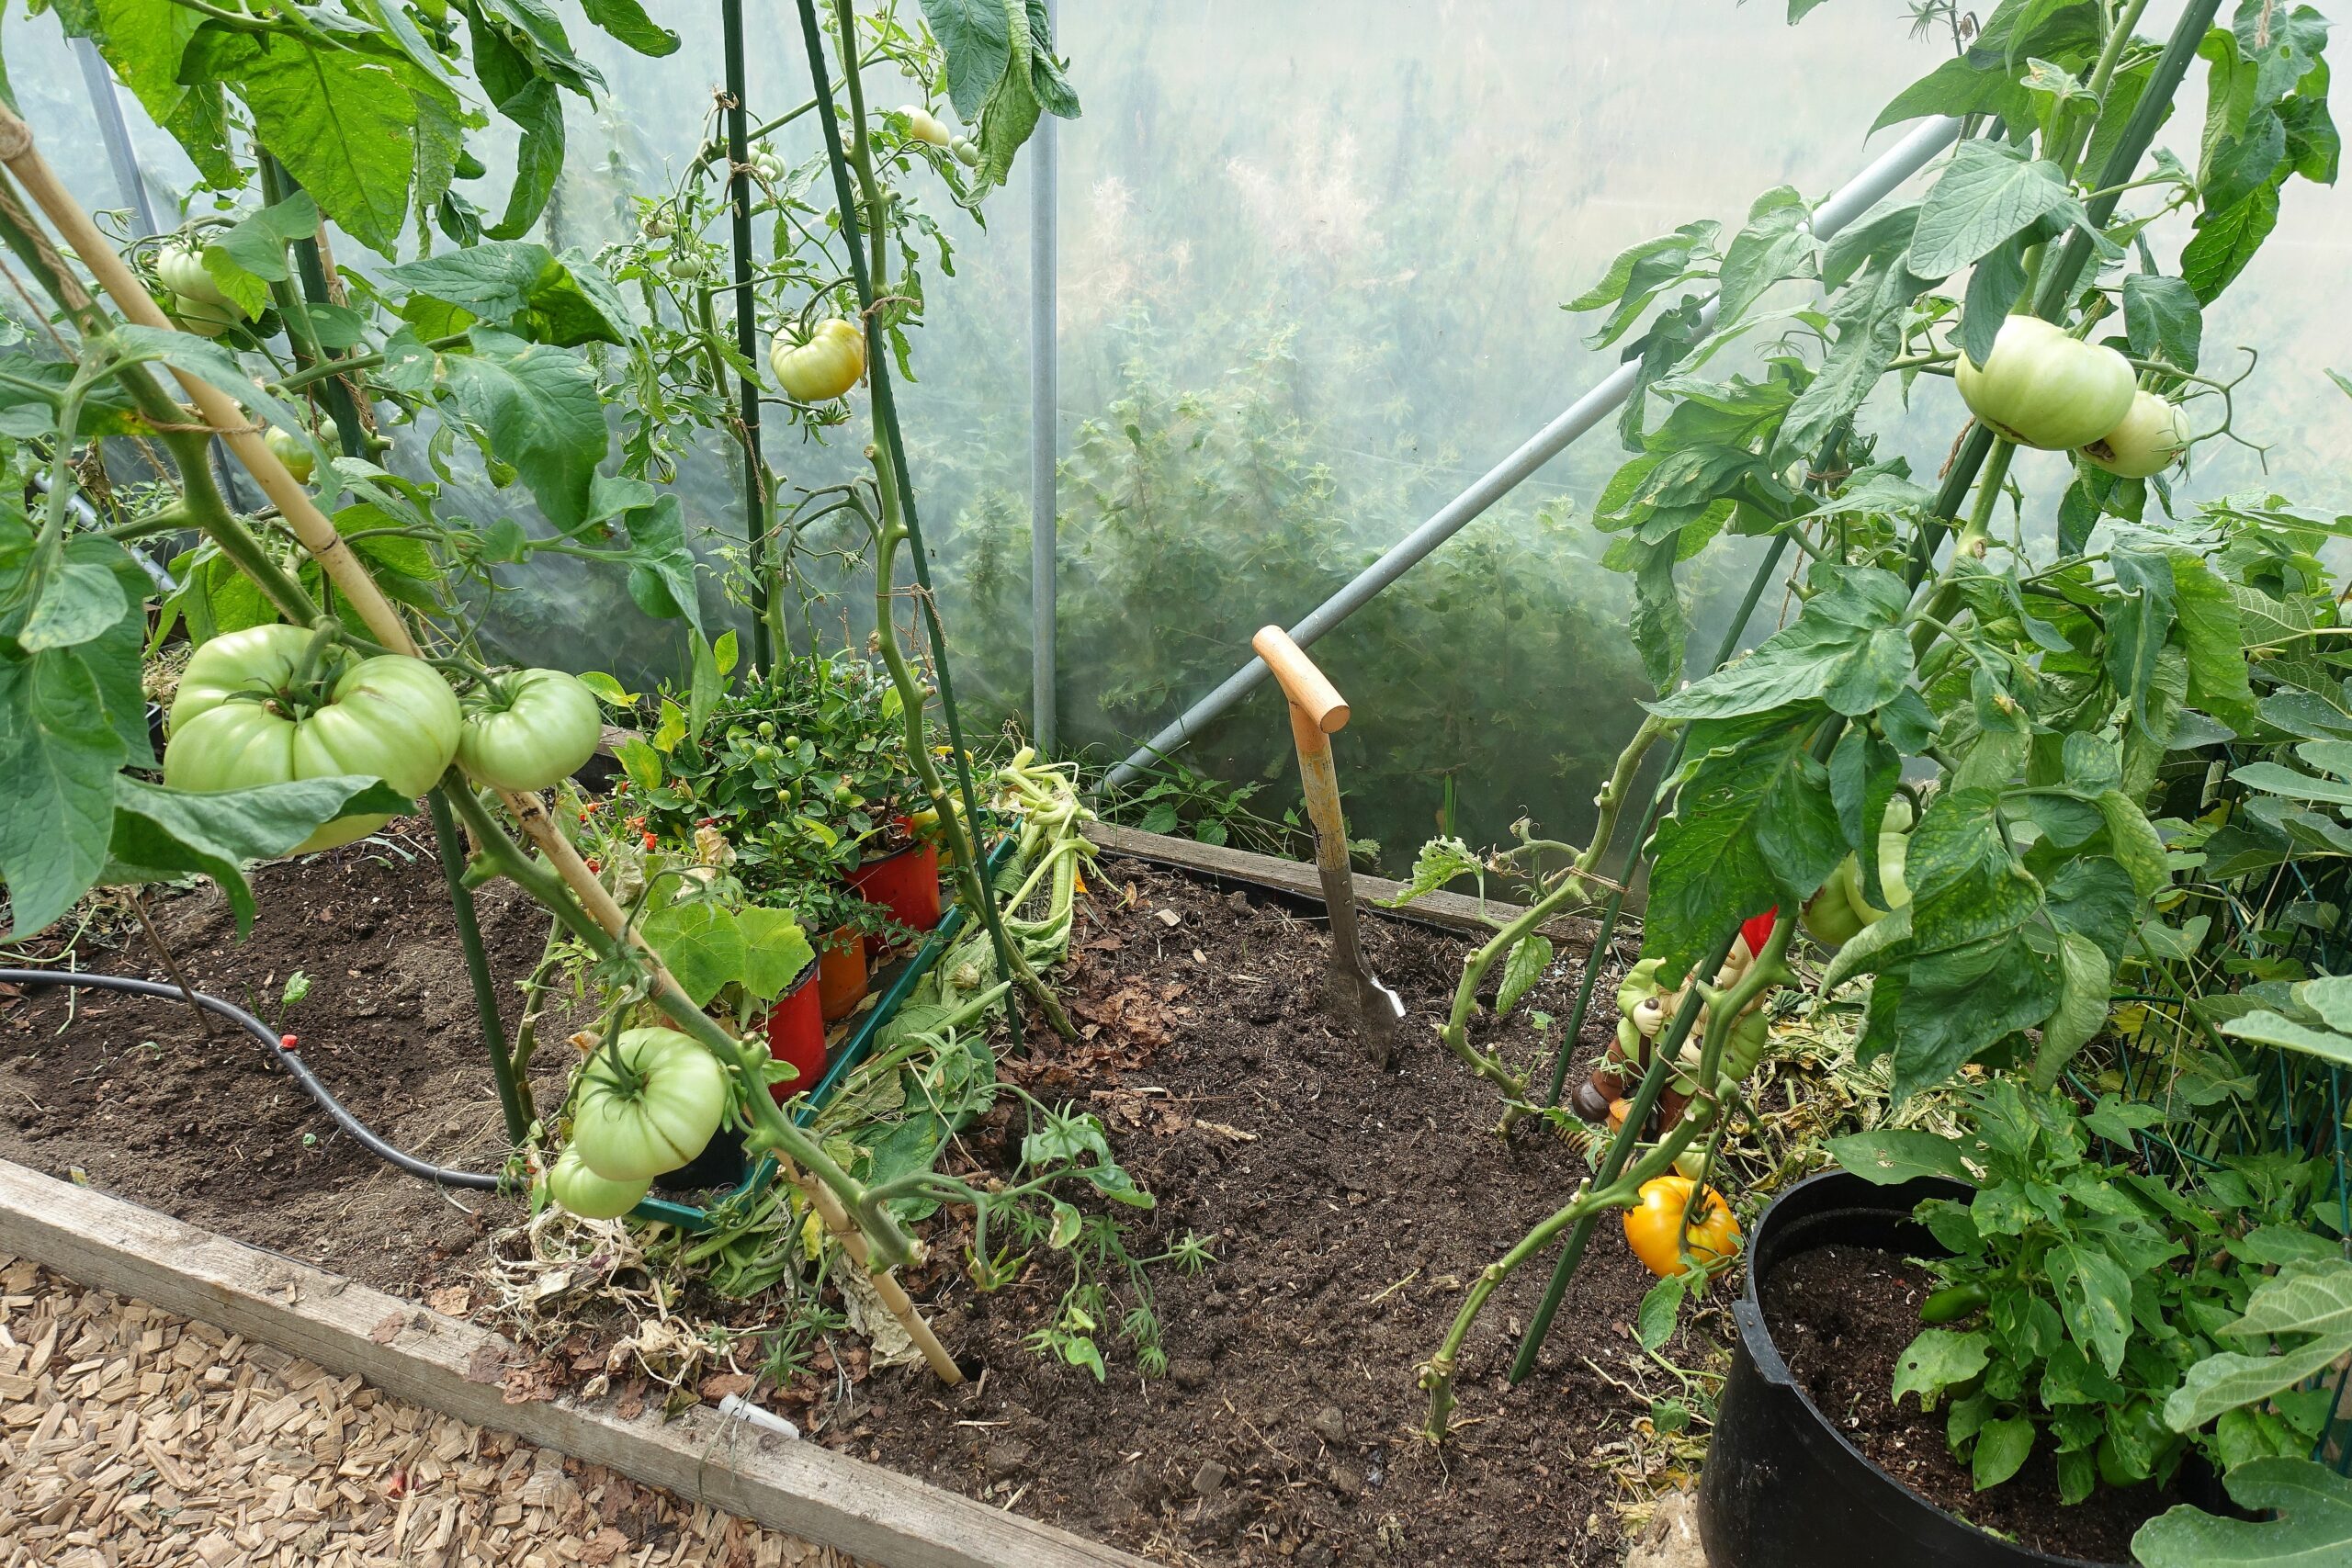
I sow lettuce and winter lettuce in the open soil between the mulch ridges and the tomato plants. During warm weather, I water the area to keep the soil cooler and prefer to sow on a cloudy day, since lettuce can germinate poorly in very warm soil.
Get started!
It is easy to get stuck in the planning stage and worry about every small detail. I prefer to begin with one manageable area, observe what happens and adjust the method as I go.
This approach works especially well with mulch. To build up a mulched bed, you need somewhere to place leaves, pruned stems, grass clippings and other organic material. Once that space exists, it becomes much easier to develop the habit of regularly feeding the soil.
Late summer and fall are particularly useful times to add material because pruning and harvesting produce so much garden waste. I can place tomato and cucumber leaves, stems and other healthy plant parts directly on the ridges.
Over time, further soil analyses may help me see how the beds change as I continue adding mulch.
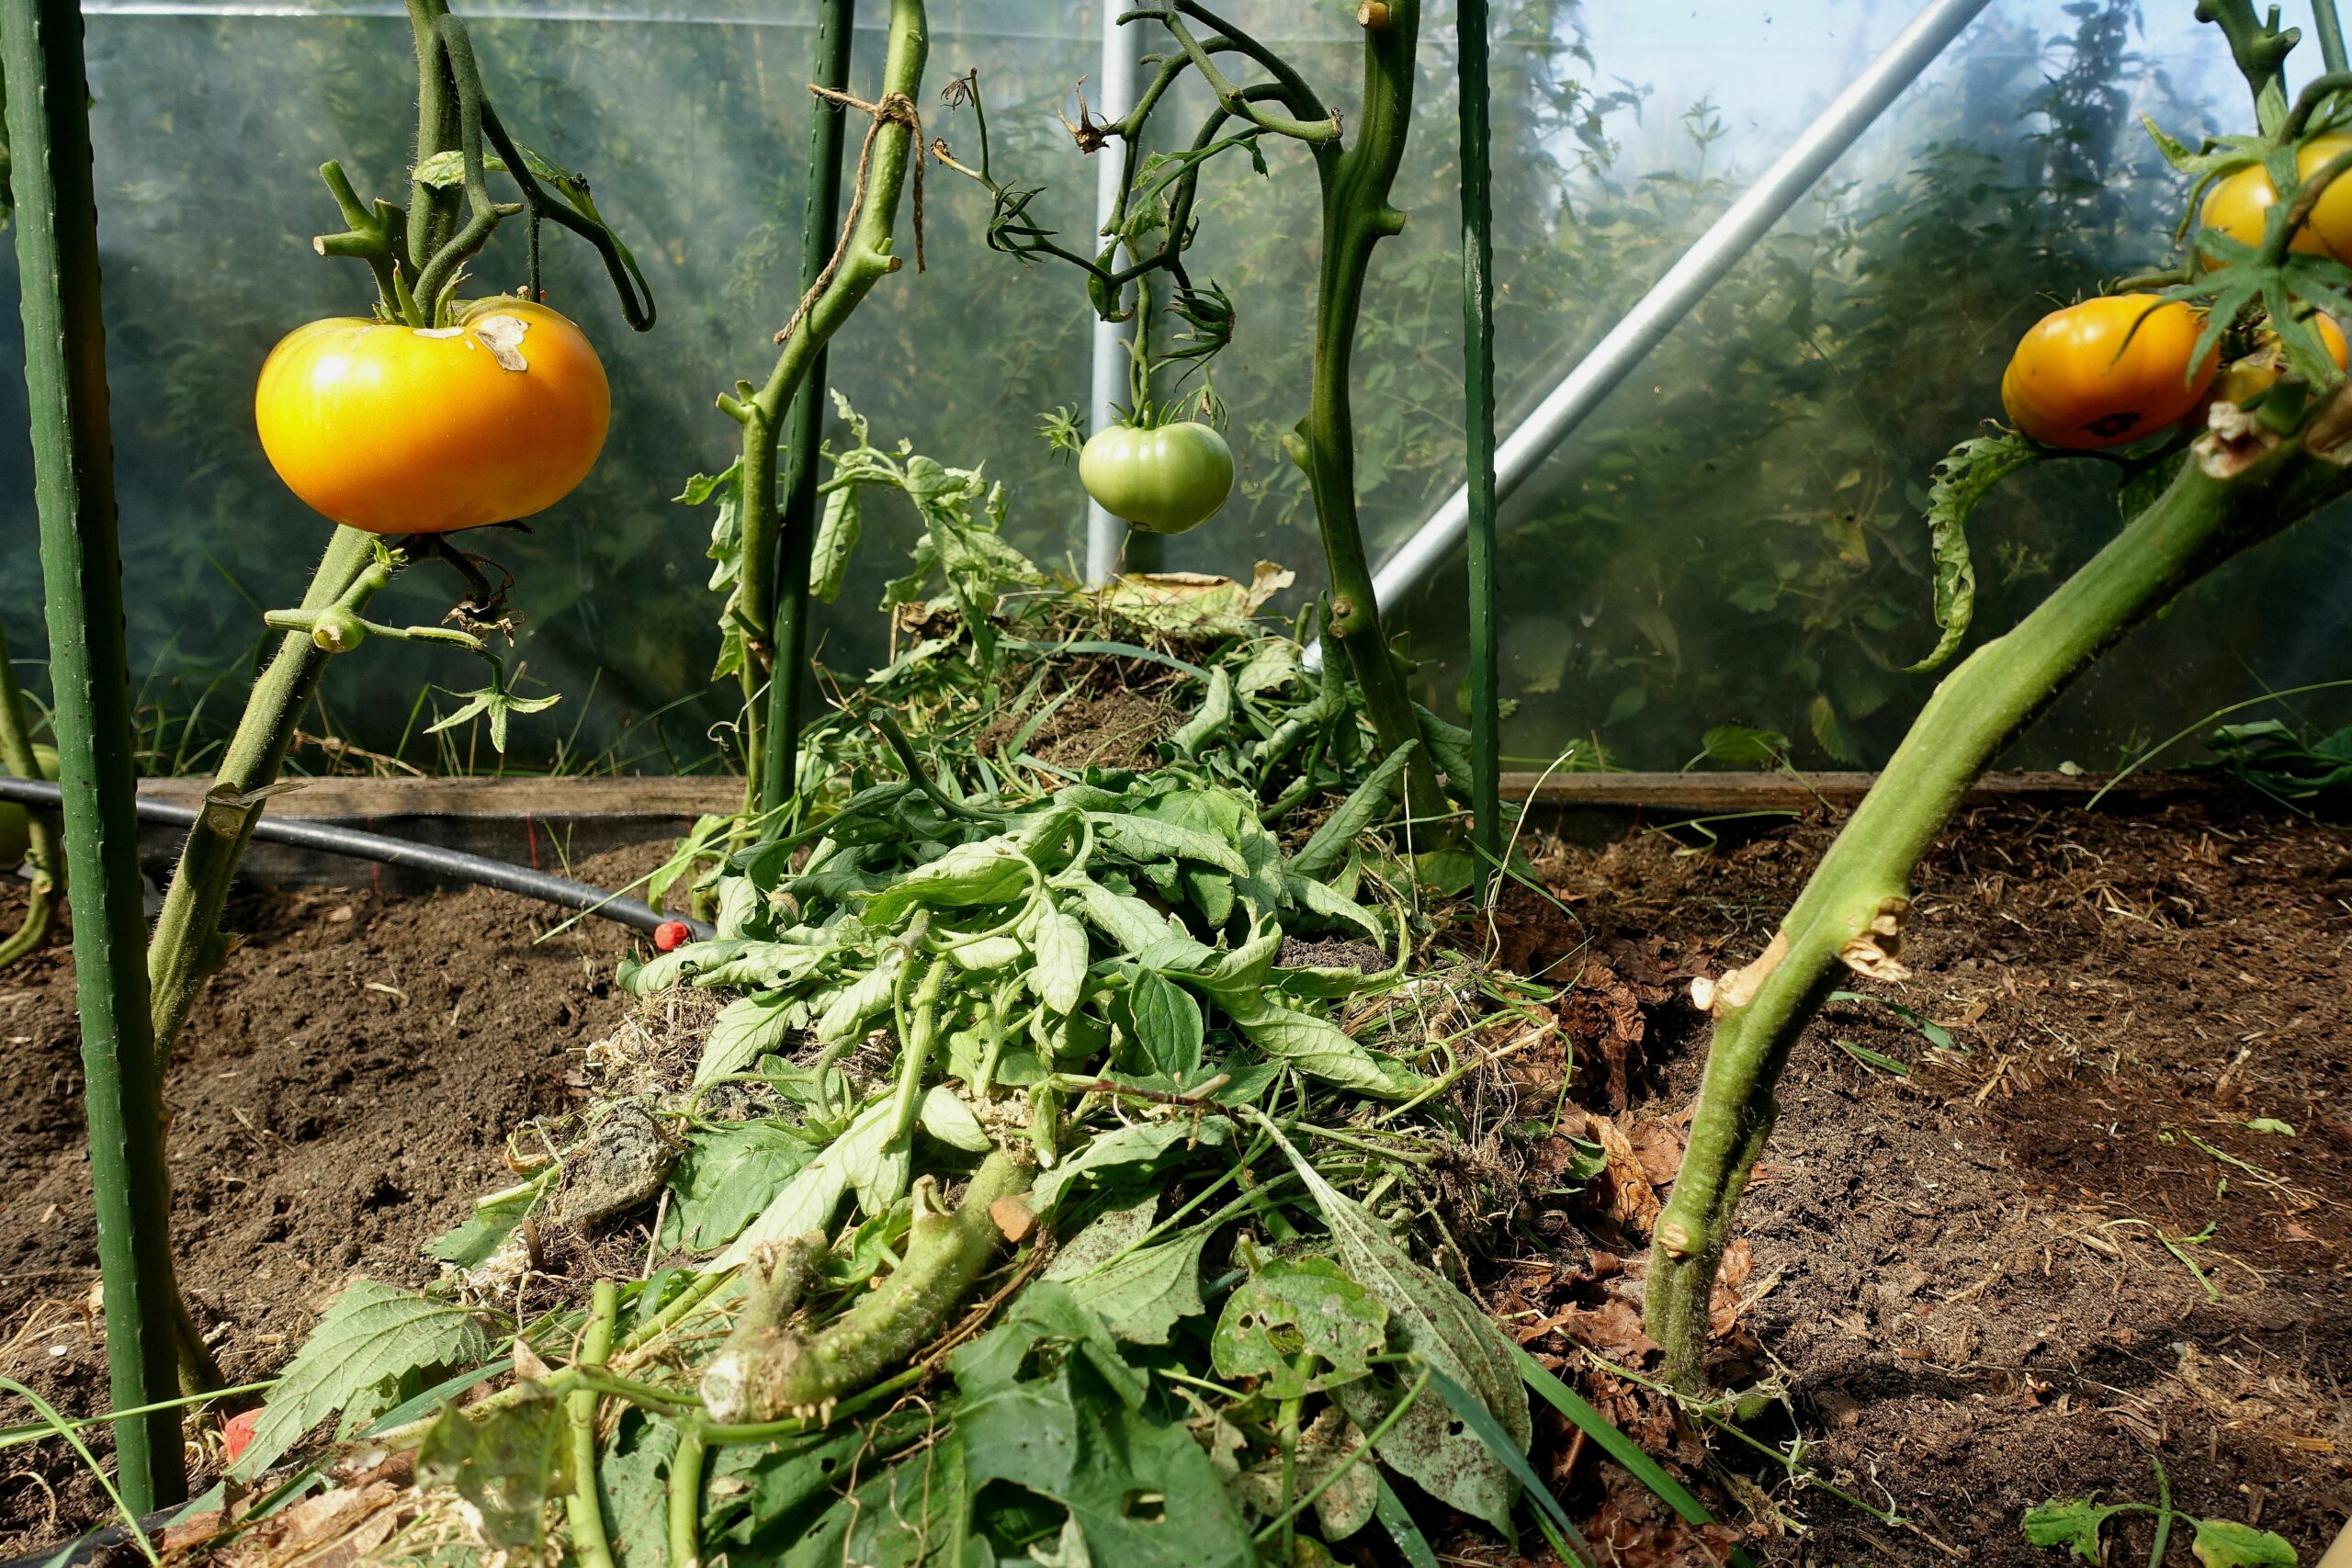
I place the mulch ridges between my tomato plants while leaving open soil around the stems. This is the yellow Brandywine tomato variety.
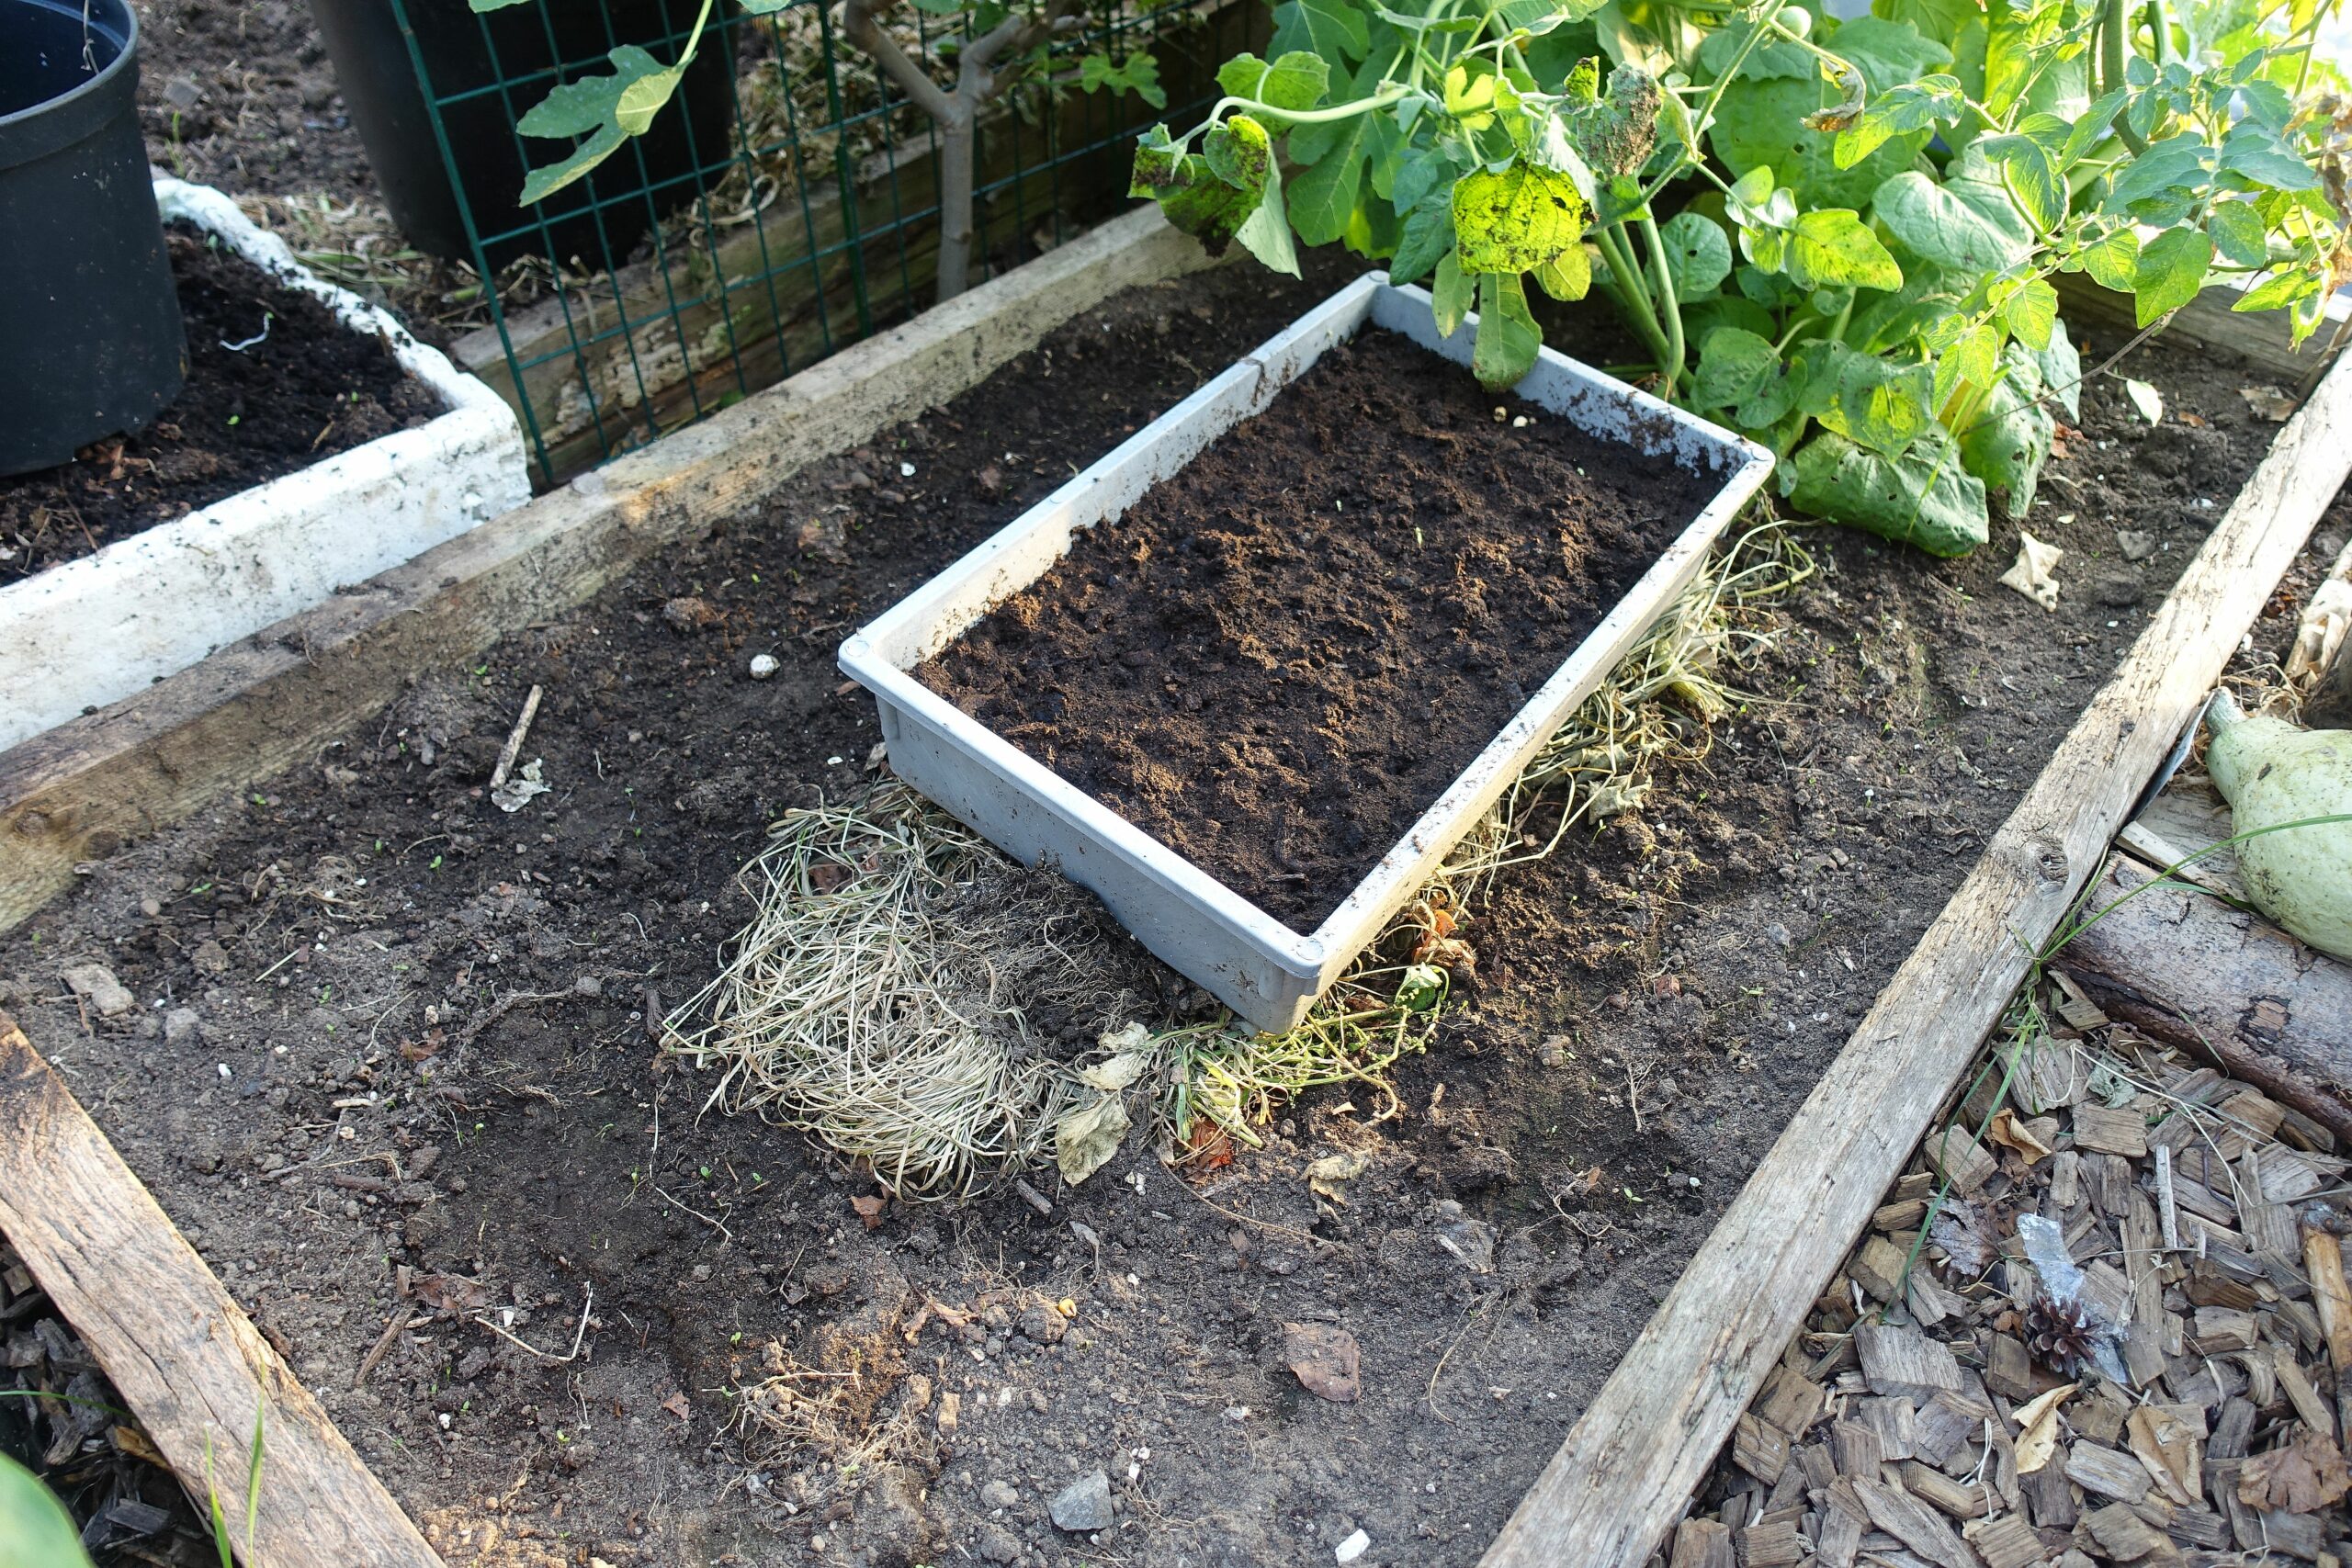
The mulch gradually starts to decompose. I place pots and troughs on top so that excess water can drain into the organic material below. This trough contains pea shoots.
What to expect
Couch grass: One possible challenge is couch grass. I normally remove as many roots as possible when digging bokashi compost into the beds. With surface mulch, the roots are harder to reach, so I need to watch the area carefully and prevent the grass from spreading through the ridges.
Slugs: Grey garden slugs and Spanish slugs are common in my polytunnels, especially during fall. Mulch can provide sheltered places for them, so I regularly check beneath the material. Keeping the mulch in defined ridges may make it easier to inspect and manage than covering the entire bed.
Amount of material: Another challenge is taking on too much at once. A large mulched area requires plenty of organic material, so it makes sense to begin on a smaller scale and expand only when enough material is available.
I'm really excited about mulching my polytunnels more like this in the future too. Have you tried using mulch in your polytunnels too? Let me know in the comments below!
/Sara Bäckmo
19. September 2021
Leave a Reply
You must be logged in to post a comment.