How to make a no dig garden bed
Watching my mulched beds take shape right on my lawn makes me so happy. I just love how nature takes care of things in its own time, all I need to do is give a helping hand. This is how I create my no-dig flower beds.
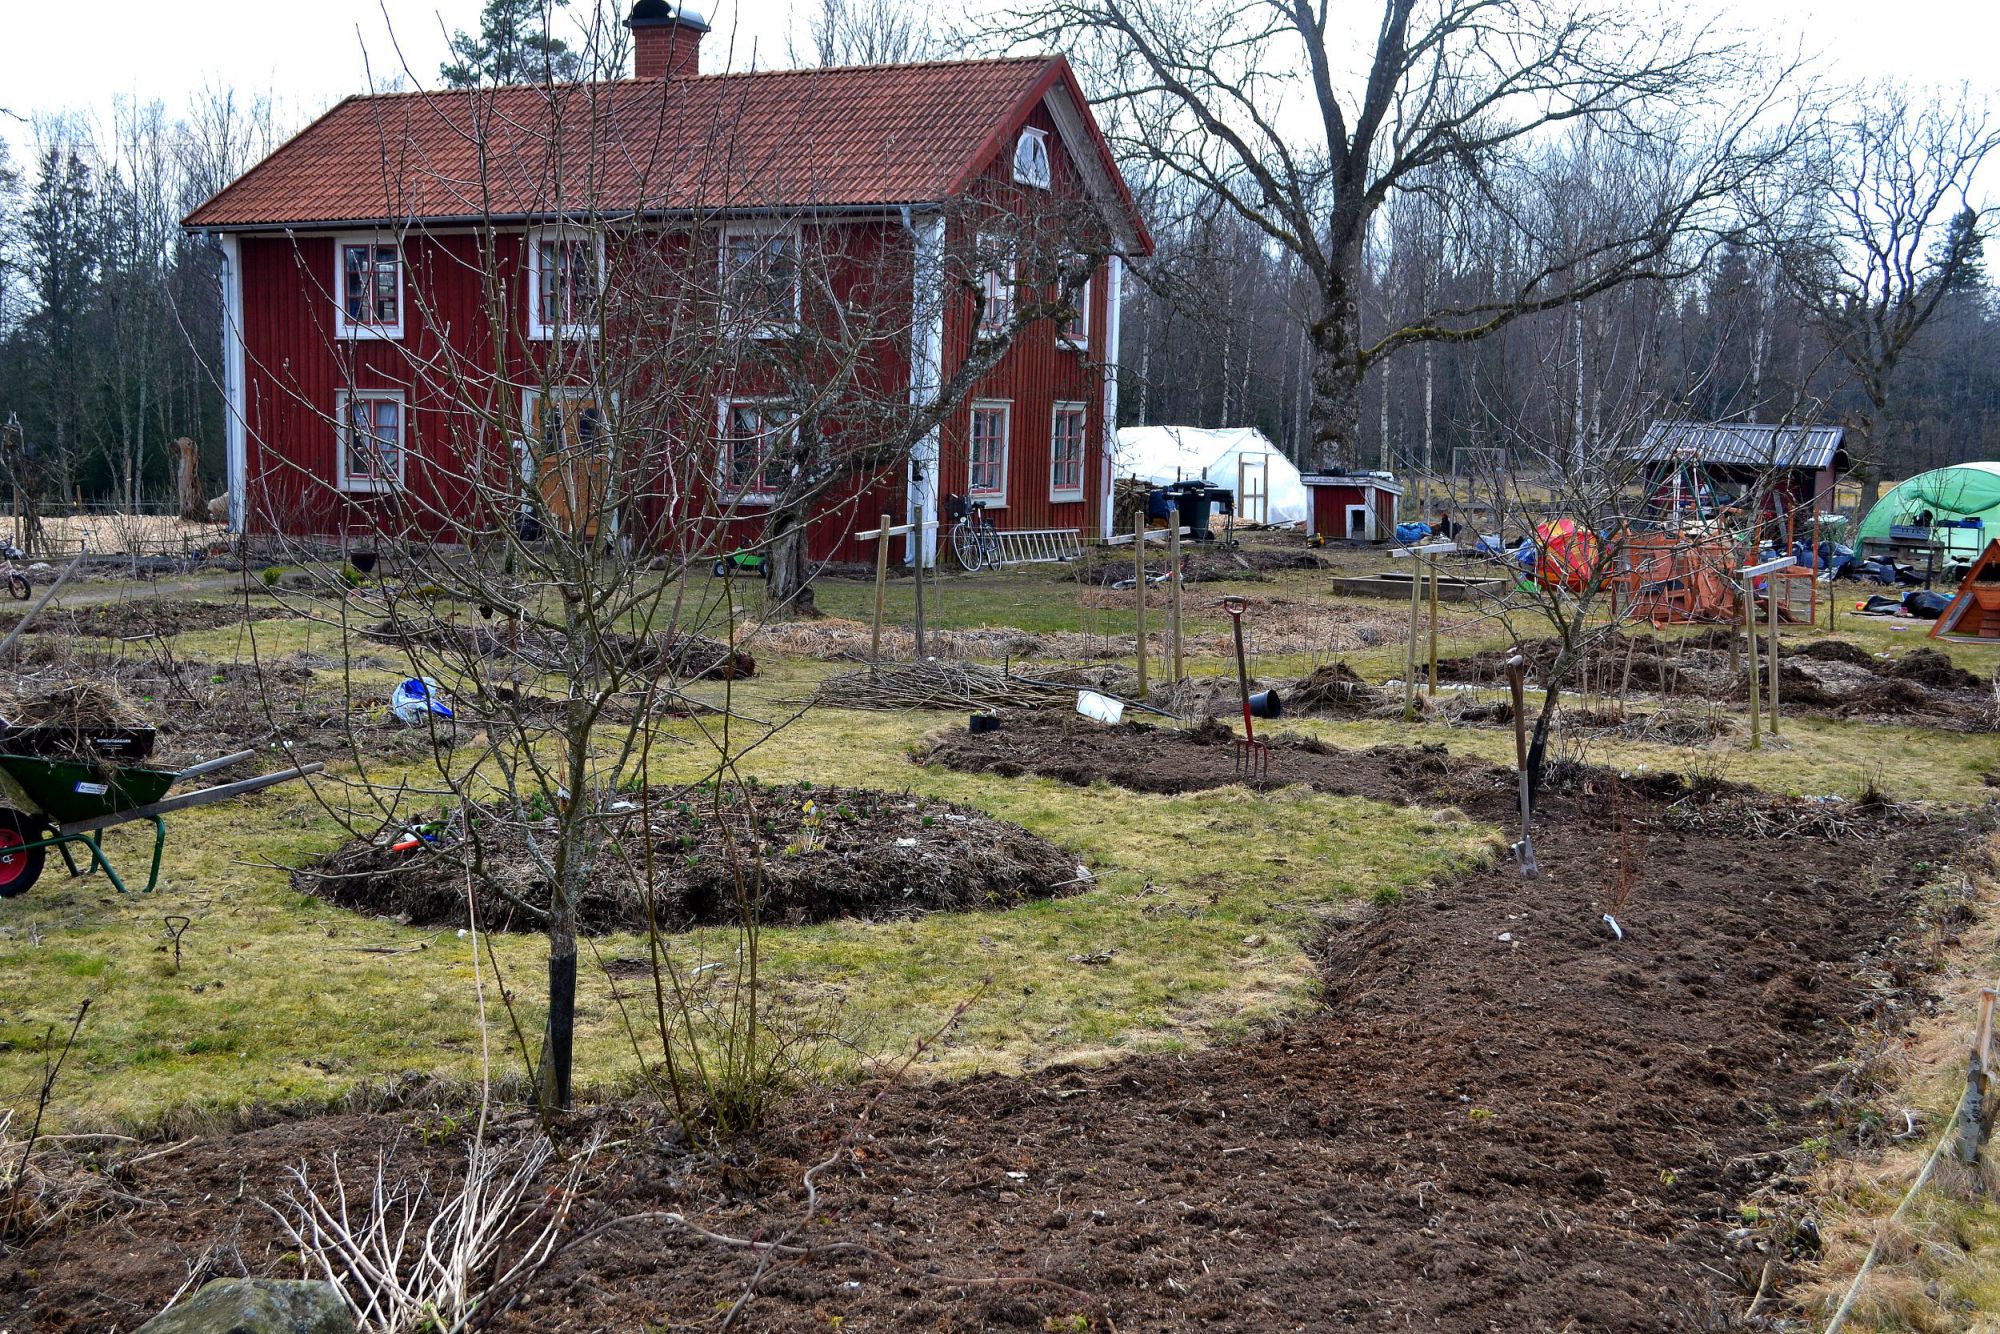
My no-dig flower beds directly on the lawn.
Many of my readers have requested that I talk a bit more about the perennial flower beds I'm building in the top section of the garden. I decided to go for flowers up here, even though the beds are perfect for vegetables too. There's plenty of nutrients and soil in this area of the garden.
I wanted to create these spaces in the simplest way possible, with minimal digging. It takes about 3 years to make a no-dig bed for flowers and to transform into soil, but since I build new beds every year, there are plenty of options for me to grow in. I'm letting the process take time, just like nature intended.
Subscribe to Sara's Kitchen Garden on YouTube here
Year 1 – 2014
I had already started by building a few raised beds, but it was time for the two largest ones to take shape. I decided to map out the bed with a hose and I also created a little ditch around the future no-dig flower beds.
Pieces of sod were placed upside down along the edges. Then I covered the entire area with newspapers (with non-toxic ink) and cardboard. After that, I put thick layers of silage, leaves, grass clippings and similar on top. Then it was time to let the bed rest over winter.
Read more: No-dig gardening: Creating new raised beds
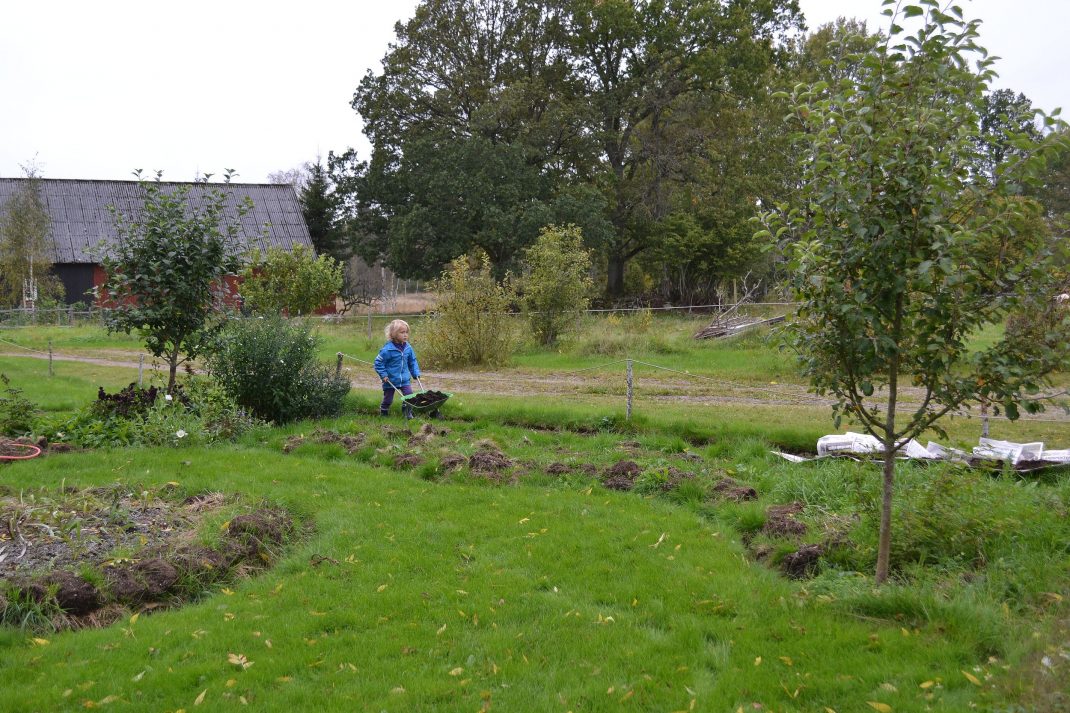
I dug a little ditch along the edge between the lawn and the new no-dig flower beds (right by my son.) Leftover sod was placed along the edge, mostly just because I needed somewhere to put them.
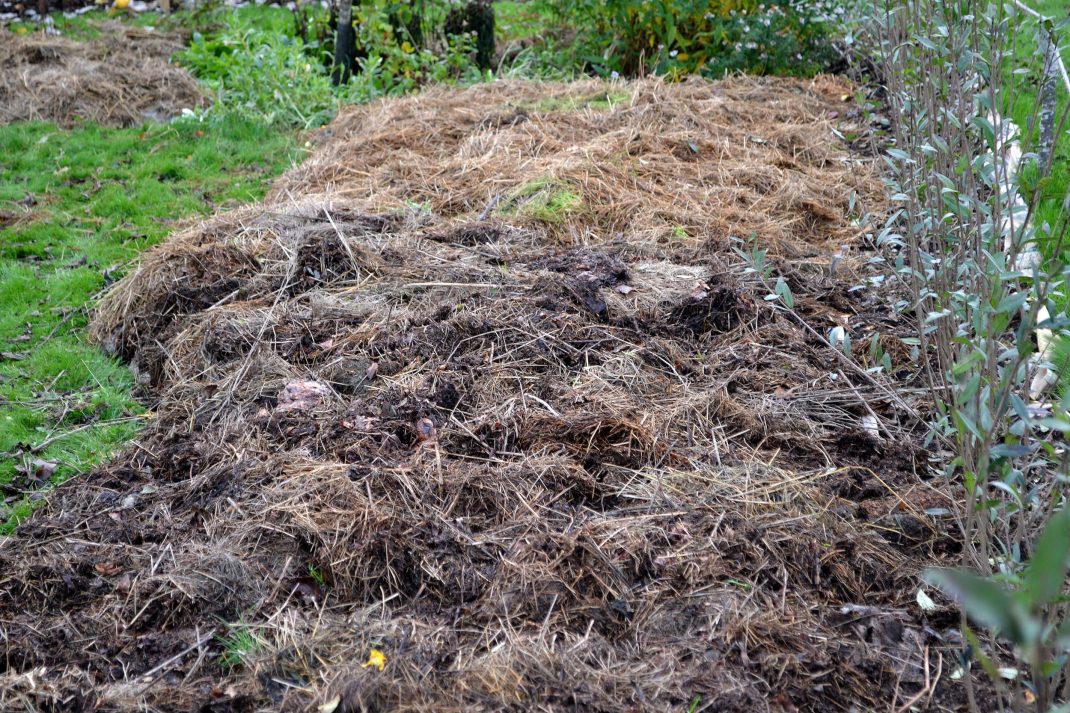
After planting a privet hedge, I covered the entire no-dig flower bed with newspapers, cardboard and plenty of organic mulch.
Year 2 – 2015
I planted pre-sprouted potatoes in the mulch on this bed.
Read more about flowers: Growing annuals from seed
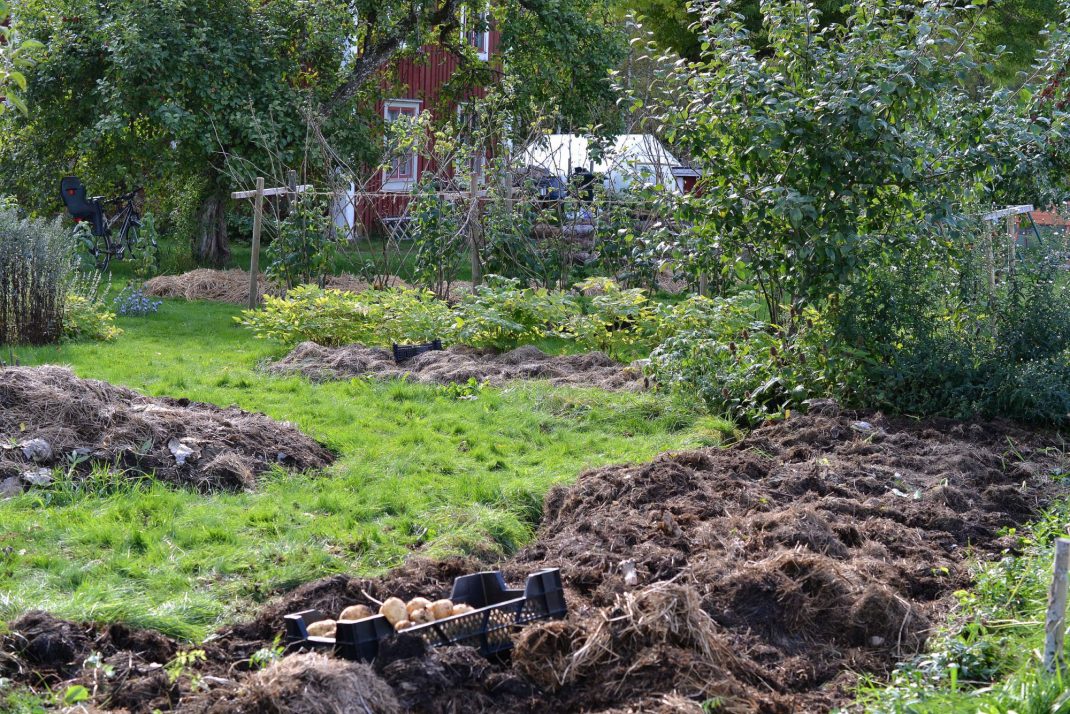
It might not look like much has happened with my beds this year, but the mulch and the sod are breaking down more and more. The picture was taken when I harvested potatoes in fall.
Year 3 – 2016
I raked together everything that was left of the mulch and put it on another, similar bed. There is plenty of lovely soil underneath the top layer of mulch. Some of the sod might still be there, but the layer of soil is thick enough to grow in. I mixed seeds for white and bright pink and yellow summer flowers that I then started broadcast-seeding on the surface. When these flowers have wilted in fall, it's time to plant the perennials in my no-dig flower beds.
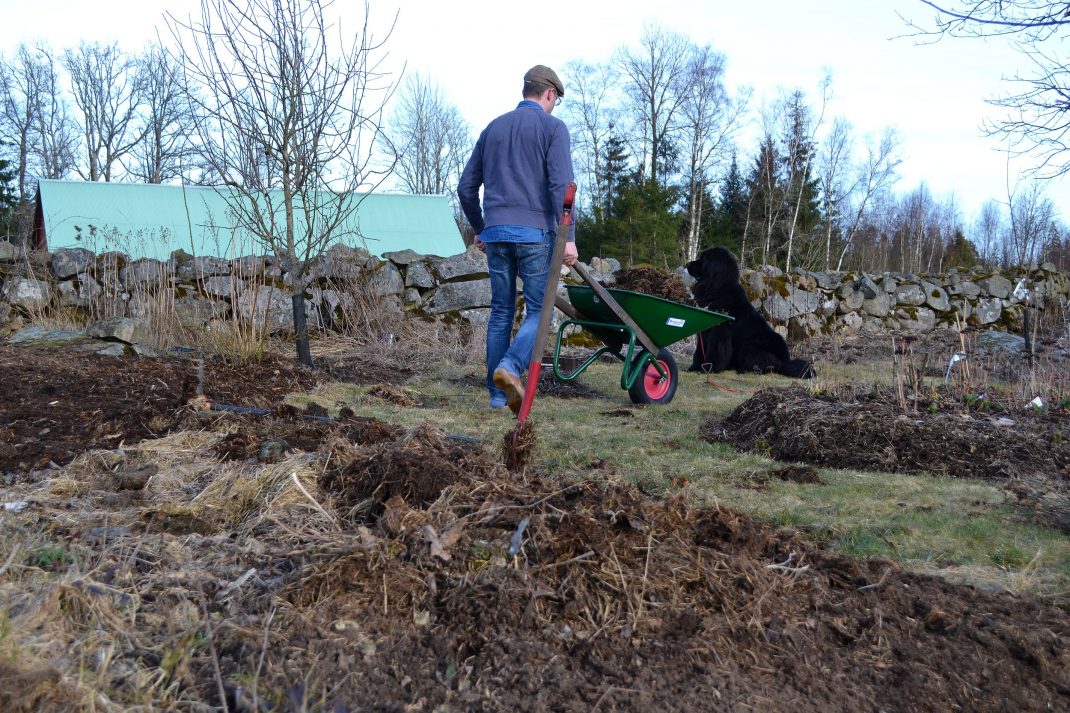
My husband Philip helps me remove the mulch that hasn't decomposed yet.
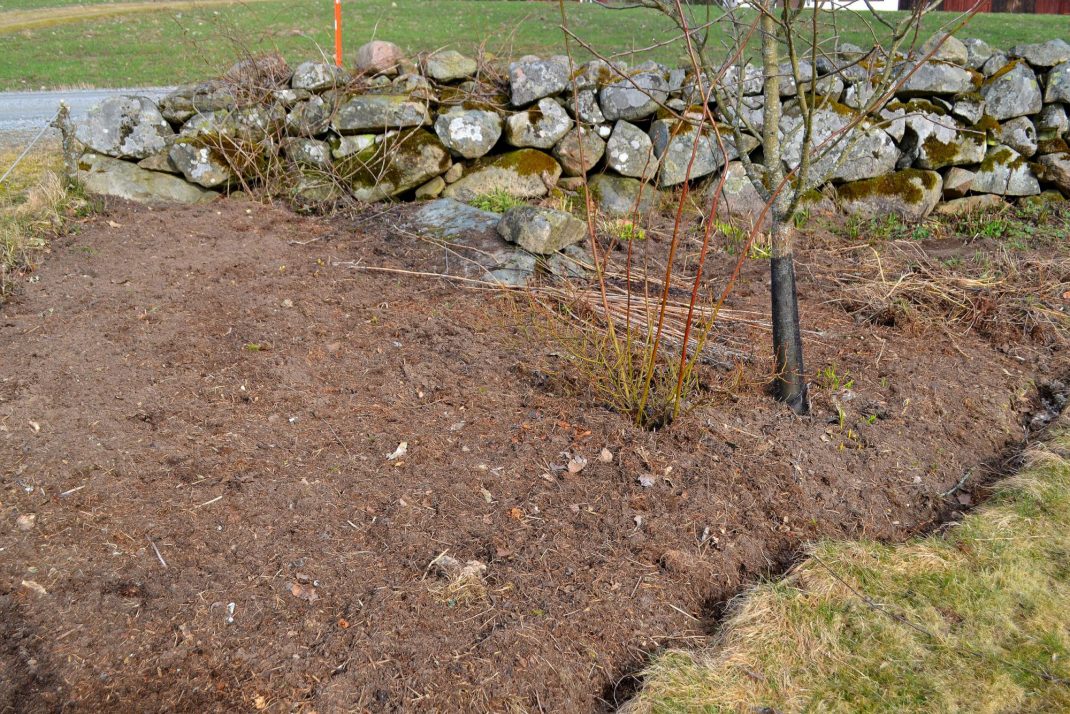
Look at this beautiful soil under the mulch! I made this bed with the no-dig method, I only dug a little ditch around the bed, next to the lawn. It's time to sow summer flowers right here in the soil. I'm looking forward to seeing a beautiful flourishing bed here in the moonlight.
I started planning my beautiful white area in the garden, a moonlight garden. It looks so lovely against the stone wall in the evening sun and on clear, moonlit nights. When the wild privet shrubs start to grow, it turns this space into a private little sanctuary where I can drink my evening tea in peace.
Summary no-dig garden bed
Year 1, fall: Cover the new beds
Year 2, spring: Grow potatoes, squash or other vegetables straight in the mulch
Year 3, spring: Direct-sow summer flowers in the new soil
Year 3-4: Plant perennials and bushes (or grow more vegetables)
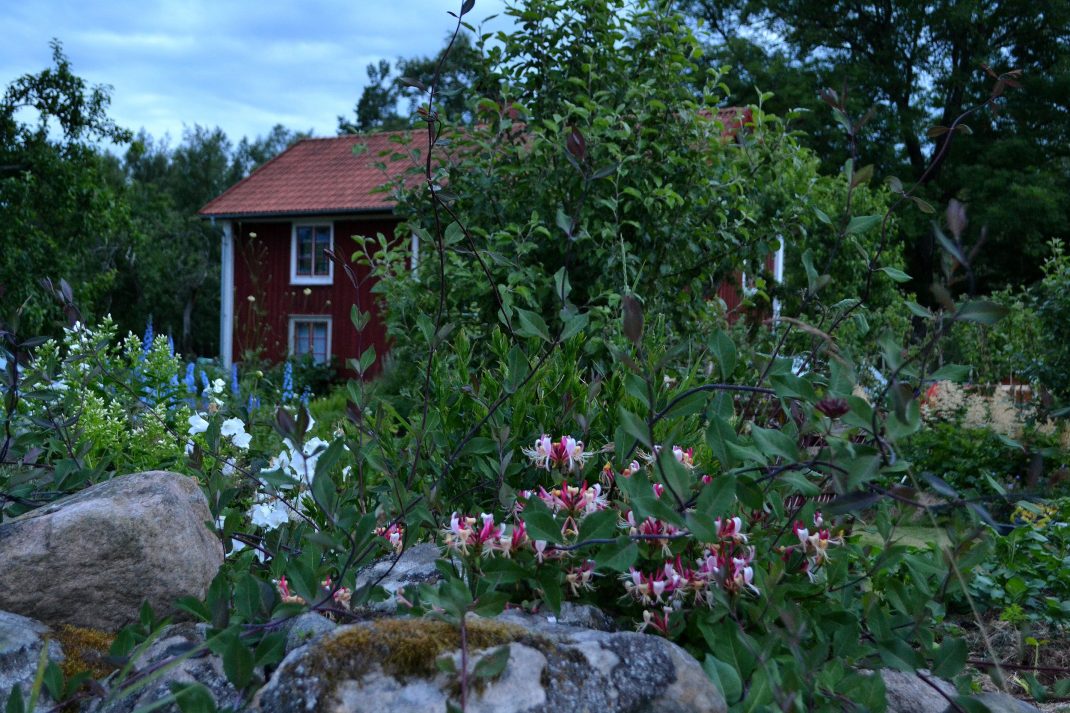
For many years, there were no flowers in this spot. I decided it was time to create a beautiful flourishing oasis here. This picture of honeysuckles and rambling roses was taken in my favorite season in 2015.
Starting beds with the no-dig method
As you can see, it's completely possible to create large growing spaces without having to do much digging at all. You need to do some work of course, like adding the mulch and doing the upkeep. But I don't really need to do any digging, or spend money on new soil. And I'm really happy about that!
I have been creating no-dig beds in a series of articles here on the blog I call Starting a small vegetable garden. This is the perfect guide for beginners who want to get started on their own kitchen garden at home. Check it out!
I usually try to build a few new large mulched beds right on my lawn every year. My flower beds are starting to take shape! And I just love watching my favorite place in the world grow greener all the time.
/Sara Bäckmo


Leave a Reply
You must be logged in to post a comment.