Soil blocker: Starting Seeds Without Pots!
A soil blocker helps you create perfect little cubes of soil that you can use to start seeds in. No need to buy seedling pots, that is!
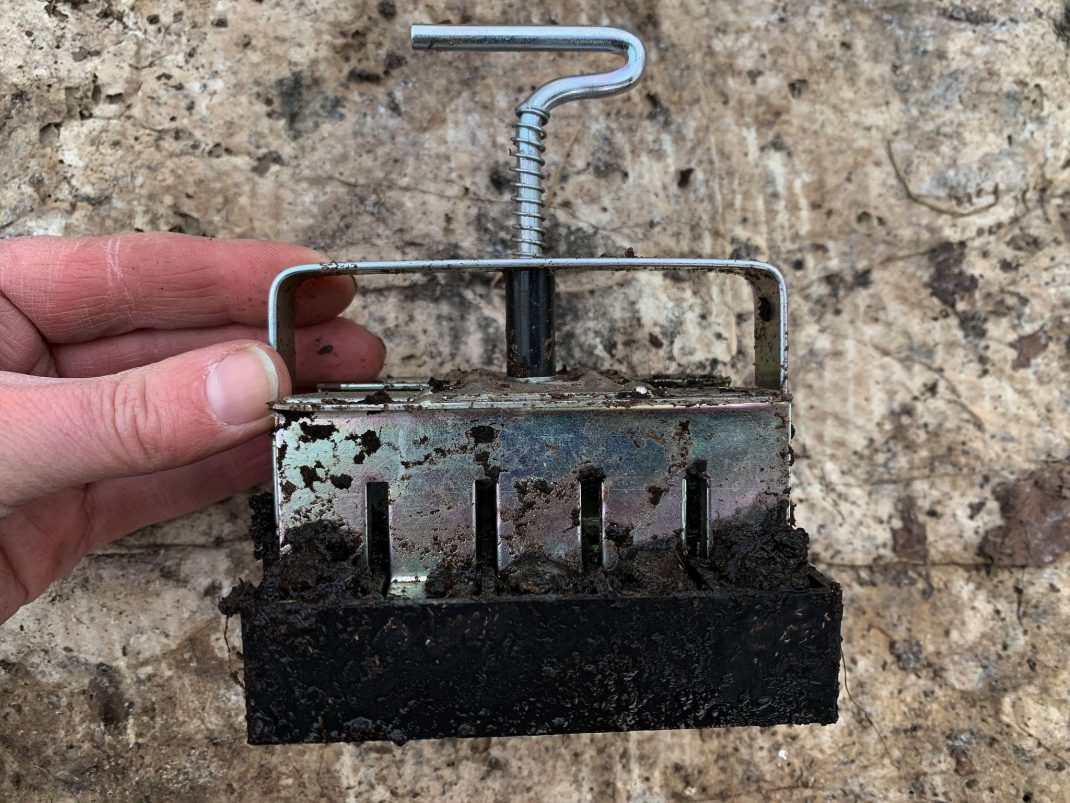
This is what the Soil blocker Micro 20 looks like, and it creates 20 little blocks at a time.
Writing this blog post has been on my mind since 2014, when I bought my first soil blocker. A local gardening company here in southern Sweden had just ordered plenty of new English gardening products. This one particularly sparked my interest! I used it for my indoor projects for two years and even watched Monty Don test it in the popular show Gardener's World. The soil blocker recently resurfaced in my life when I was cleaning and found it in a drawer. So, I wanted to give it another try! It might not be the most practical solution out there, but I do think it's very useful and want to learn more.
More: 10 Vegetables you can grow indoors
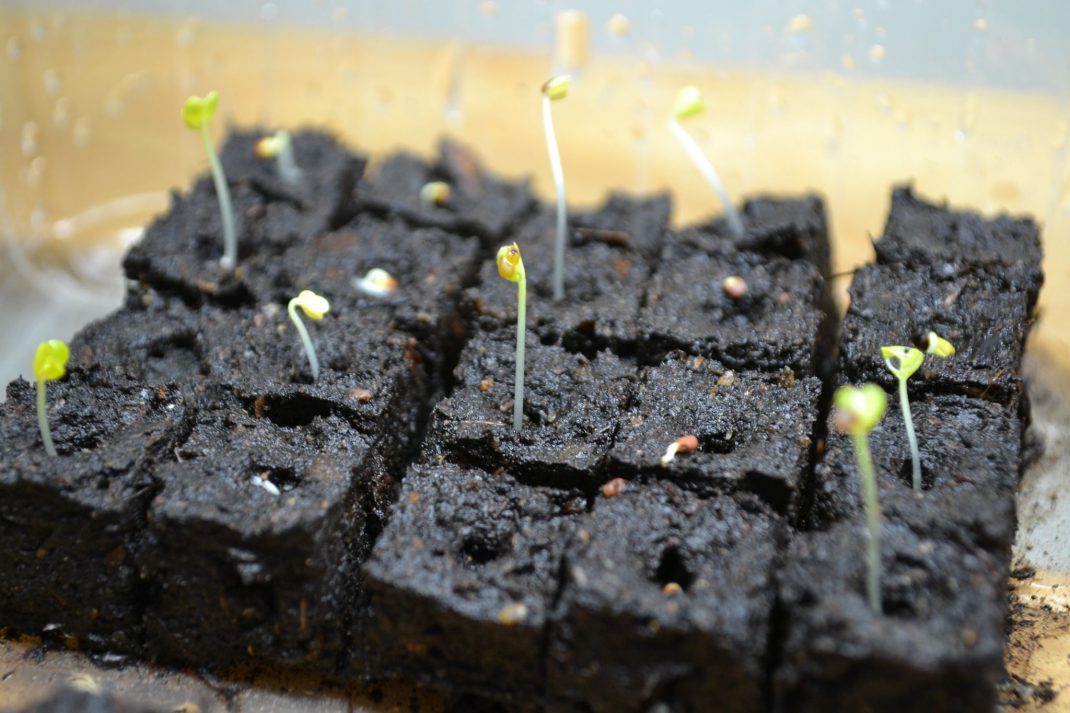
My very first tomato sowing in a soil blocker, in December 2014.
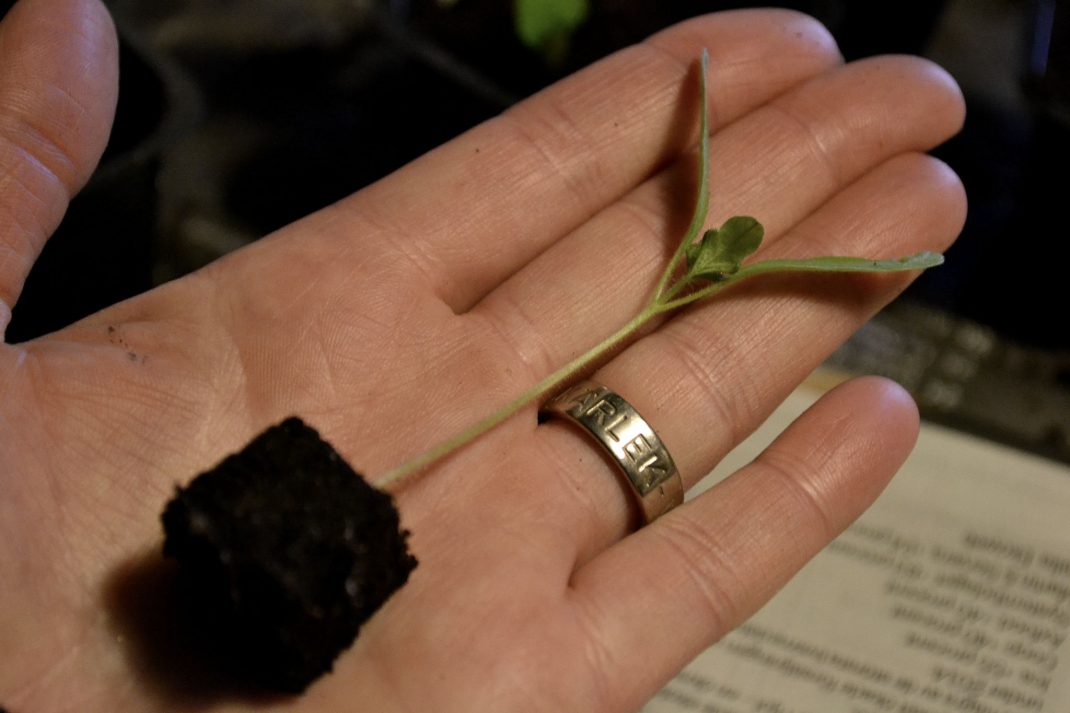
A small tomato seedling that I can transplant into a larger cube, in January 2015.
What is a soil blocker?
So, what is it and how does it work? Well, this handy little tool simply creates little blocks of soil or peat. It's simply put a metal frame with individual cells that you push into wet soil or peat. You can then put the blocks on a trough or a tray, and then sow your seeds in the little soil squares. Just move the sowing to larger blocks of soil when the plants start to grow. This is such a simple and efficient way to transplant, which is one of the reasons why I like using a soil blocker.
The soil blocker is relatively cheap and I think it's a worthwhile investment. But you need to practice to get the knack of it.
More: My favorite tools for growing indoors
Using a soil blocker in wet soil
The little blocks of soil turned out to be quite sensitive without a pot, and they can dry out easily if you don't keep an eye on them. That's one of the reasons why I haven't been using them that much these past few years, I just haven't been able to supervise my blocks accordingly.
I also found it a bit difficult to make the wet soil mix indoors while also trying to breastfeed my baby at the time. I kept getting interrupted and something else always seemed more important when I was done. By then, I just had to deal with a bucket of wet soil in my house. So, I lost the routine and just kind of gave up after two years.
My soil blockers
Things are different now though and I want to start using my soil blockers again! These are the ones I have right now:
- Soil blocker Micro 20 - makes 20 little blocks around 1 x 1 inches large (ca 2 x 2 cm.)
- The Soil blocker Mini 4 - makes 4 larger blocks, around 2 x 2 inches large (ca 5 x 5 cm.)
- Soil blocker extra tool for Mini 4 - this insert for Mini 4 makes little holes in the larger cubes which the small cube fits into
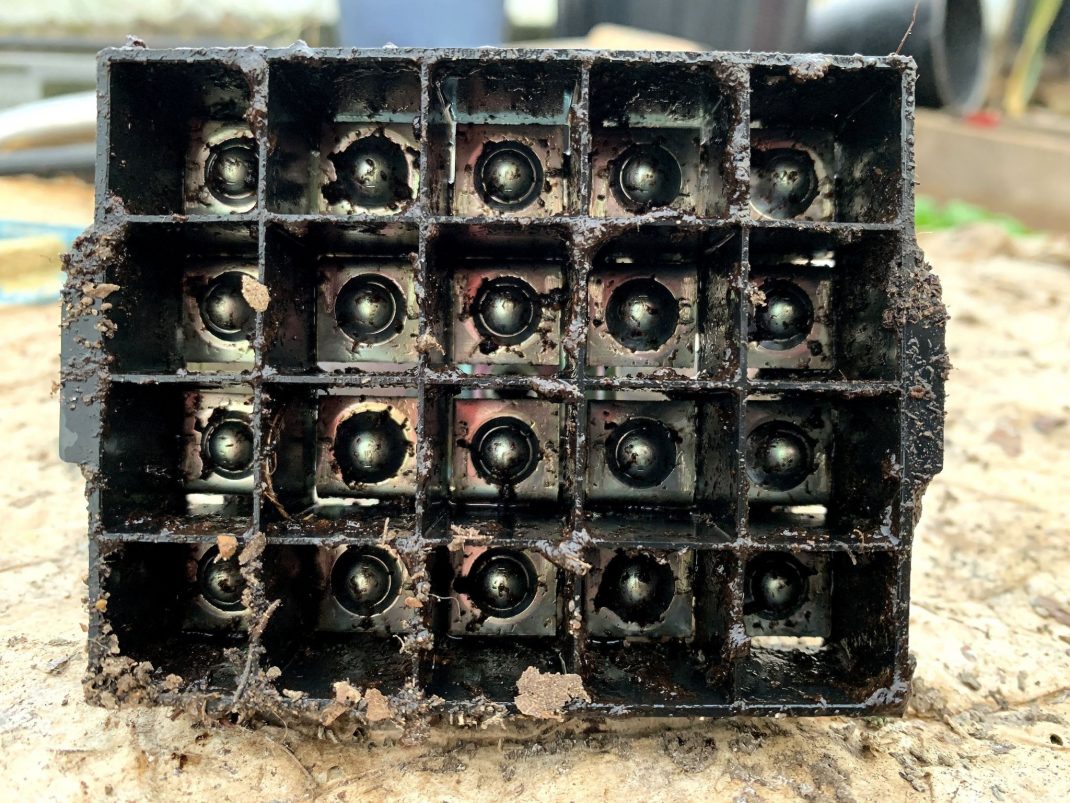
This is what the tool looks like from underneath. A little hole is created in every cube, so that you can sow your seeds in there.
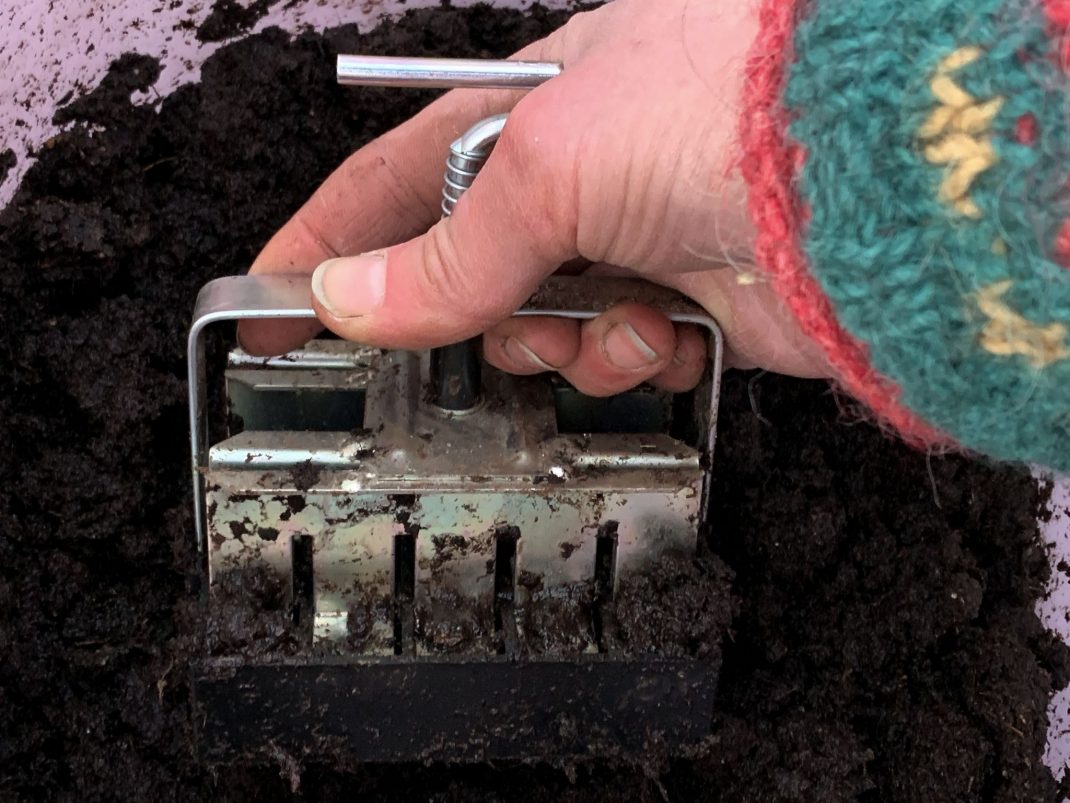
You just push the soil blocker into wet soil to form the cubes.
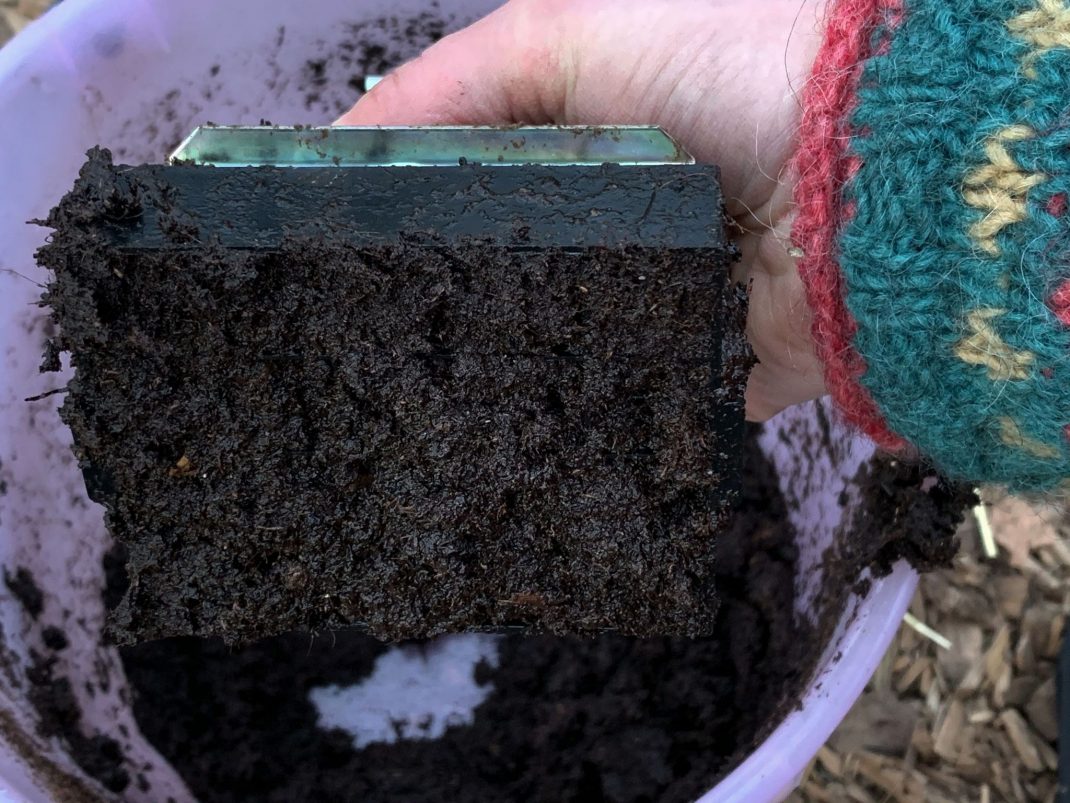
You might want to turn it over to make sure that all the blocks are intact and the cells are filled with soil.
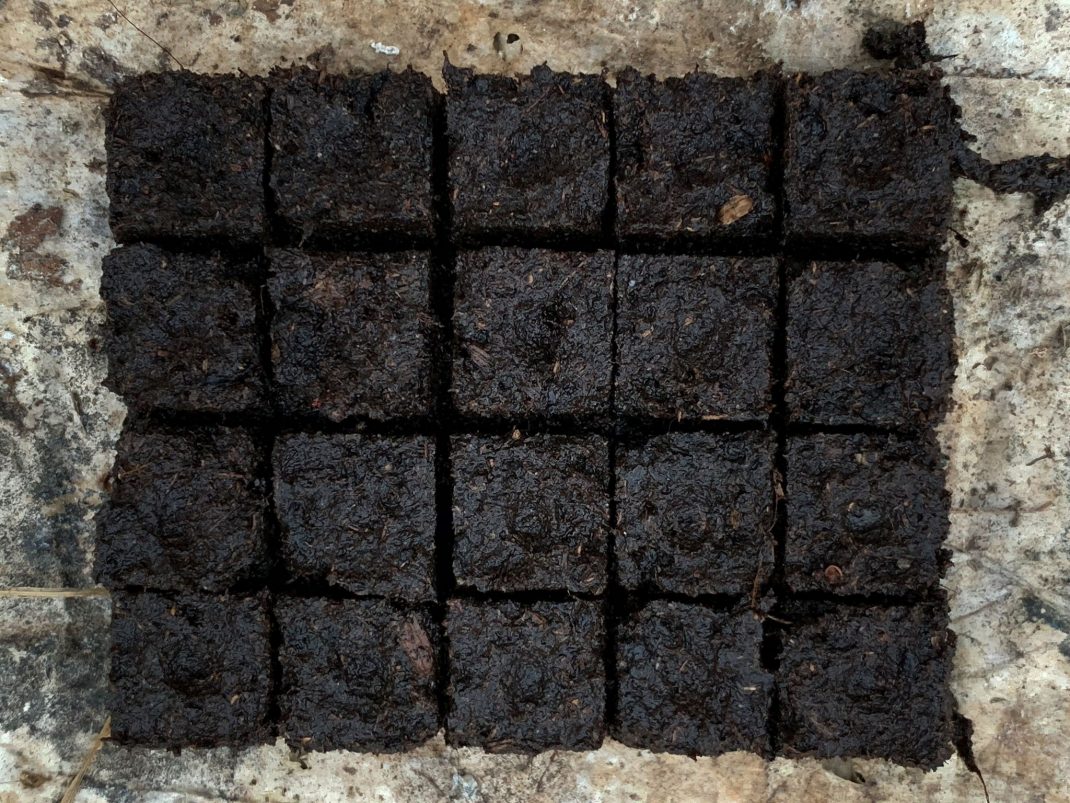
Here I have a little collection of blocks I can sow in! This soil was a little bit too coarse though, since I had to use some regular soil together with the potting mix. That's why the holes in the cubes aren't that visible.
Many cubes and many plants
You need some practice in order to make good use of the soil blocker, and also try to find the right soil for the task. The soil shouldn't be too coarse, especially not if you use the smallest soil blocker. Potting soil is a good choice in general. Or any other fine soil too of course. Just add water to the soil and use your hands or a small spade to mix it in.
Push the soil blocker into the soil and catch the soil in the little cells. After that, you can just push the blocks onto a tray and go from there.
So the main problem about using soil blockers is that the little cubes can dry out quite quickly. Especially if you put them on a trough with a heat mat underneath. This year, I'm going to do things differently and put my little blocks of soil on a chipboard that doesn't dry as easily as a plastic trough. I can almost swear that I found this tip on the YouTube channel Swedish Homestead, but now I can't seem to find the video.
Using soil blocker is a great way to produce lots of little spots for sowing at the same time. This little trough I have here can fit 80, and I actually sowed some of the first tomatoes of the year here. The sowing process is so easy with a soil blocker. A little hole is created in the middle of the cube when I push the blocks from the tool. I just add the seed and then sprinkle a little soil on top, and then I'm done!
Transplanting
When the plant starts growing and eventually develops its first pair of leaves, then it's time to prepare new blocks. This time a larger size. I have an insert for the larger press that creates small blocks within a larger block of soil, so that you can just plop the smaller block with your plant into the larger one when you transplant. So convenient!
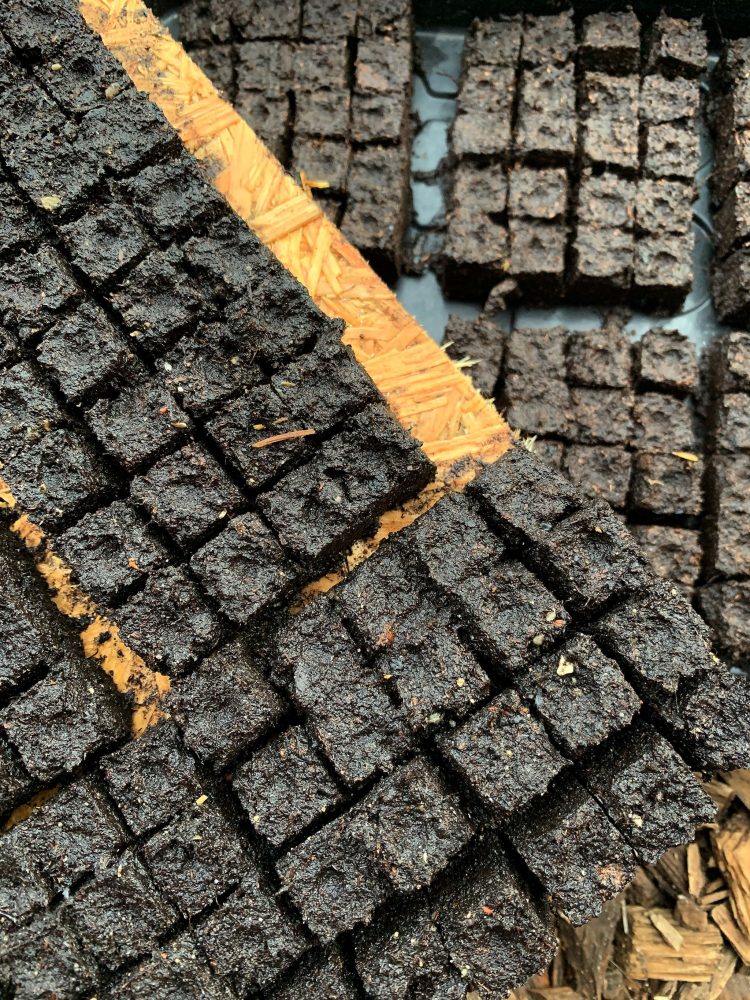
I'm putting the cubes on top of wood this time. As you can see, I have a little space between the blocks. You usually have the time to transplant the plants before the roots grow too long, so they won't dry out in the air.
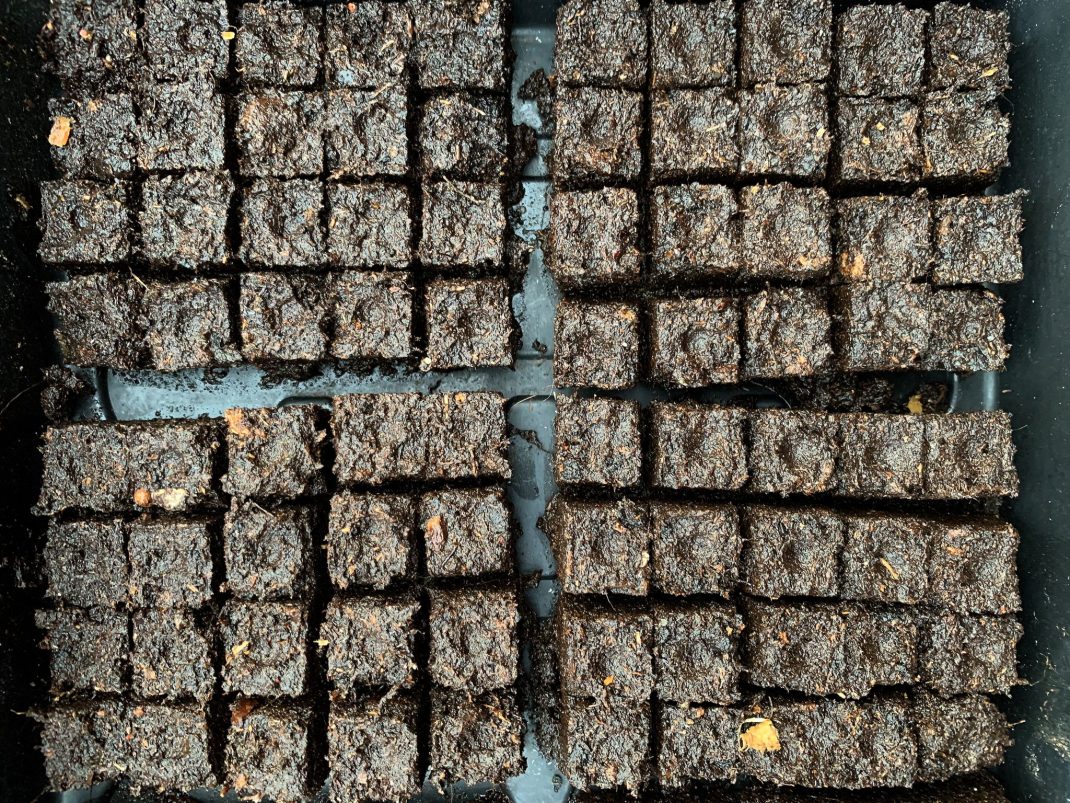
You save a lot of space and don't need an army of plastic pots to start sowing with this clever tool.
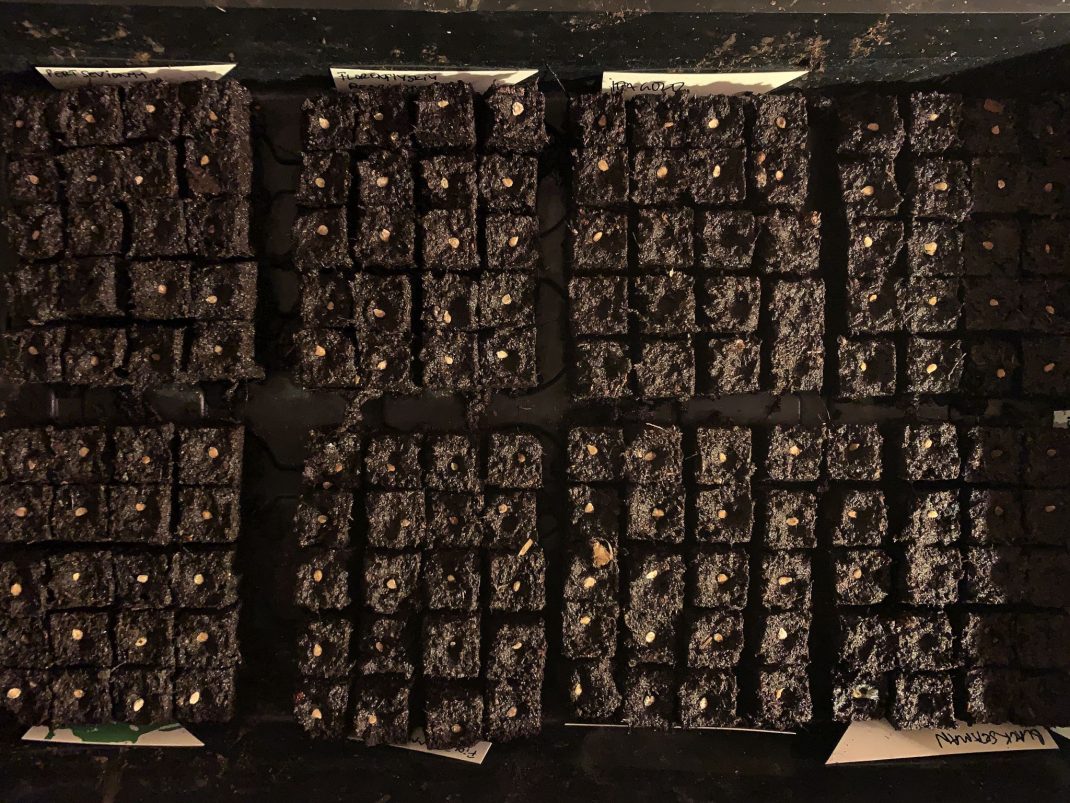
I sowed tomatoes and lettuce in these little blocks. The holes are a bit shallow and I just added a little soil on top.
No plastic pots
This method of creating seeding spots is a great way to use less plastic in your gardening. But you need to find a good routine in order to really make good use of this tool. I think that you might have a better chance doing this if you have a larger garden and want to produce a lot of plants at once.
Either way, I feel excited to try the soil blocker once again. I'm going to use it on top of both wood and plastic to see what works best.
Have you tried using a soil blocker? What do you think about it?
/Sara Bäckmo
04. November 2022


Leave a Reply
You must be logged in to post a comment.