Quick compost in a styrofoam box
I'm all about repurposing, so I thought I would use an old styrofoam box as a container for my compost. It works really well! The styrofoam provides really great insulation which is perfect if you want to make quick compost.
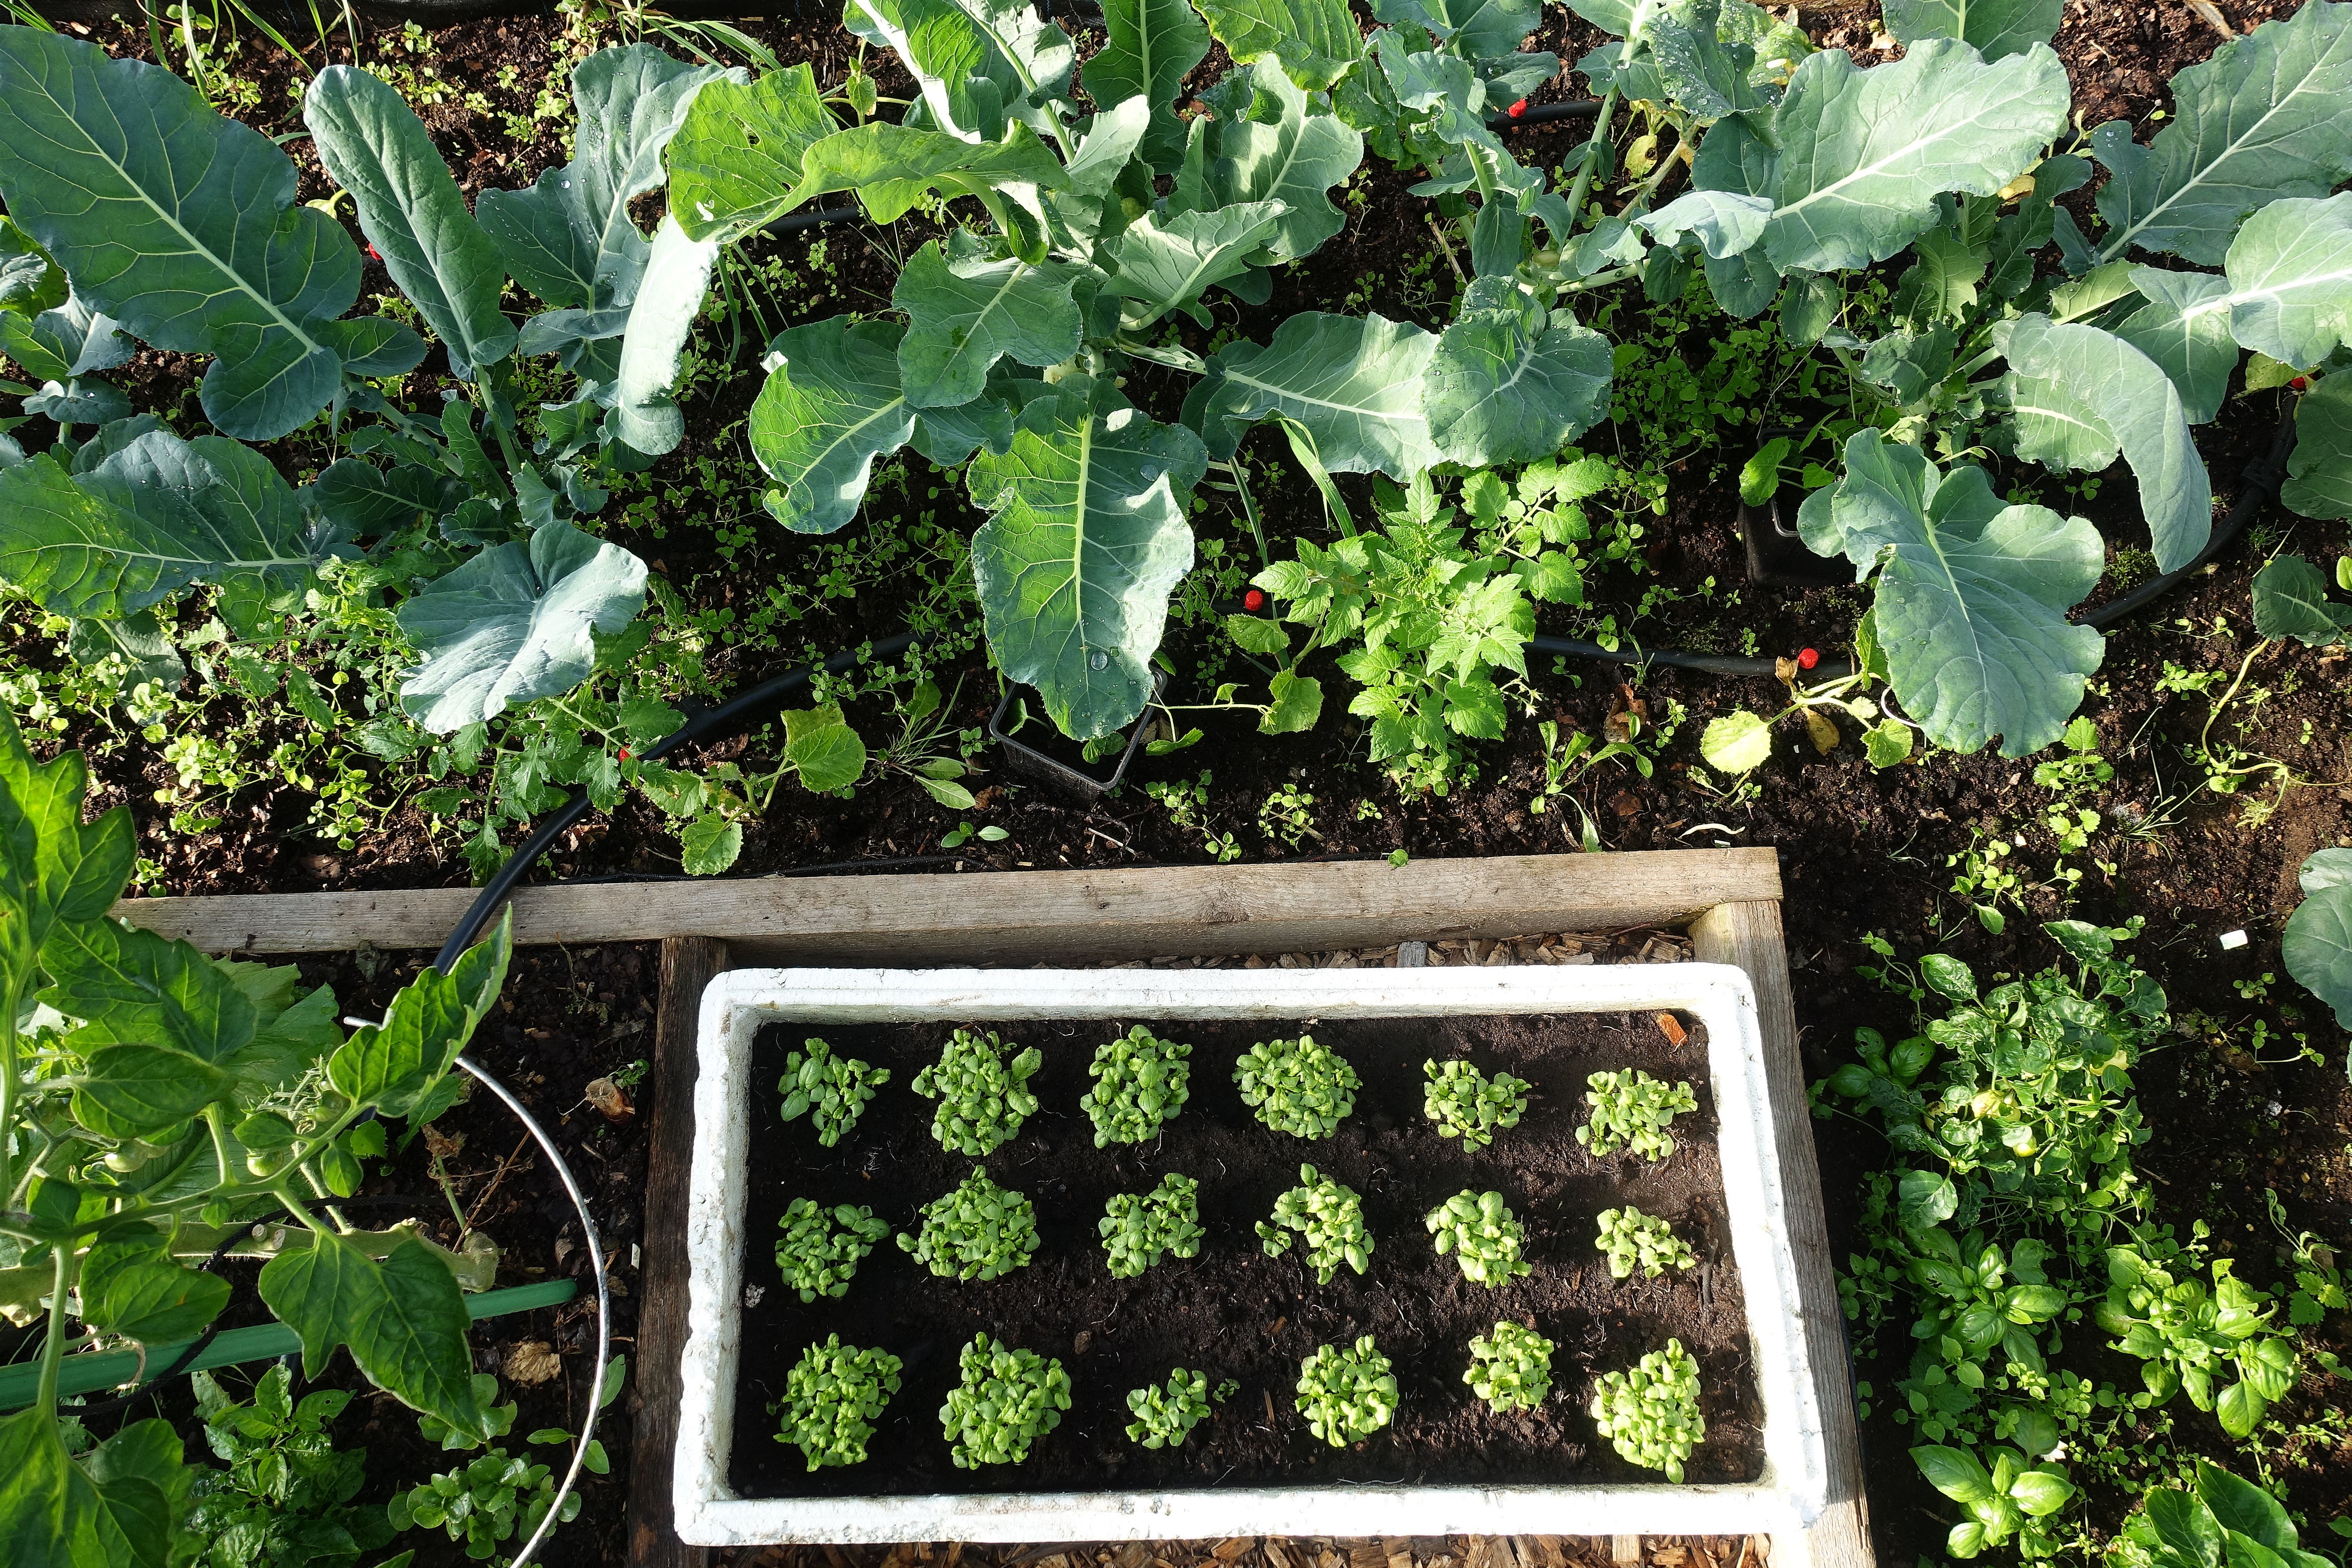
Basil in a styrofoam box I filled with compost and soil. The picture was taken in July 2017.
You can find styrofoam boxes at a local food vendor, the ones I'm using come from the general store in our village.
Styrofoam is a great material to work with since it's so light and airy. And it's a good insulator too! That's why I really like using it for my compost. An insulated box is the perfect spot for compost since the microbes are kept warm. This will make the process a lot faster, which is why it's called quick compost.
I always start this super simple compost in a styrofoam box for the earliest sowings in winter/early spring. After I harvest them, then it's time to empty the new soil that was created in the box and then I make a new one for the summer sowings. Our kitchen scraps turn into perfect soil at the same time as I'm growing plants on top of the scraps. Perfect!
Making your quick compost
- Use a clean and relatively fresh styrofam box.
- Put some soil from the garden in the bottom of the box or empty an old pot with soil into the box.
- Add some bokashi compost from your kitchen and alternate layers of compost, soil, grass clippings or leaves.
- Fill the box up, two inches (5 centimeters) from the top. Add a layer of garden soil on top.
- Sow or plant in the box.
- If you want to make your quick compost even more efficient, you can make a simple lid for your box or cover it with fabric and then put it in your greenhouse when it gets cold.
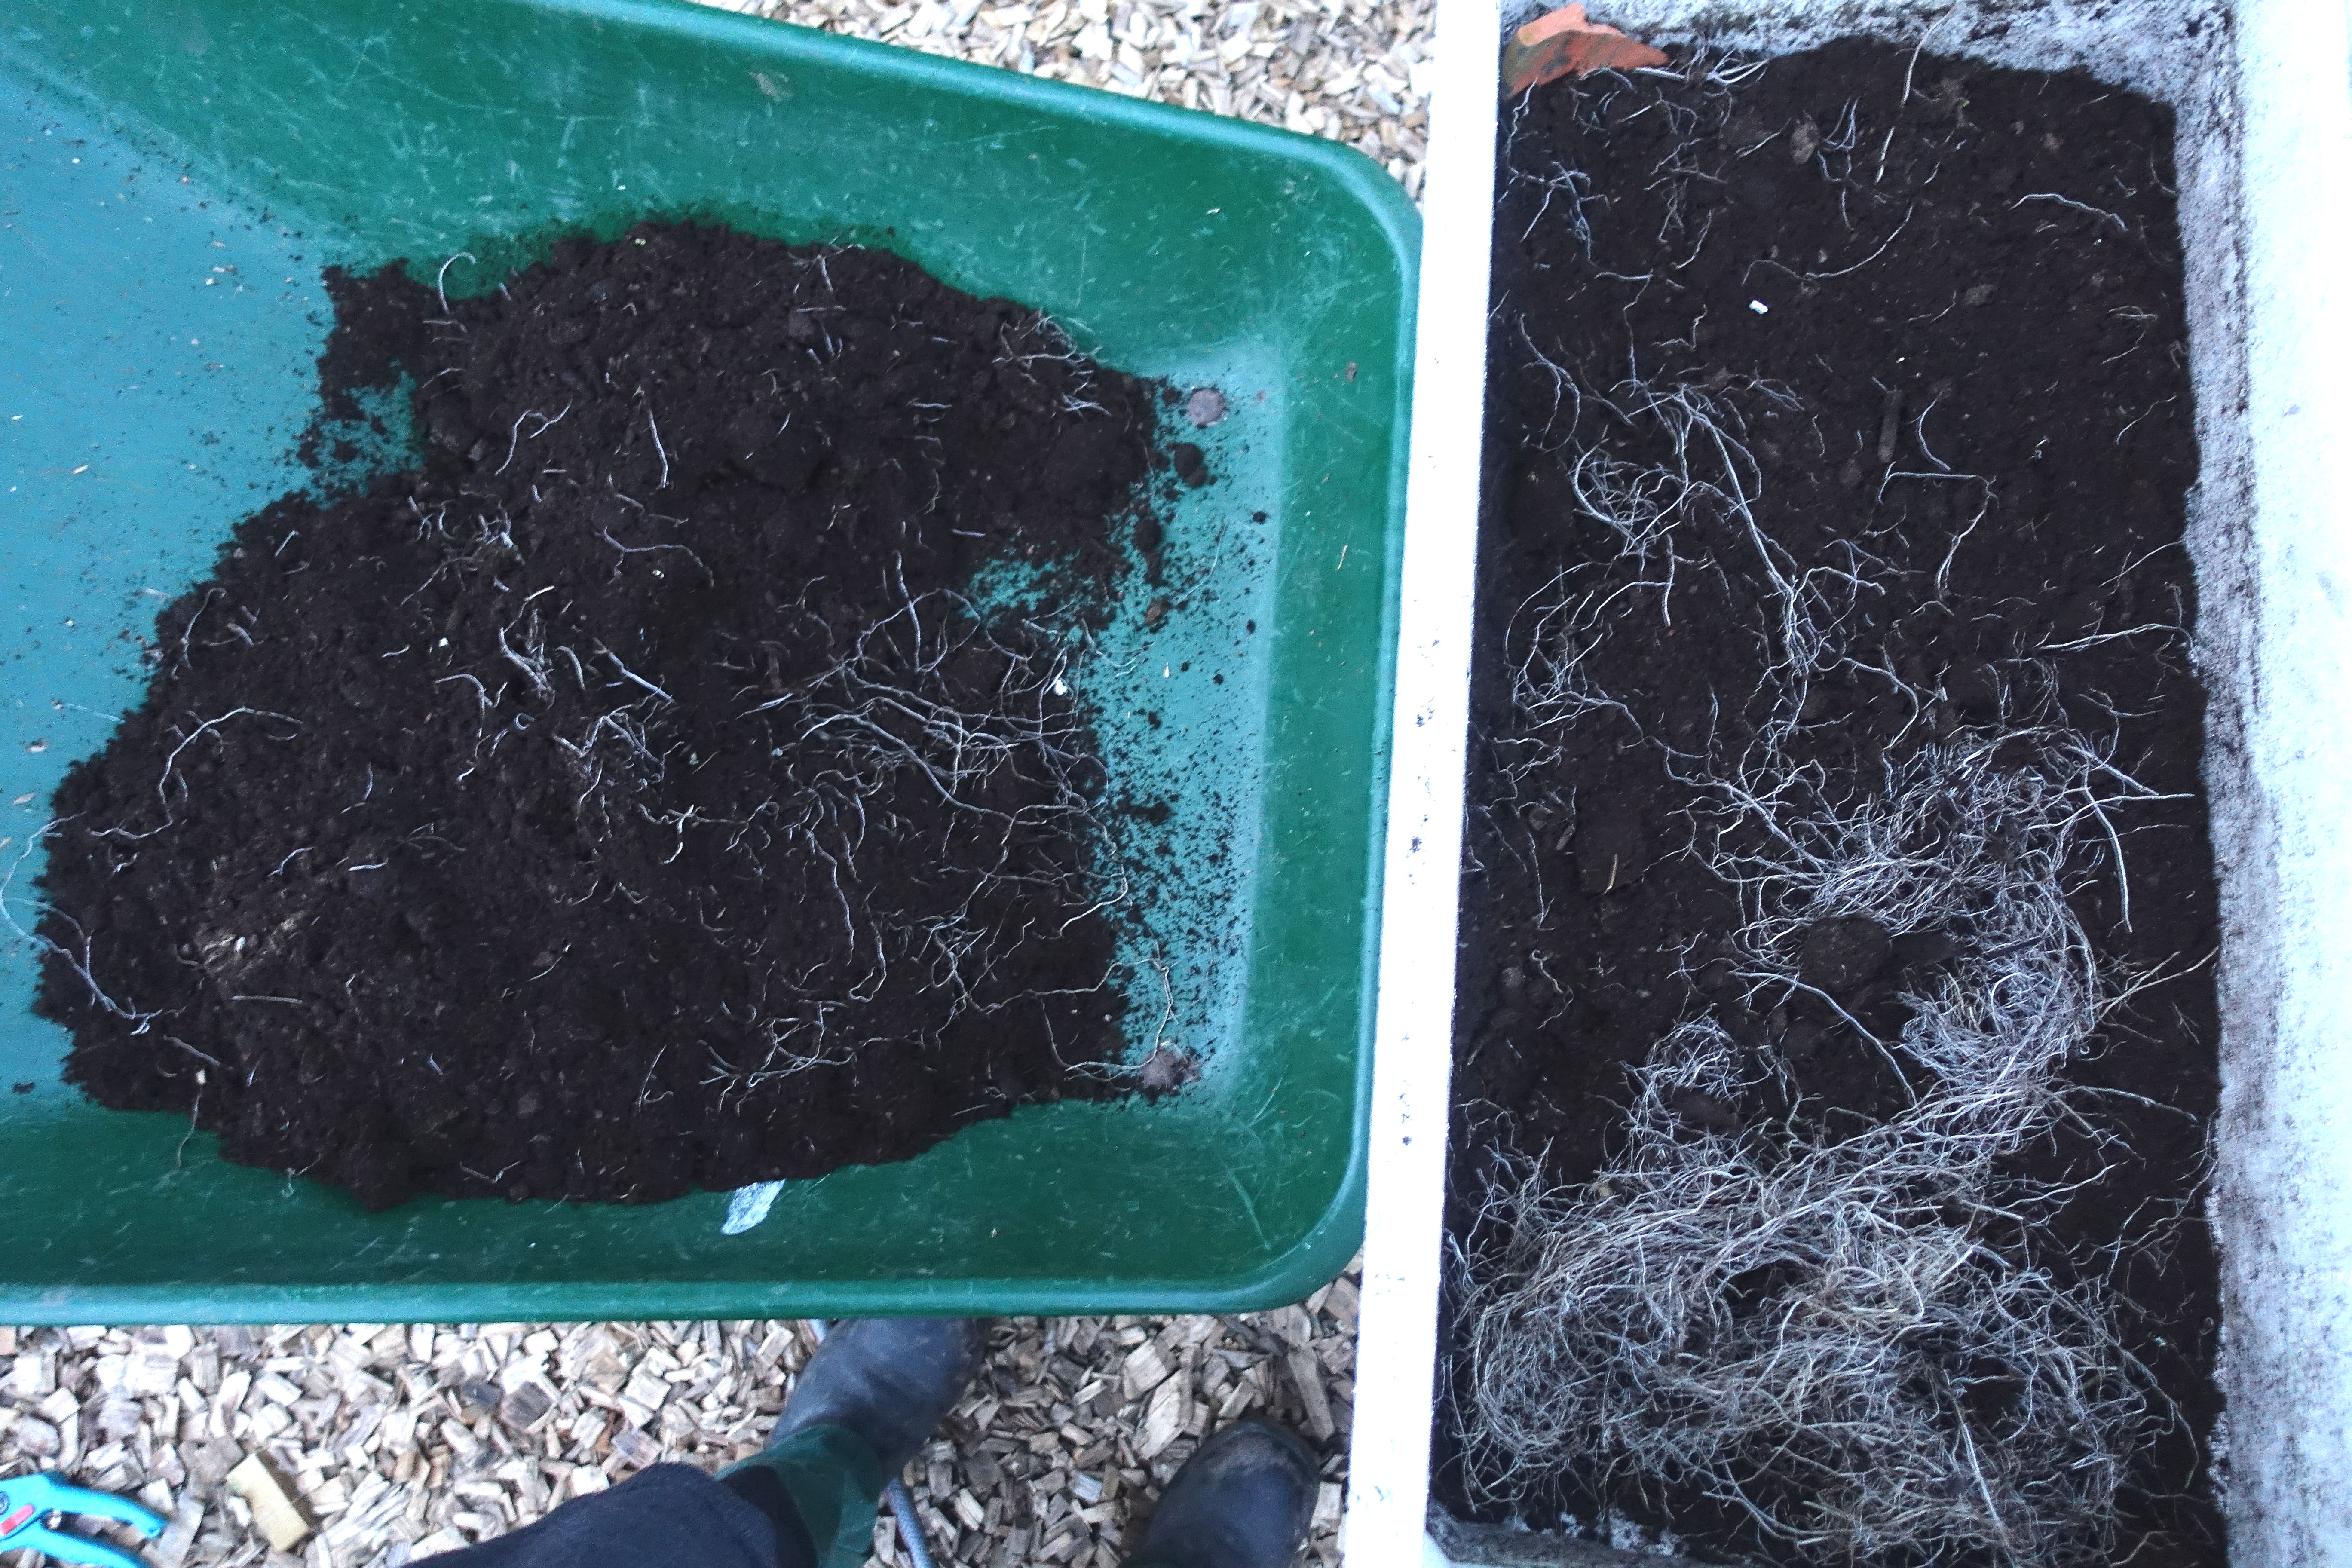
Put old soil and plant parts in the bottom of the box.
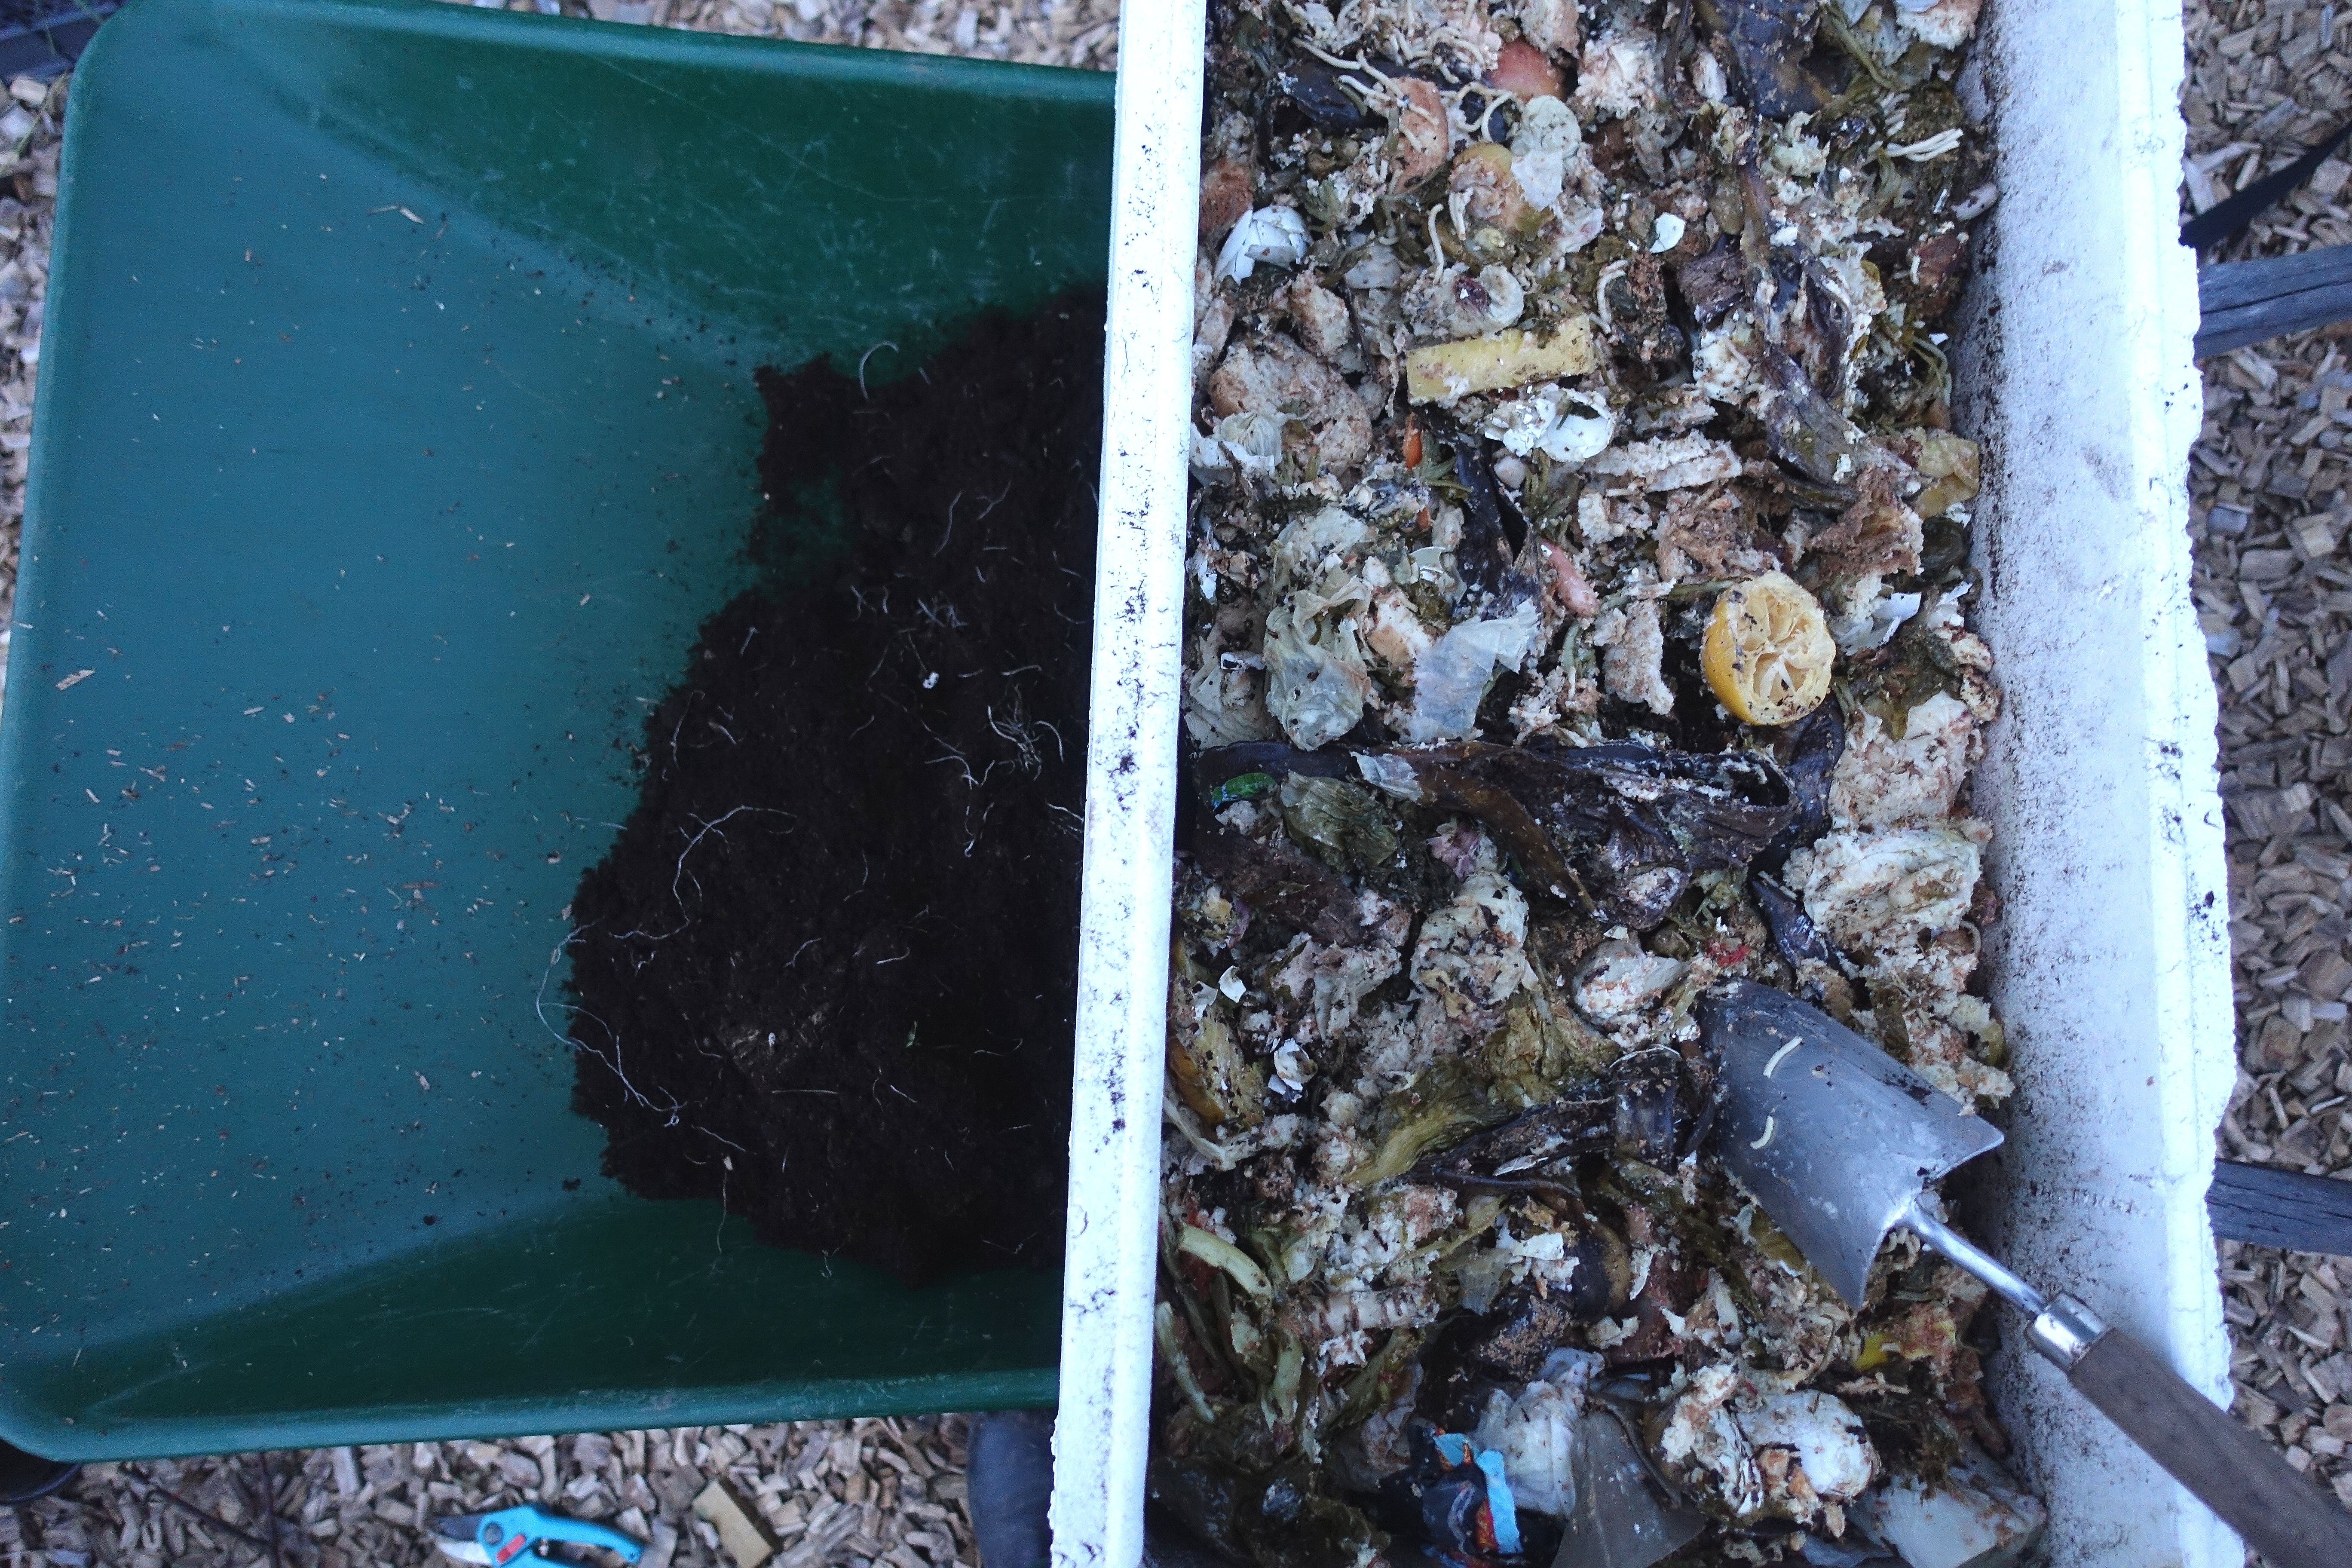
We are composting our kitchen scraps with bokashi, which makes the process quicker. It only takes a few weeks!
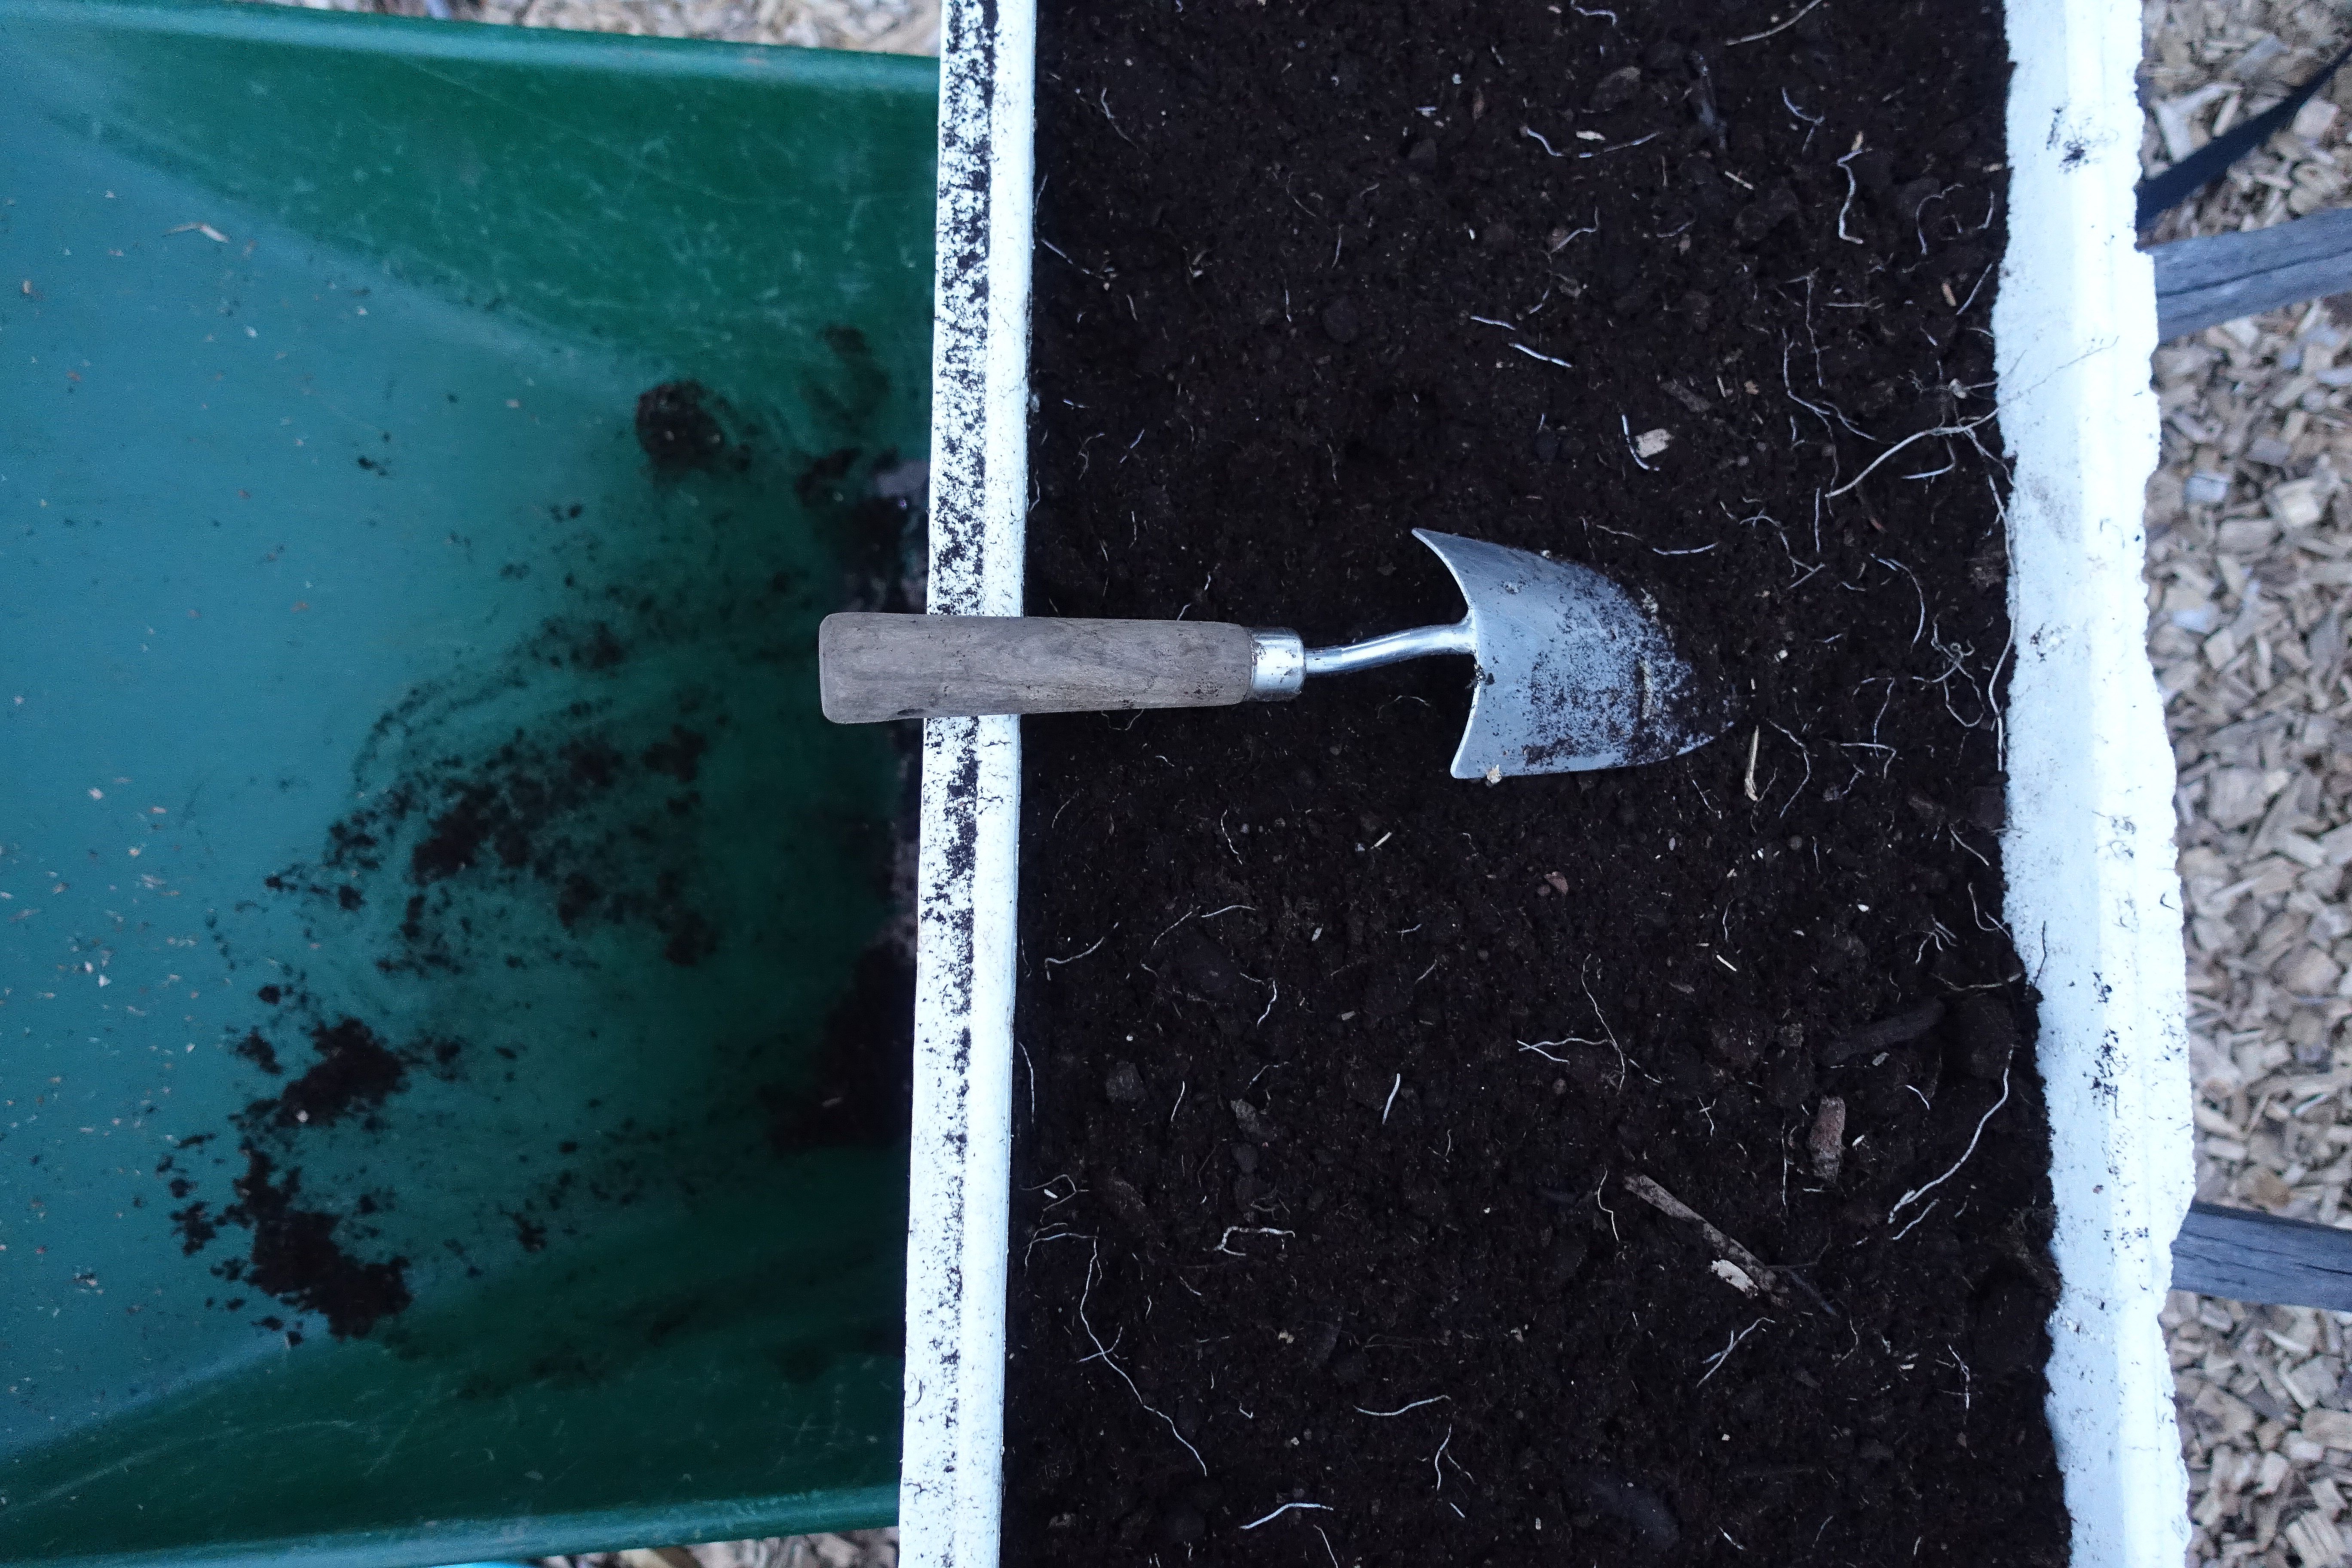
I added new soil on top of the compost, now it's time to plant or sow!
Perfect, now you have compost that you can grow in! Just make sure that the bokashi doesn't get too hot in the composting process, this will destroy the little microbes in there. You might notice that the compost gets quite warm a little while after you start it. This is normal! It usually won't get warmer than 100 degrees (40 degrees Celsius.) You don't need to add a lid if you don't want to, the compost will be fine anyway. The soil gets even better if you put your box in a greenhouse.
Vegetables you can grow:
- basil
- lettuce
- spinach
- radish
- dill
- tomato
- cucumber
This box is the perfect spot for fast-growing vegetables, but you can just as well plant tomatoes, cucumber, melon or something else. If you want to fill up the box again in summer, grow fast-growing leaves that you can harvest a few weeks after sowing.
These makeshift compost piles are great growing spaces. Bokashi is of course a good ingredient and if you also decide to use a styrofoam box, the process is even faster since the material becomes so warm. The kitchen scraps turn into lovely soil in no time in this quick compost. You can do this process in several different ways. The videos below show you how I fill my bokashi in pots and I also talk a bit more about the worms in the compost.
Some of you might be worried about the worms in my styrofoam box in early and cold spring. Don't be! The worms actually crawl out of the little holes in the bottom and spend their time underneath (!) the box. I hope you feel like trying this method to make quick compost too. It really works!
/Sara Bäckmo
19. March 2019


Leave a Reply
You must be logged in to post a comment.