No-dig gardening: Creating new raised beds
I often use the no-dig method to create new raised beds here at home. My latest goal is to make beautiful flower beds with this method. Read this post to learn how it's done!
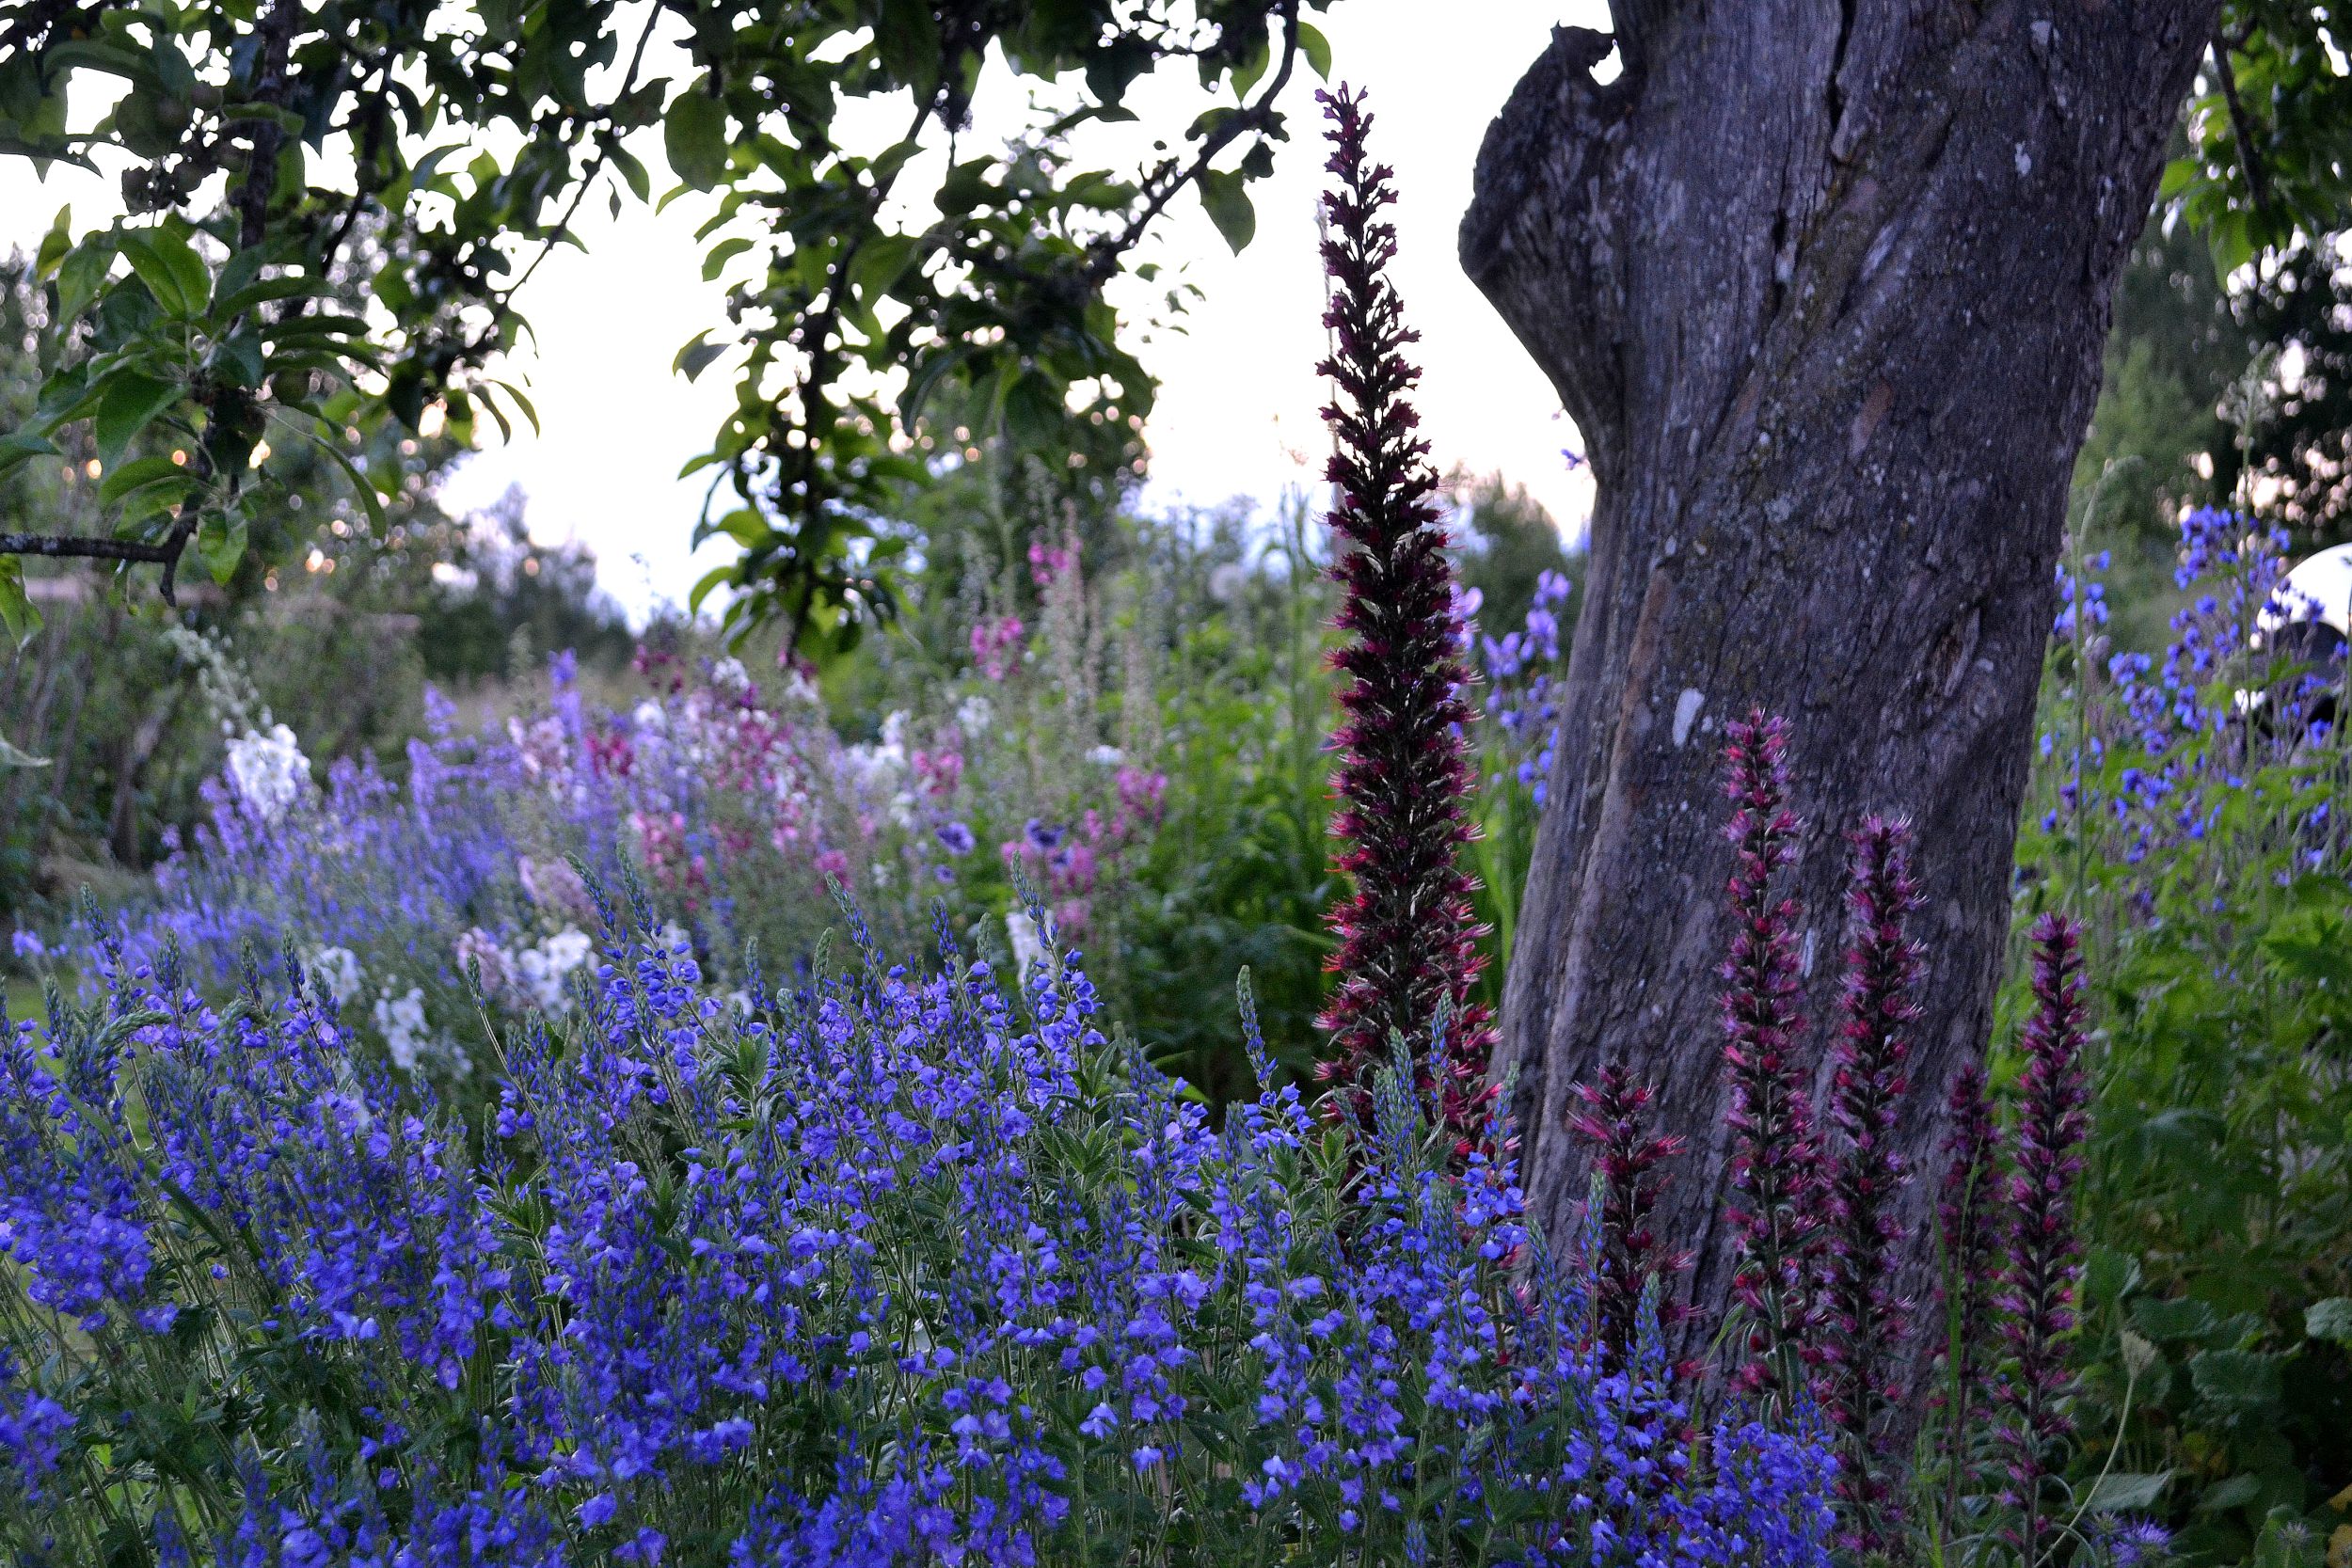
This wonderful boarder with flowers are now a complete mess and I have to dig the plants up and start all over again.
I started dreaming about having my own kitchen garden as soon as we moved to this house. Flowers, foliage, colors, shapes. I can see myself as an old lady under the apple tree, drinking in the splendor of my garden. I can already sense how proud and satisfied I will feel when my dream finally comes true. And I'm on my way, both towards becoming an old lady and having a beautiful flourishing garden.
I showed you how my new beds are developing in one of the videos from my garden. They are becoming fertile soil through a simple method where I use a form of mulching. The video is at the bottom of this page if you want to take another look. Since the video primarily shows you how the beds change year by year, I have made a summary of the process here. All the beds are created with the same no-dig method but I'm using different materials, depending on what was available at the time.
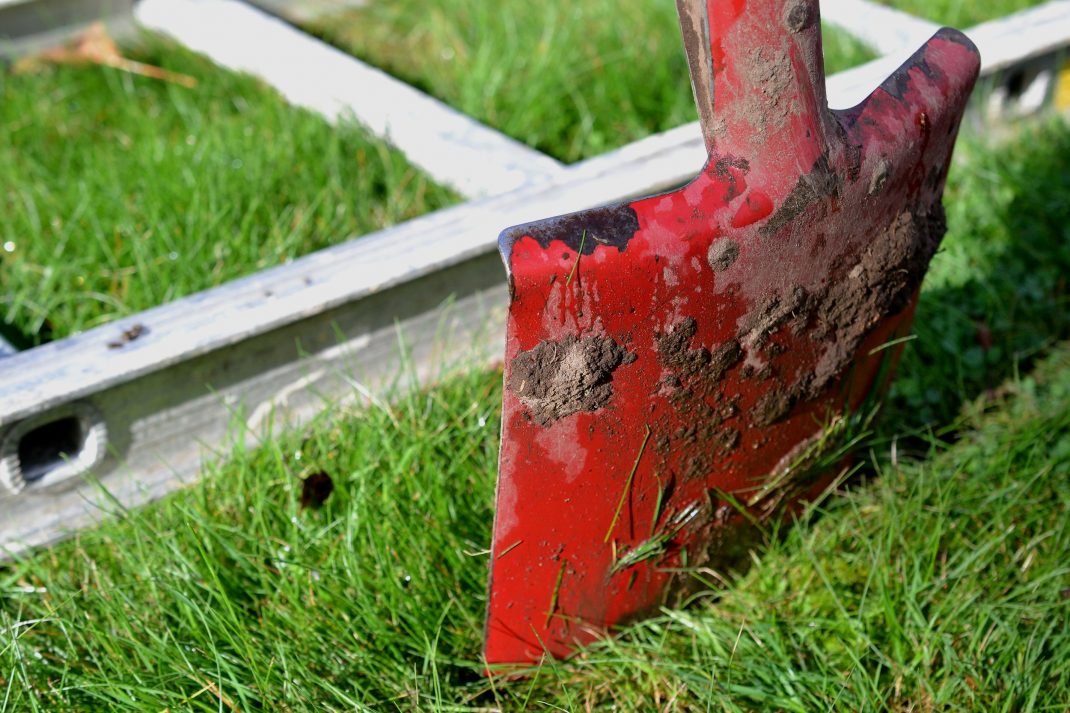
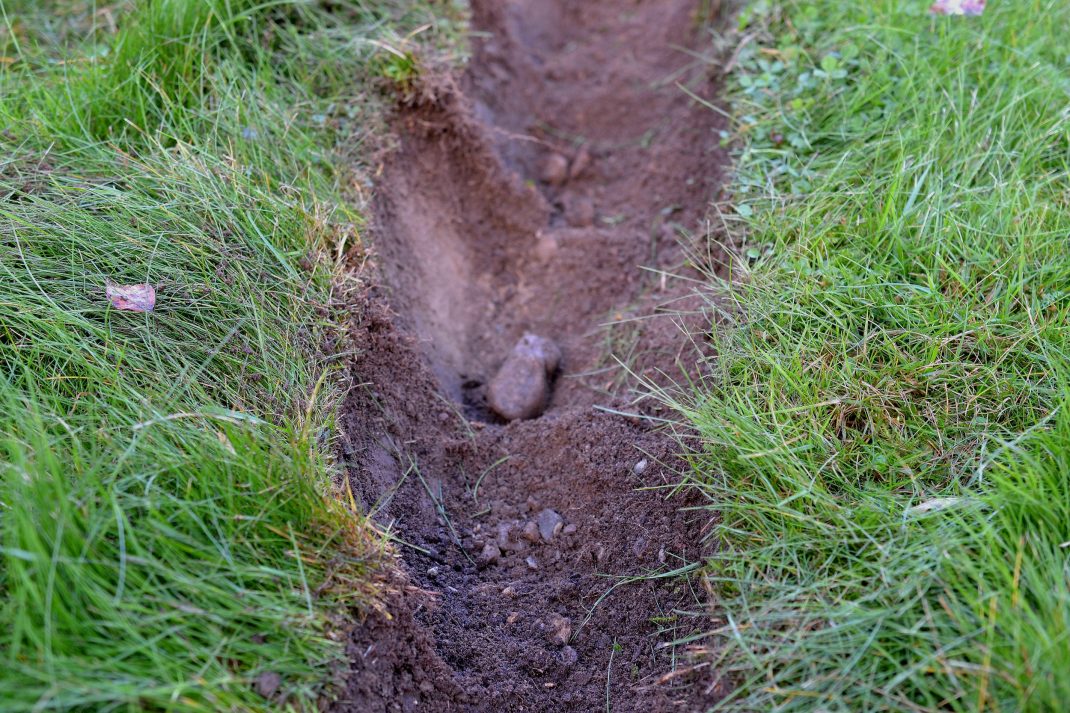
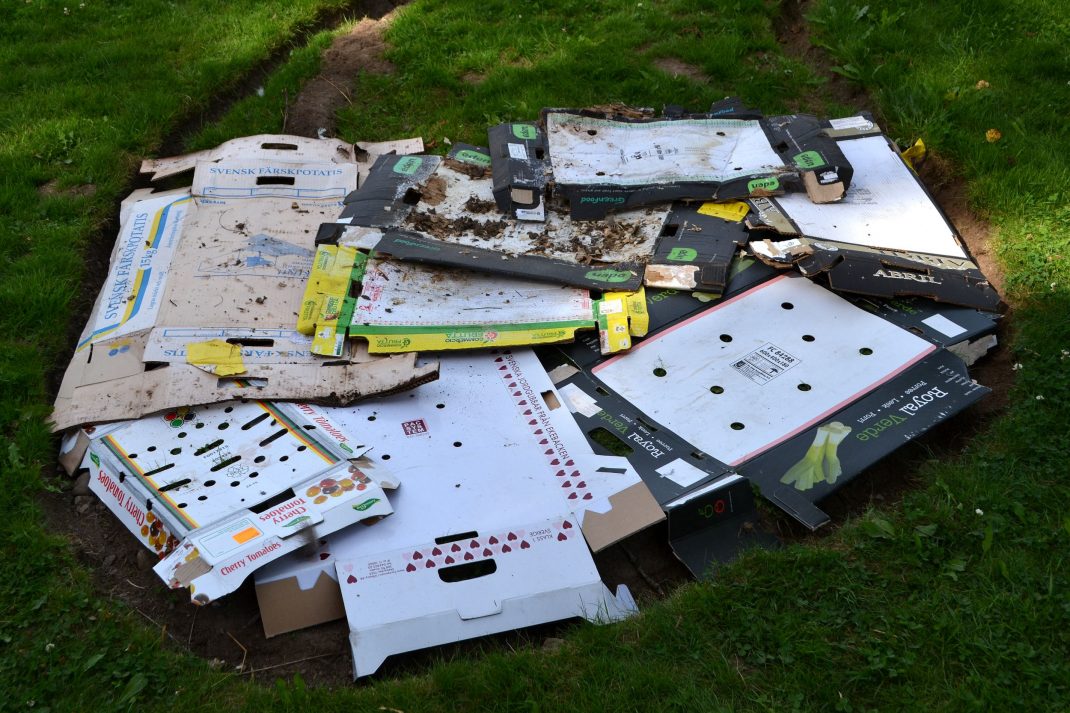
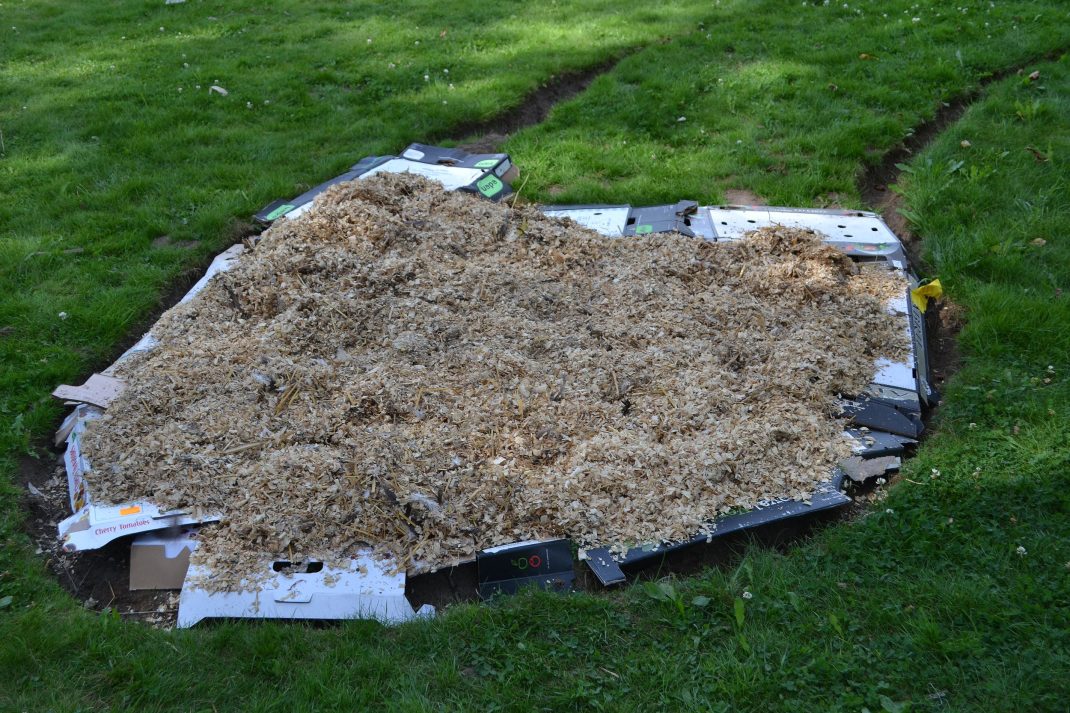
4. Add the organic material on top of the paper: Grass clippings, leaves, silage, straws, old hay, compost, all sorts of plant material, fresh or rotted manure – anything that can become soil in the end. You can also use ready-made soil, but I consider it a bit of a waste to use it on a bed that will turn into soil anyway. If you have many different kinds of materials, I would suggest that you mix them in different layers. This is much better than just creating a thick layer of each. Build as high as you can! And don't forget to water the bed when you are ready! Try to water in between the layers too.
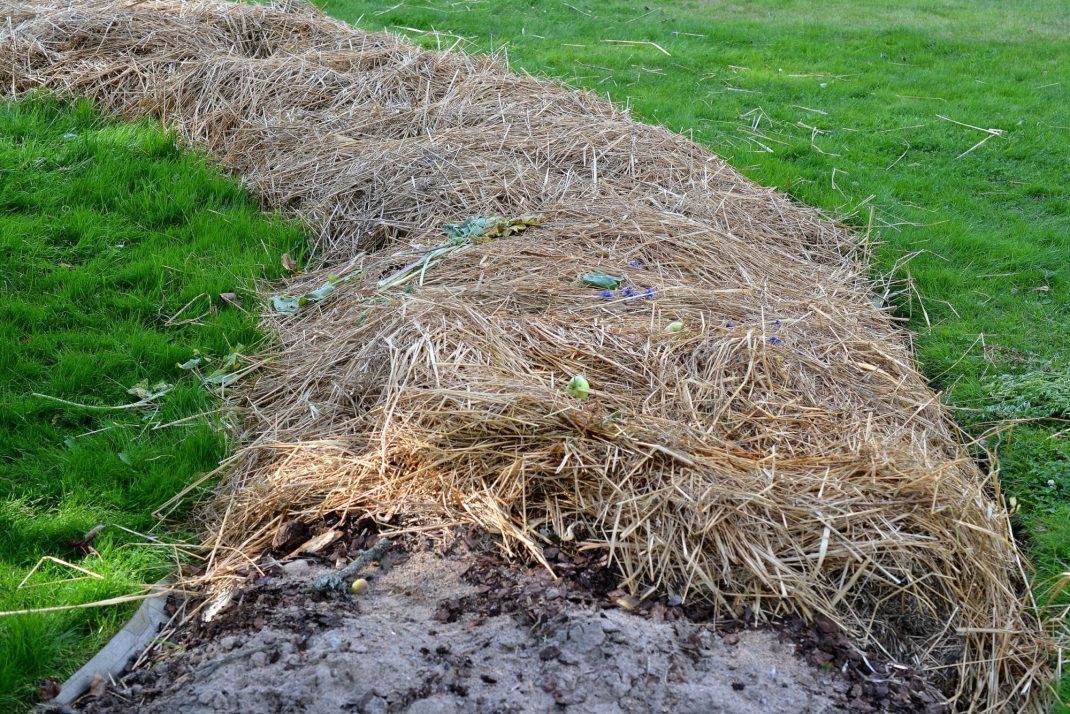
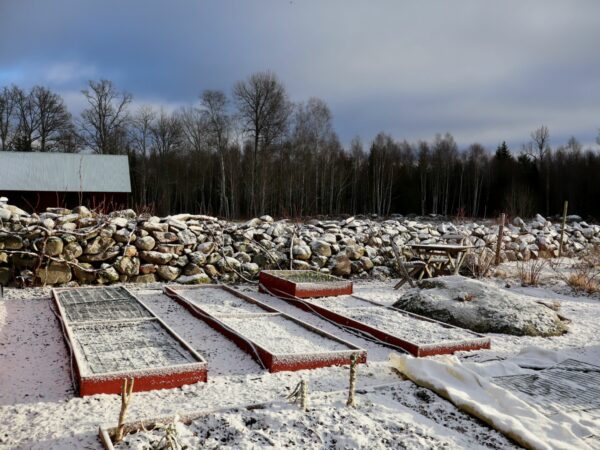
5. You can create the new no-dig bed at any time of the year. If it doesn’t contain too much strong manure, you can also start growing plants at once. If you create the bed and plan to wait until spring before you start growing, make sure that you cover the bed to keep the material from blowing off during storms or windy days. Use wooden boards, ladders, compost grids or whatever you have around.
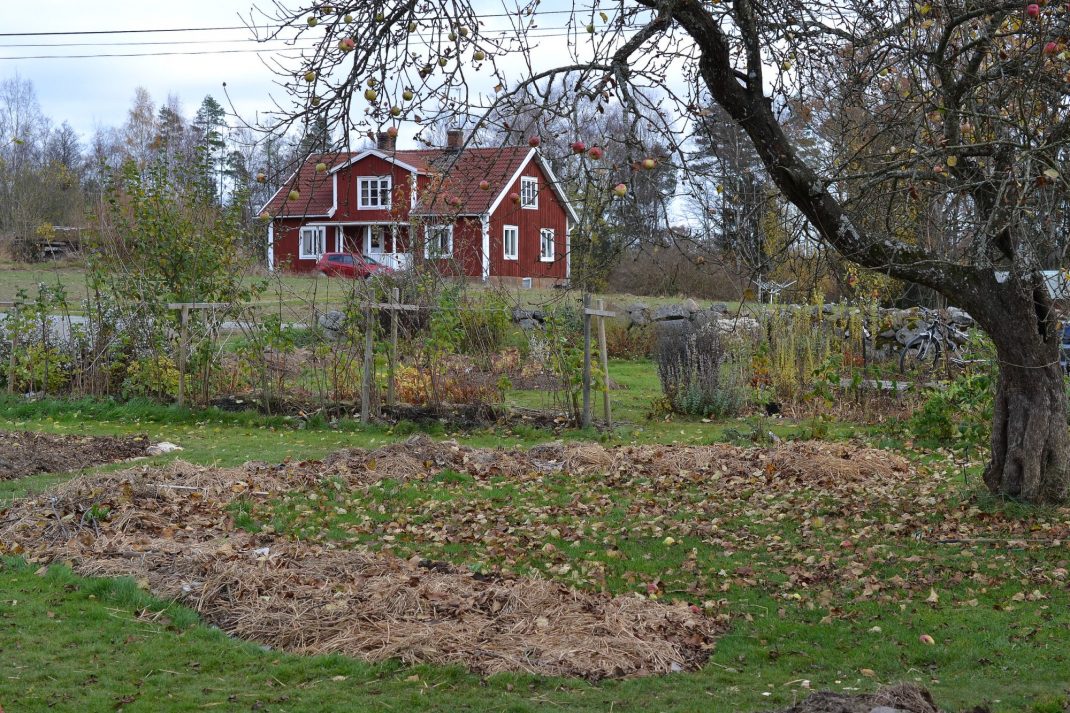
6. The soil of the new bed will stay mellow for many years if you continue to cover it with mulch, for example every fall or spring. This will give the worms plenty to eat and the soil is kept loose and moist.
In this video, you can see what the no-dig bed looks like when it's brand new. I'll also show you what it looks like after a few growing seasons when it more resembles the finished look we are going for.
A good spot for the perennials
The no-dig beds I create on the northern side of our garden will eventually be filled with perennials. I plan on growing potatoes, pumpkins or squash in there for the first season. I will grow annual flowers here in the second season, maybe with some extra soil added when I sow them (if needed). The third or fourth year, I will be able to plant the perennials. This way, I always have a new spot for some of my crops. This will come in handy for plant rotation in the future.
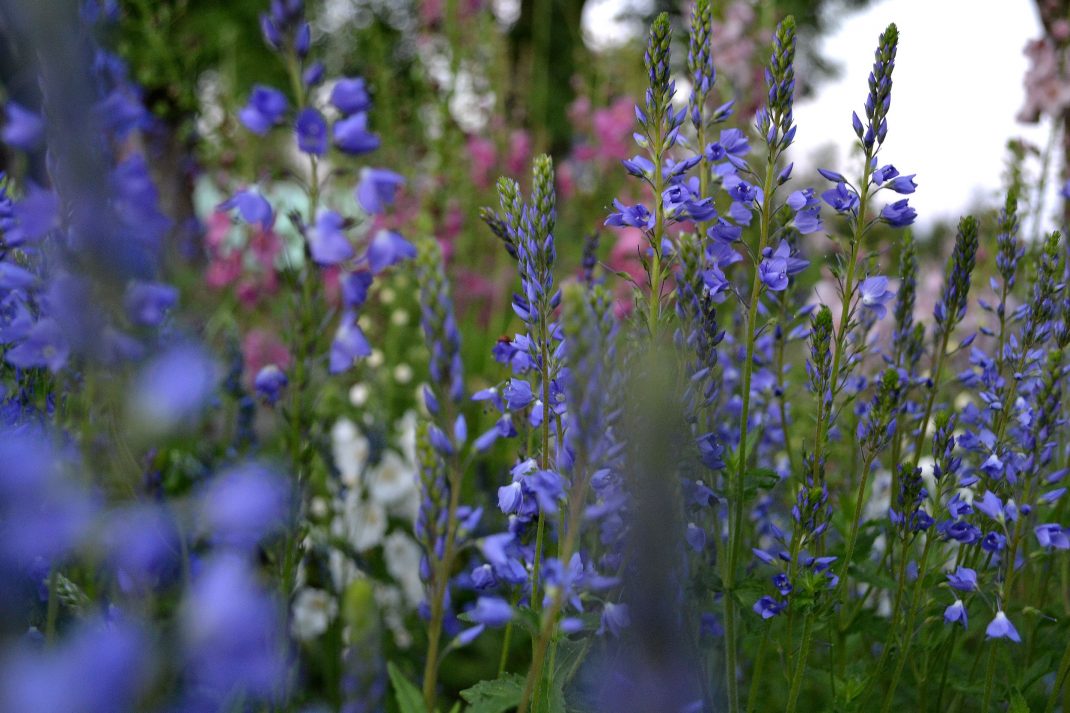
I'm not only growing food here in the garden. My plan is to make the rest of the garden look like a sea of flowers and beautiful foliage. The flourishing beds in my garden make me so happy already!
What I call "the white moonlight garden" is starting to take shape. I love to sit on the stone wall and watch the flowers glow in the evening light. The scent of honeysuckle and roses coming at me in waves.
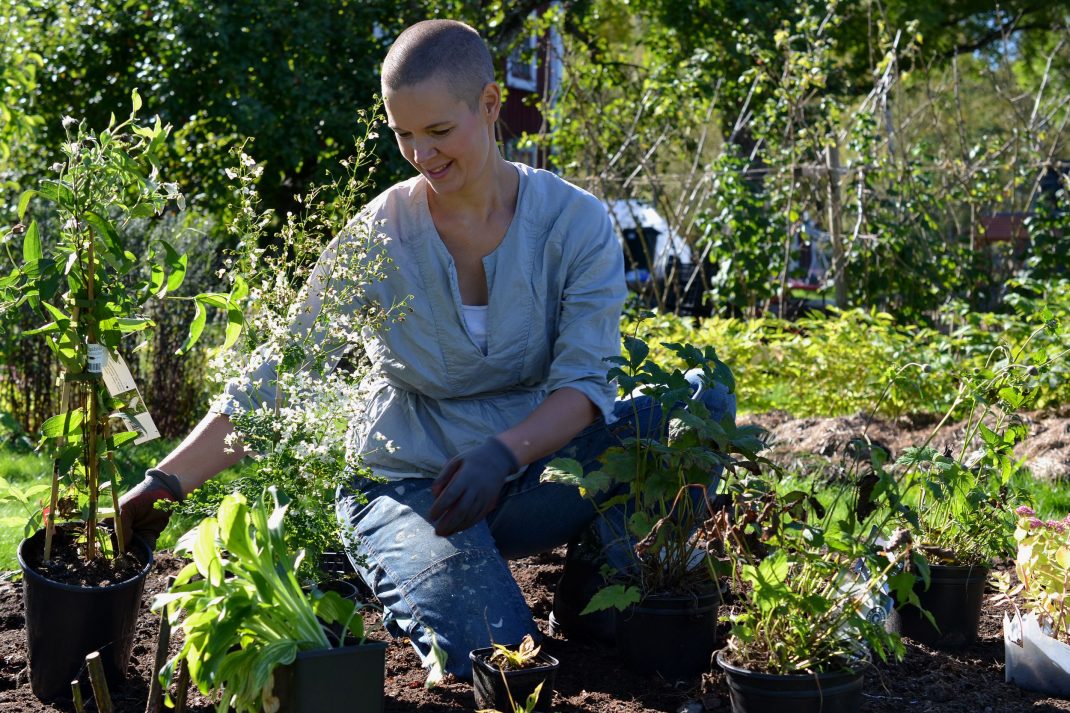
Last fall, I could finally start planting flowers in the circular bed that I started on in the fall of 2013. It's a part of the white moonlight garden that will sit next to the stone wall. This is where I planted the beautiful rose Maxima Alba, which is the only rose that was left in the garden when I bought the house in 2011. It's accompanied by white cranesbill, white September charms/Japanese windflower, white hollyhocks and peonies and a slew of orpines that works as a form of ground cover. I also planted hundreds of bulbs that I'm hoping will turn into an explosion of beautiful white flowers when spring comes again. I'm already looking forward to it. Good luck with your no-dig beds!
/Sara Bäckmo
21. July 2021


Leave a Reply
You must be logged in to post a comment.