Guide: Starting a small vegetable garden – Part 1
This small vegetable garden is really easy to get started on and only takes about an hour to build. The garden consists of two garden beds and pathways between them. It doesn't have to be harder than that to start growing your own vegetables at home!
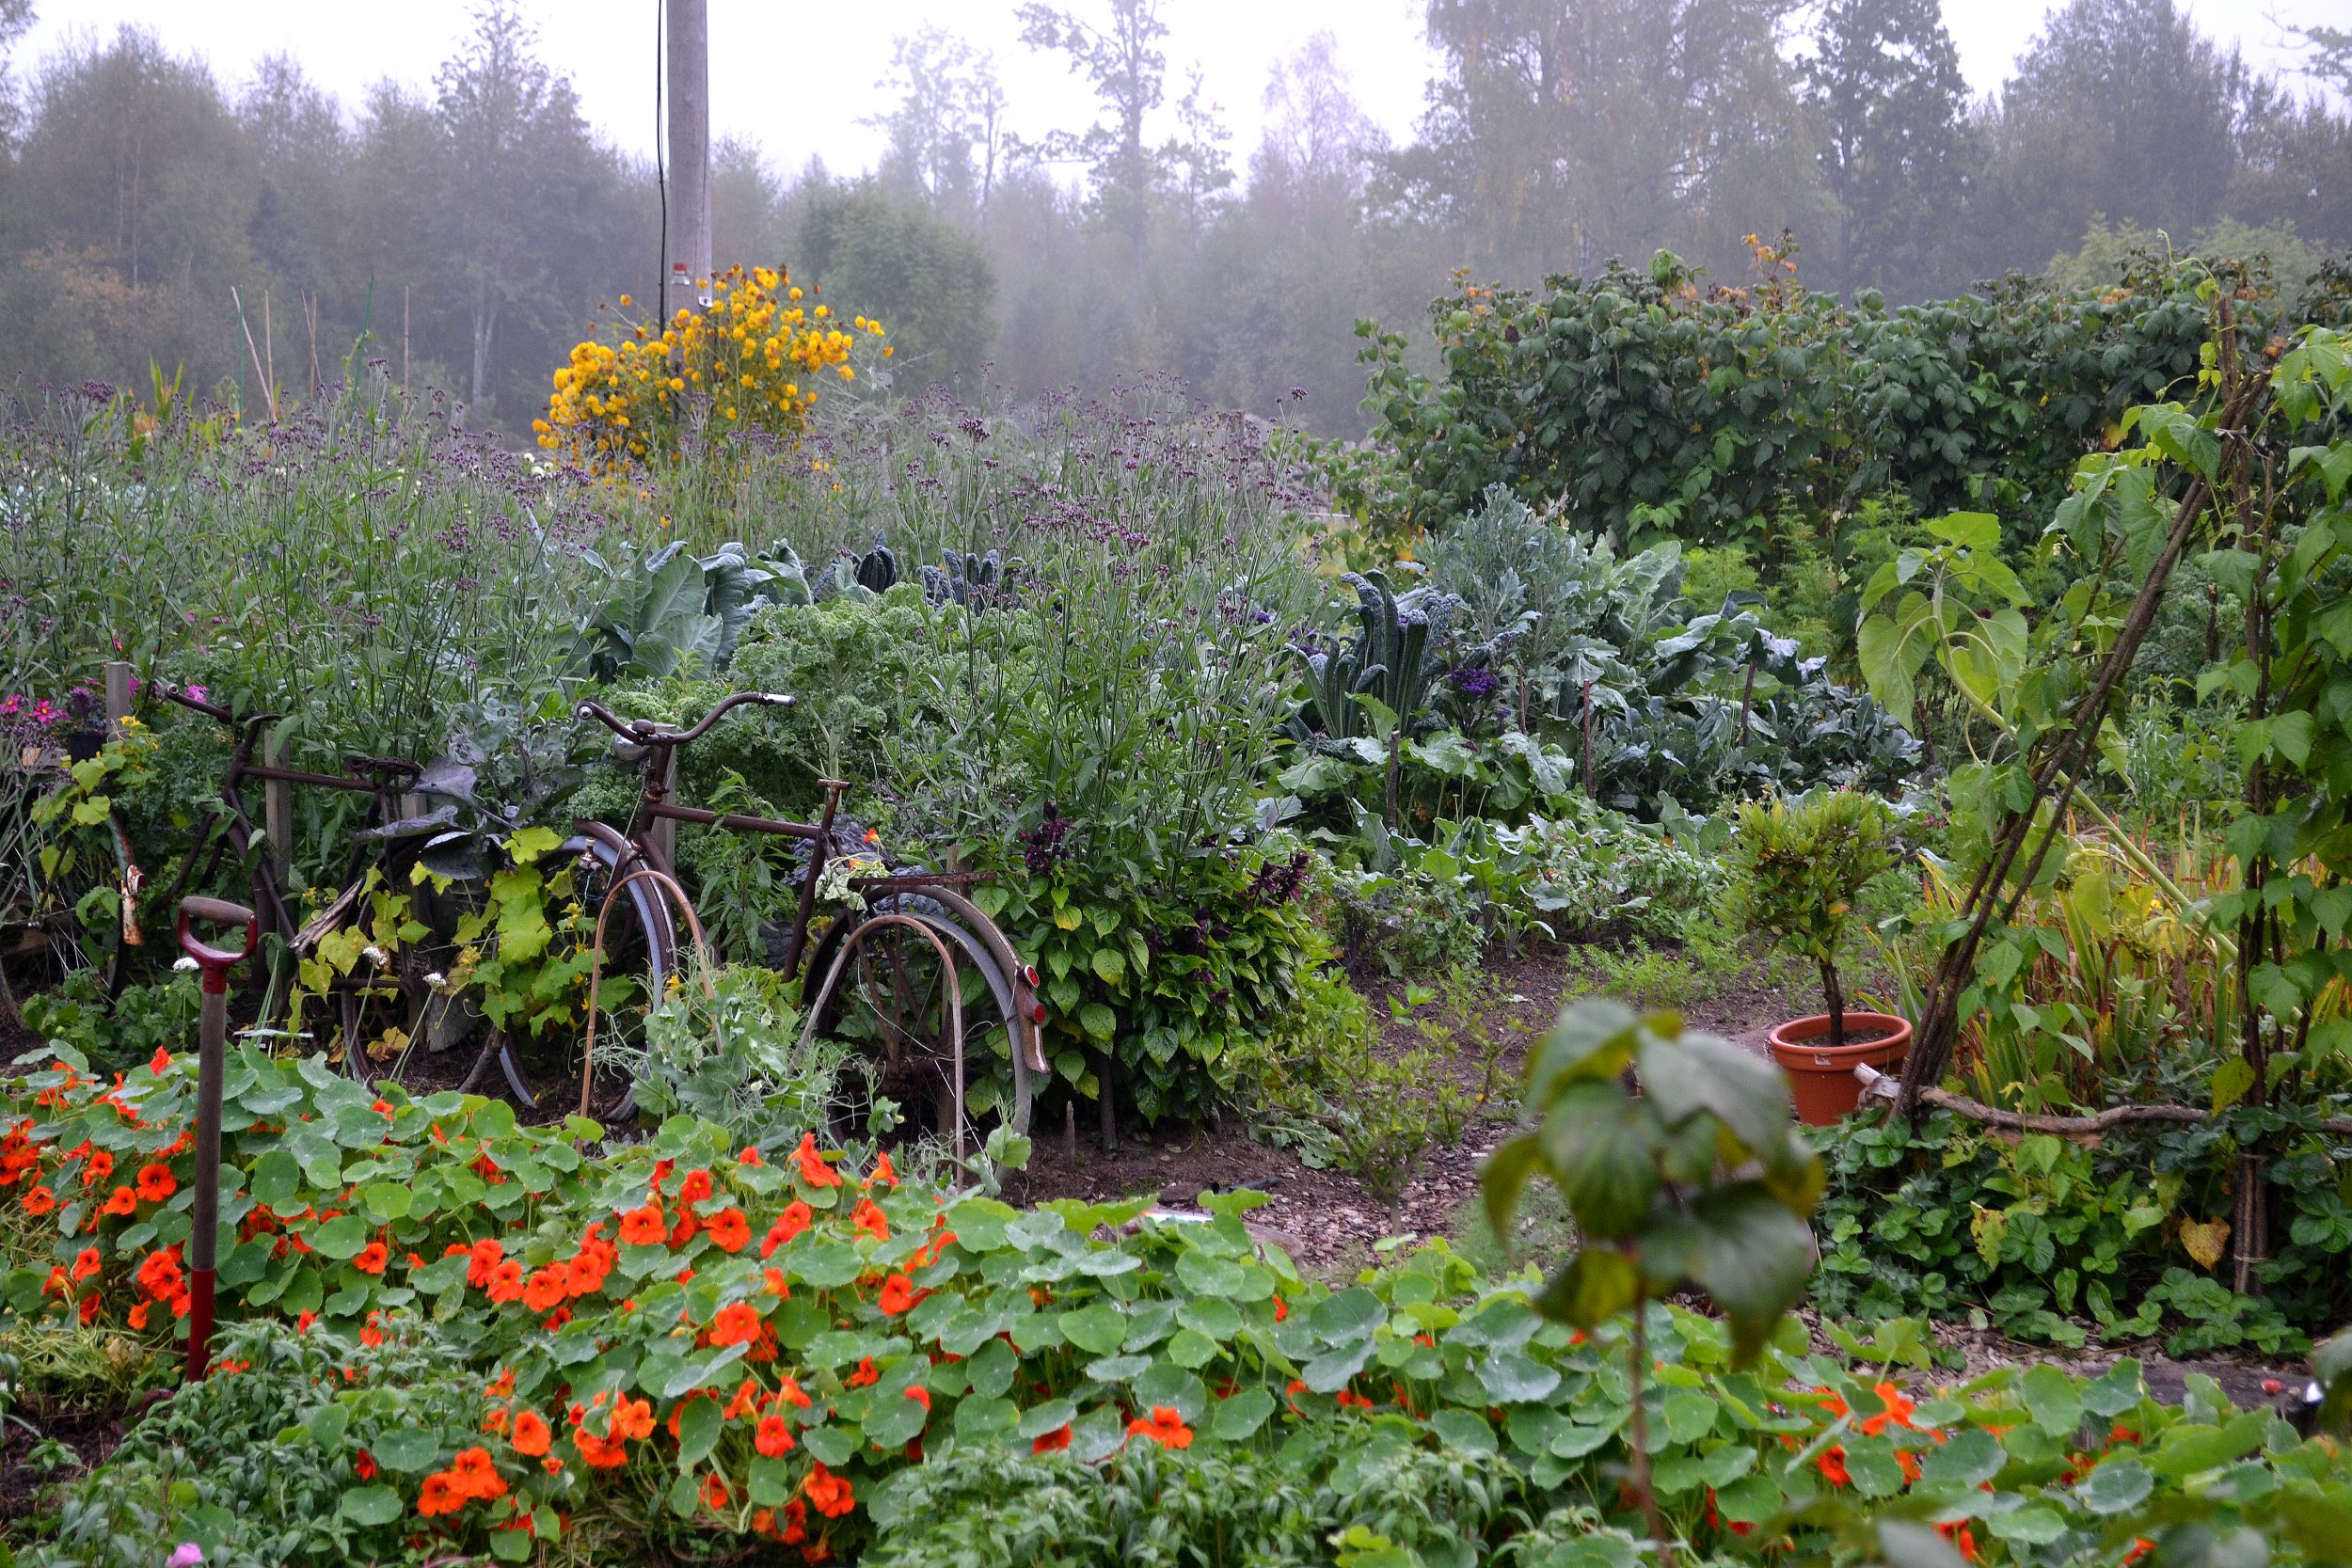
It’s true what they say: Less is more. That’s why I’ve created a guide on how to start a small vegetable garden for those of you who don’t have that much space (or want to save some). It only takes about an hour to build the foundation to your own vegetable garden. Then you’re all set to start growing.
Emma writes: ”I really want to have my own vegetable garden. I’ve been thinking it through and created lists of everything I think I’ll need. But how do I get started?”
There are many different ways to start a vegetable garden. This is my suggestion which doesn’t require much money or effort. It’s also very easy and (dare I say) fun! I’ve created the three-part guide “Starting a small vegetable garden” which I hope will inspire you!
Planning your vegetable garden
I’ve decided to start with an area of about 5 x 4 meters (around 16 x 13 feet) with some extra room to expand. The area should be cleared from any large tree stubs, rocks or bushes. Apart from that, it doesn’t really matter what type of ground you’re starting on. You could start on your lawn, an old pasture or an unused part of your garden. It doesn’t matter if there are weeds growing there. Preferably, it should be quite sunny during the day but it doesn’t matter if it’s shady at times. Do however try to avoid really wet areas. Pick a space with at least some wind protection, maybe close to a building.
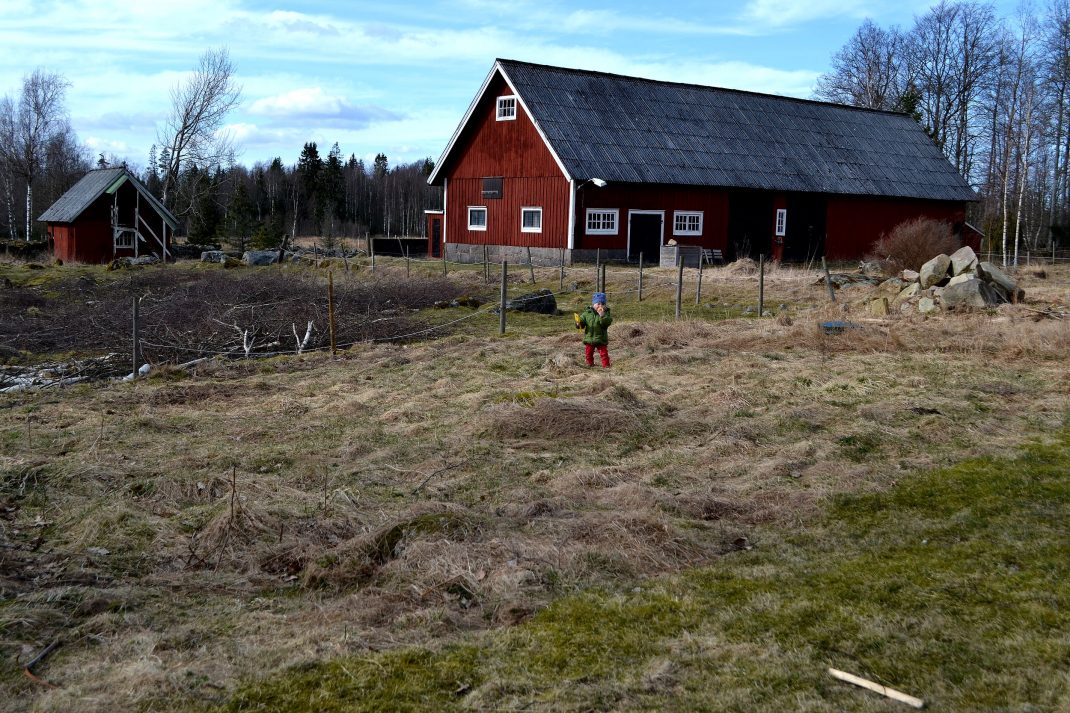
It’s actually quite easy to turn an unused patch in your garden into a flourishing kitchen garden. The ground doesn’t need to be flat but you should avoid areas with bushes and weeds that might start rooting in your new garden bed.
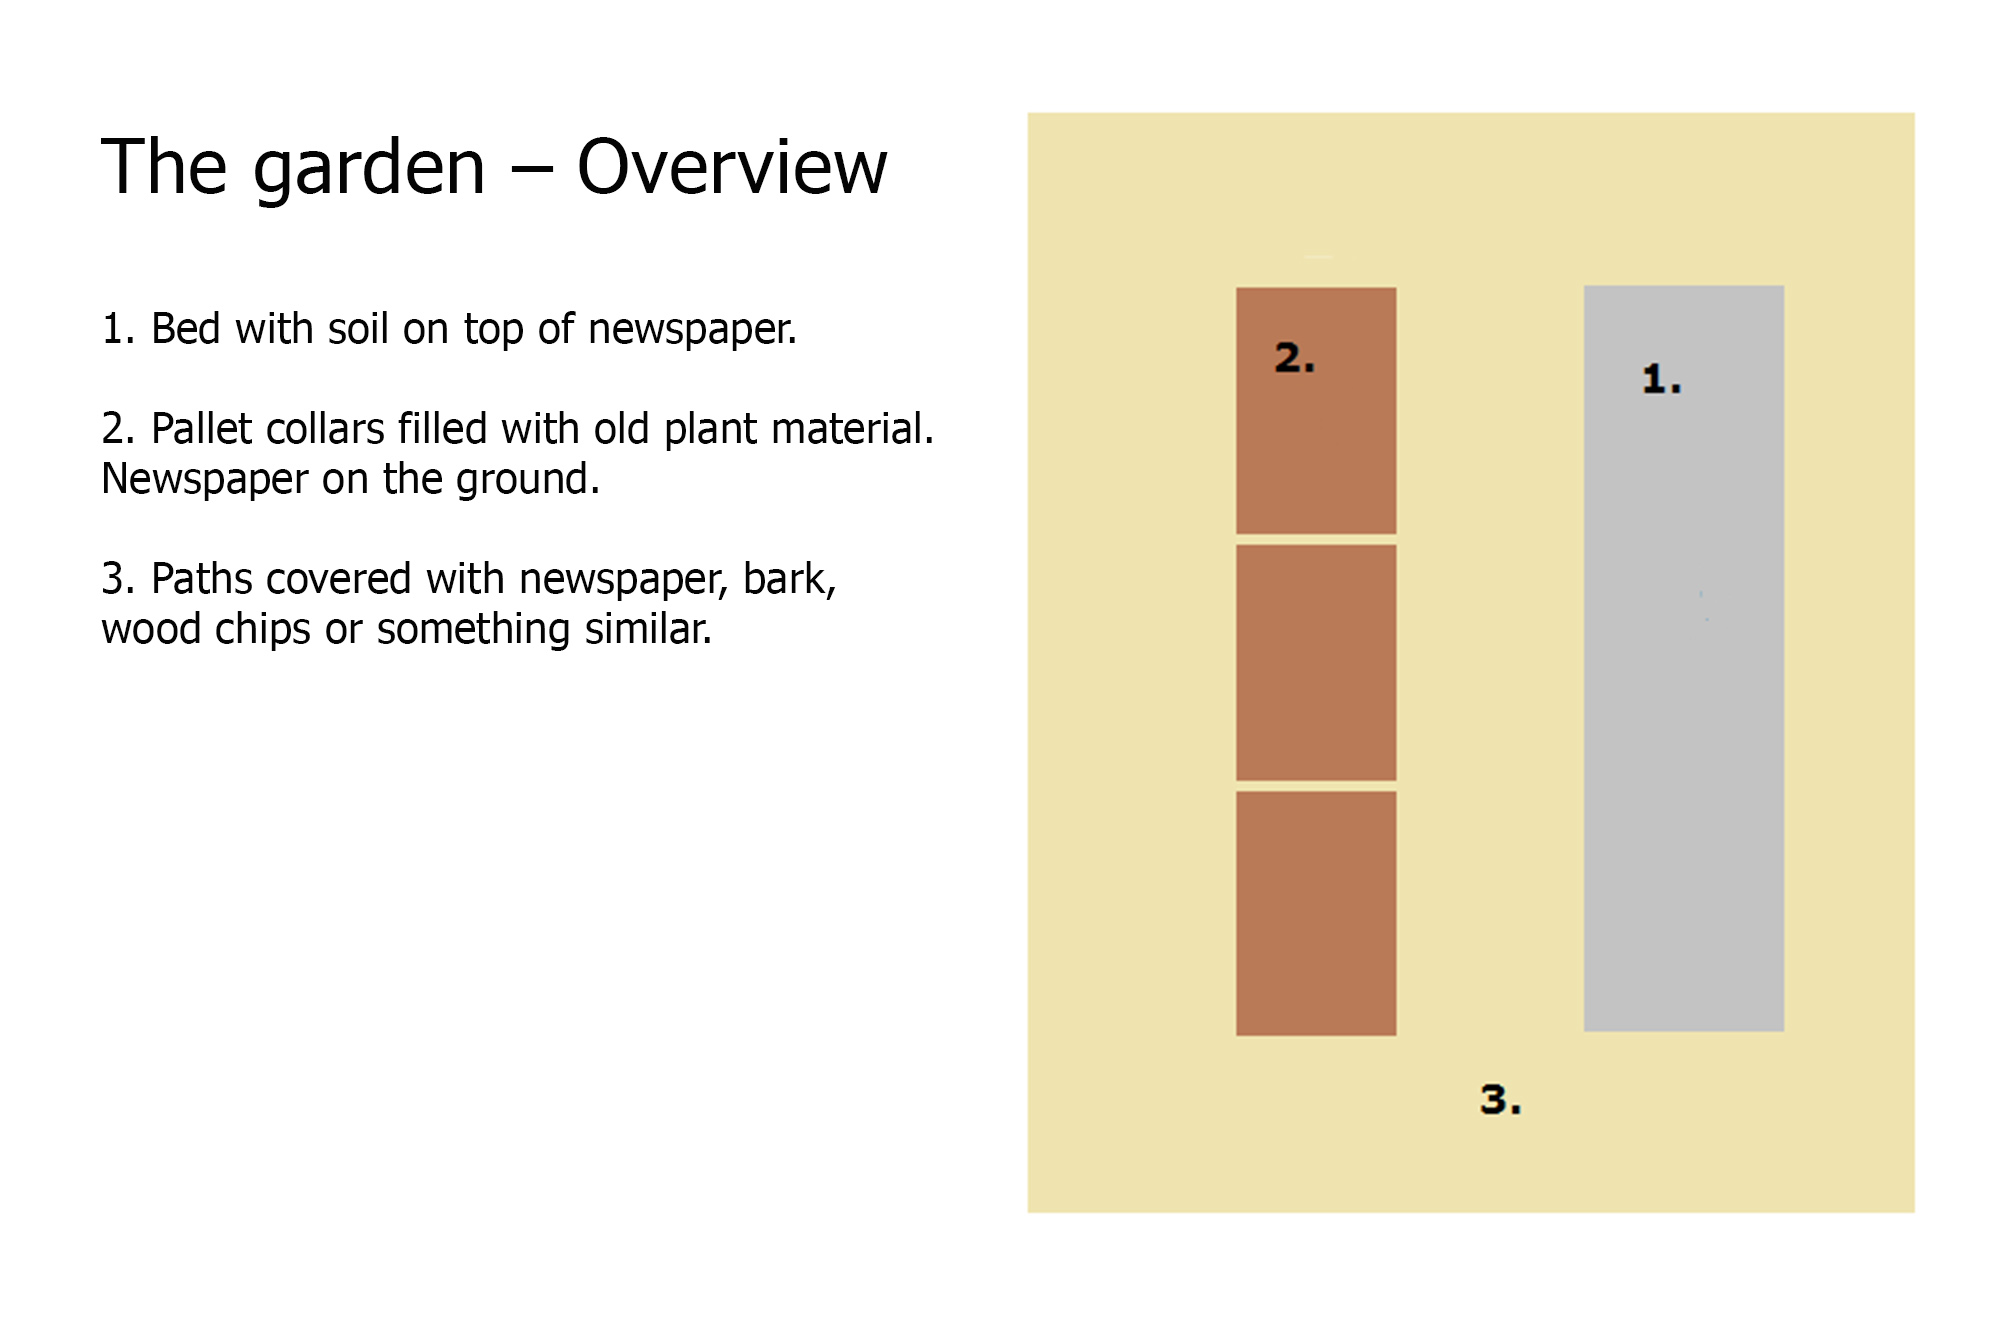
My small vegetable garden consists of two large beds (to start with), with pathways in between. It only takes about an hour to build them. Then you’re good to go!
You'll need:
- Several bags of newspapers, or a large amount of cardboard/cartons.
- Four sticks, around 10-15 inches long.
- At least seven bags of store-bought soil (or the same amount of regular soil/compost).
- Three pallet collars measuring 120 x 80 centimeters (around 3 ft 11 x 2 ft 7).
Bed 1:
1. Plot an area (preferably facing north-south) that’s about 3.5 meters long and 1 meters wide (around 11 ft 6 x 3 ft 4). Put one stick in each corner.
2. Cover the entire area that’s marked by the sticks, and around 0.5 meters outside it, with newspapers (we have non-toxic newspapers here in Sweden. Make sure your newspapers are too). If you want to do it the “right” way, you can also let your newspapers soak in water for a bit before you put them on the ground. Try to use double or even triple layers if you can.
3. Pour two bags of soil in a wheelbarrow and remove any clumps in the soil.
4. Put the soil on the bed (remember that the area where you should pour the soil is marked by the sticks).
5. Do the same with the remaining bags and make sure that there are no large clumps in the soil.
6. Shape the edges around the new bed. If you want to, you could put rocks or logs there.
7. Flatten the soil with the back of a rake.
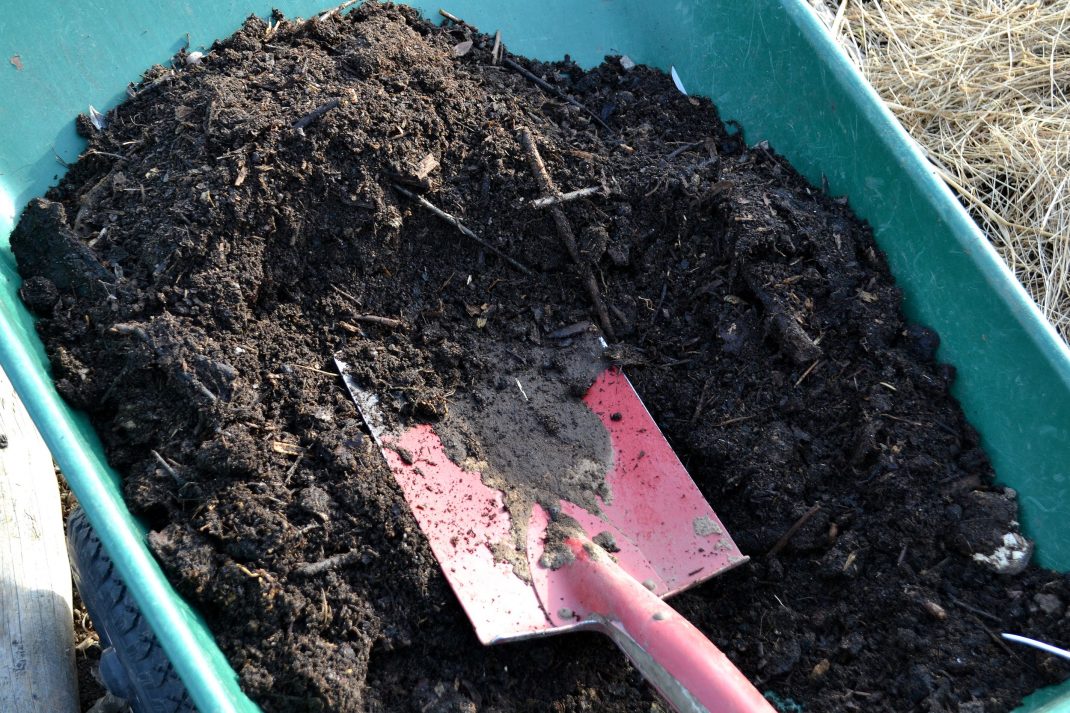
Make sure to remove all the clumps in your soil. This compost contains quite a lot of plant material that I need to remove.
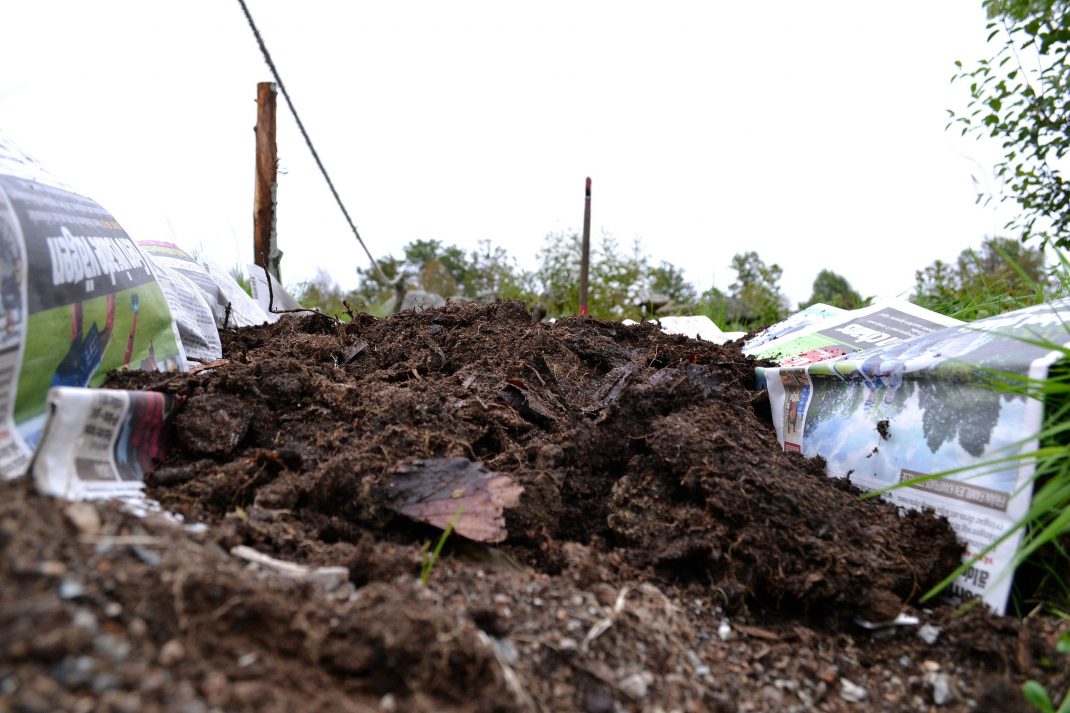
Make sure that the newspapers extend outside of the plotted area. Otherwise, weeds and insects might get into the bed.
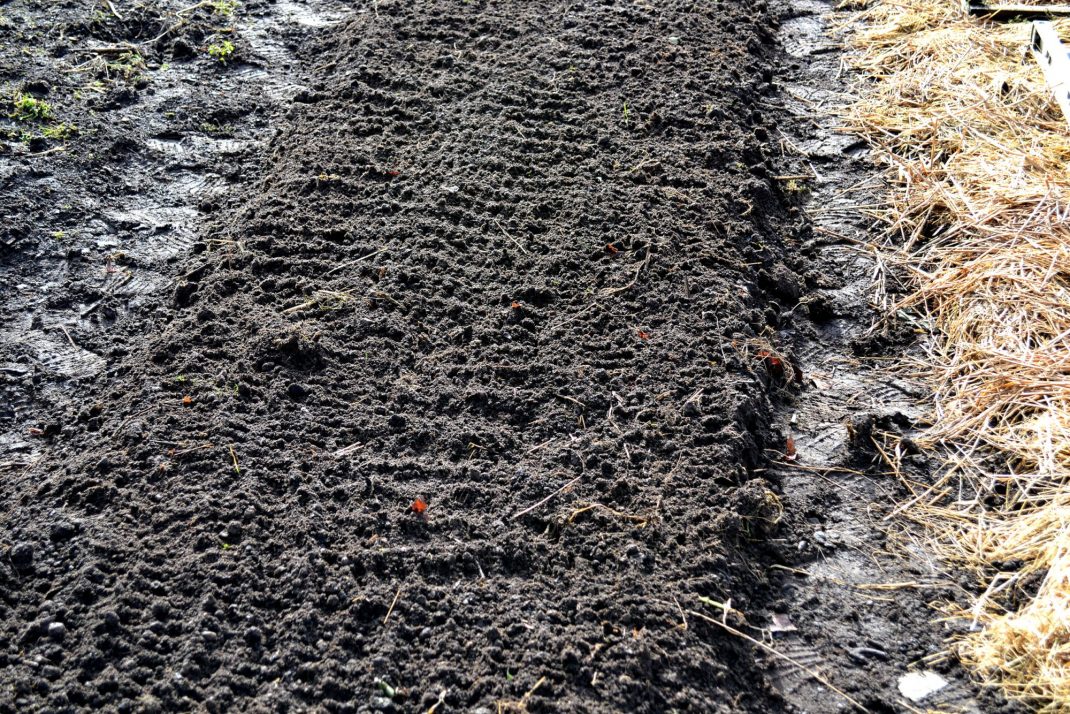
This is one of the new beds in my kitchen garden. I ended up putting boards on the pathways. But you should aim for getting your newspapers to reach out beyond the plotted area to the adjacent bed, underneath the soil. Your bed should look like this. The layer of soil shouldn’t be too thick to start with, it will get thicker as you grow though.
Bed 2:
1.Put the pallet collars in a row with the short sides facing bed 1, leave a space of about 0.5 meters (1 ft 8) between the pallet collars.
2. Put newspapers on the ground (just like you did in bed 1) and cover the ground around 0.5 meters (1 ft 8) outside the frame of the pallet collar
3. Fill the pallet collars with old plant material that you’ve collected earlier, or gather material as you go along.
4. Build large piles of plant material in your pallet collars, the higher, the better. The pallet collar frames will keep the material in its place.
5. Pack the material by walking on it. Water the bed and keep adding more as you go along. The more, the better.
6. You could for example use old compost, leaves, manure, twigs, grass clippings, ensilage or anything else that will turn into soil in the future.
7. Save the last bag of soil until it’s time to sow.
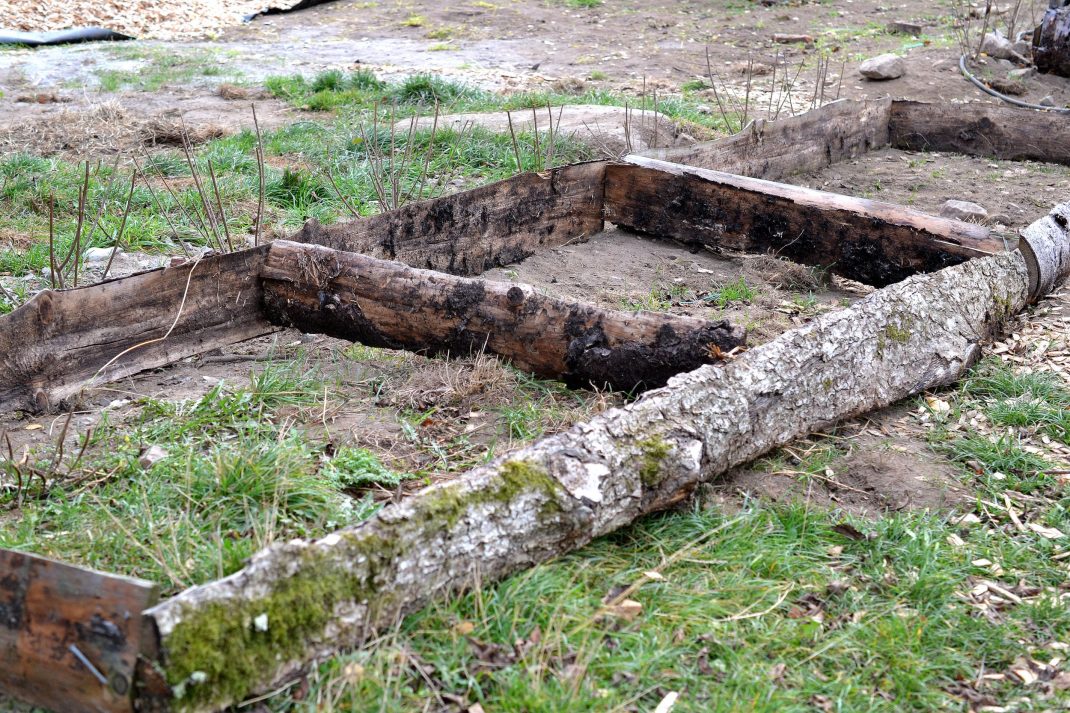
Using pallet collars is a perfect way to start building new garden beds. They’re easy to move around and you can even fold them. I also use a few homemade frames that I move to the areas where I’m planning on creating new beds.
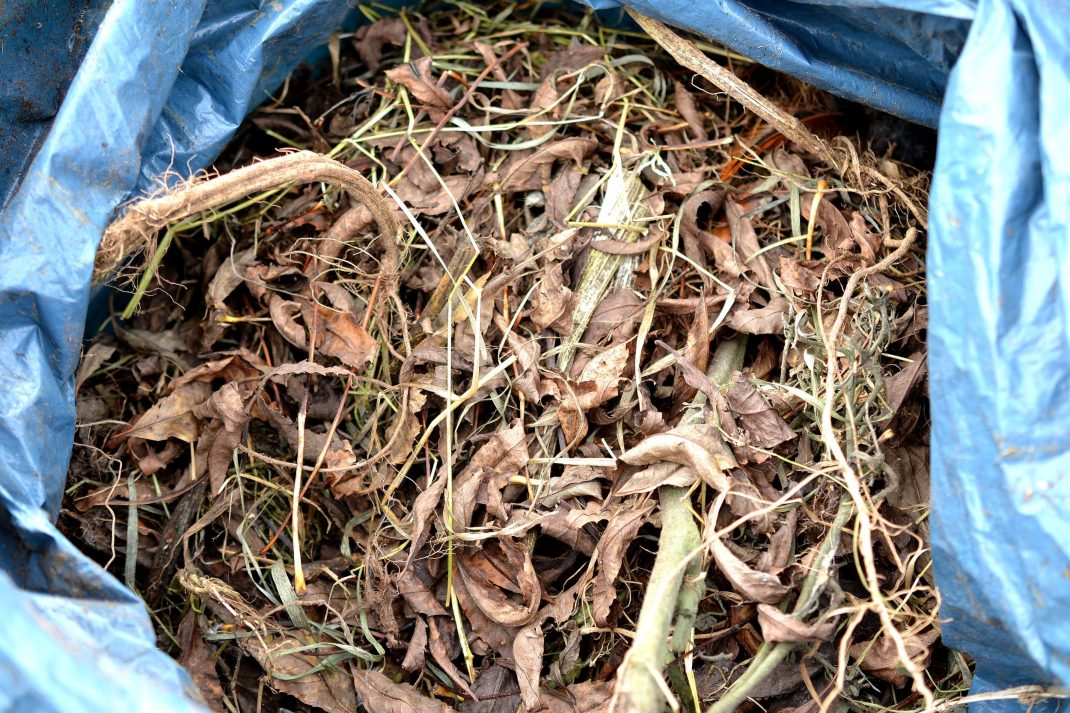
I always try to collect old plant material in bags. That way, I always have material available when I need it. Close the bags when they’re full, it might be difficult to move them if it snowed or rained in them.
Laying out paths between the beds:
By now, there should be paths between the beds, covered with newspapers. If you want to go the extra mile, you could also cover the paths with bark, wood chips, sawdust, wool, straw or something similar. The best option is in my opinion to leave the newspapers on the ground and gradually cover the paths with more layers when they start to wither away. The newspapers prevent weeds from entering the beds. They block light and air from the grass underneath which will slowly start to decompose, just like the newspapers themselves.
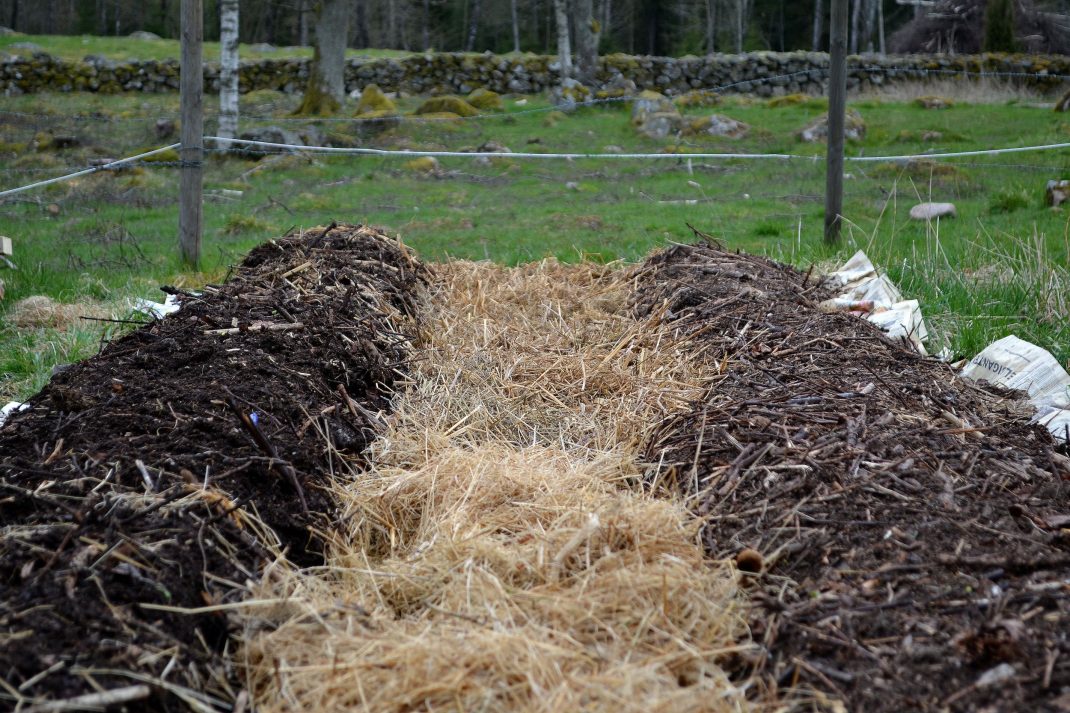
It’s super easy to use straw or hay for your paths, and it looks really nice. You don’t need that much material for a small kitchen garden. Try calling a farmer or a nearby stable and ask if you can buy a stack. If you live in the country side, there’s often plenty of old hay and straw in the barns. Just ask a neighbor if you can have some.
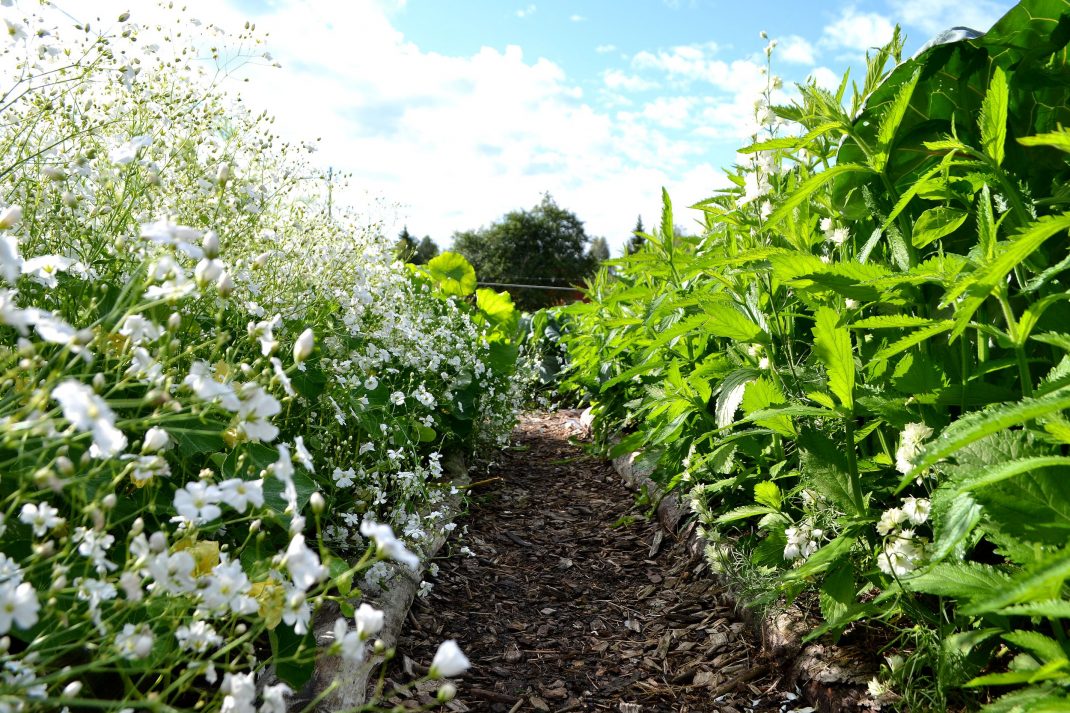
Using wood chips or bark is a more permanent solution. I buy both at the local lumber mill. Don’t use the store-bought bark mulch though, it works like regular soil.
It’s as simple as this to start a small vegetable garden with a growing area of about six square meters (64 square feet). And it didn’t take much time or effort, at a minimal cost. This project can be started any time of the year. You can start growing as soon as the beds are ready and the weather allows it. If you want to (and have the space), you could of course make the beds more than three meters (around 10 feet) long but I think a width of about 1 meters (3 feet 4 inches) is just right.
Time to start growing!
My first tip for those of you who really want to build your own small vegetable garden is to start creating growing spaces as soon as possible. Don’t think too hard about what will happen in the future, this is the most important first step. It takes a few seasons to really get a grip on how everything works. You’ll just slow yourself down if you’re set on doing everything perfectly from the start.
I’ll post part 2 of this series on How to build a small vegetable garden shortly. This part will be about how to get going on the sowing. Make sure to share this post with your friends if you liked it. Good luck!
/Sara Bäckmo
07. April 2021
Leave a Reply
You must be logged in to post a comment.